Close
No one really loves drop ceilings (except perhaps the manufacturers of drop ceilings). And don’t get me wrong there are some beautiful options out there. So when we got the keys to our new office space we started sourcing options and failed to find a product that reflected the vibe we were offing for. So we created it ourselves (shocker).
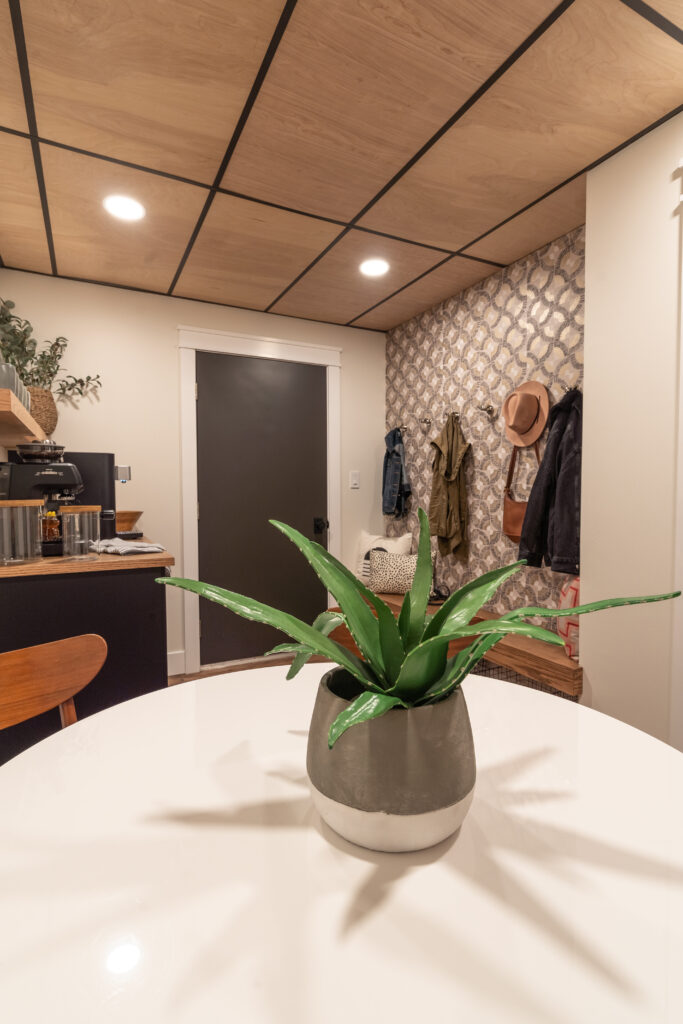
We wanted something that was warm and created the feeling of a much taller and larger space. We were able to achieve that by painting the drop ceiling black, creating new inserts using ¼ plywood and adding 6” recessed pancake lighting throughout. Going this route was an absolute game changer and we’re going to share with you exactly how we did it and the steps to get there.
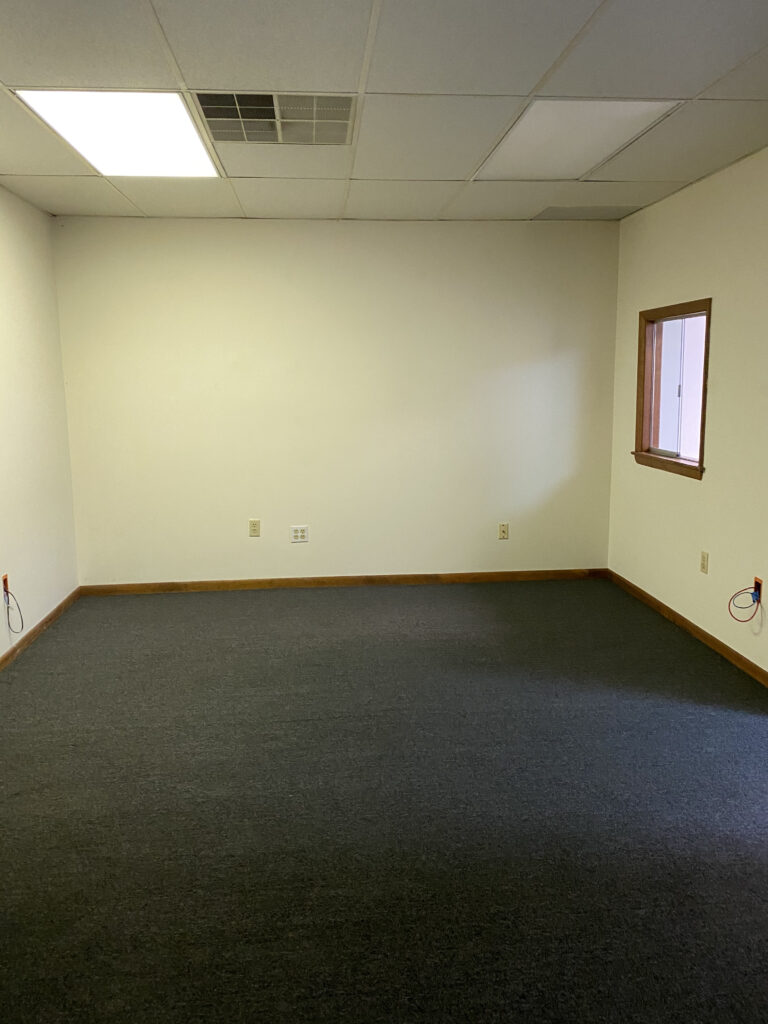
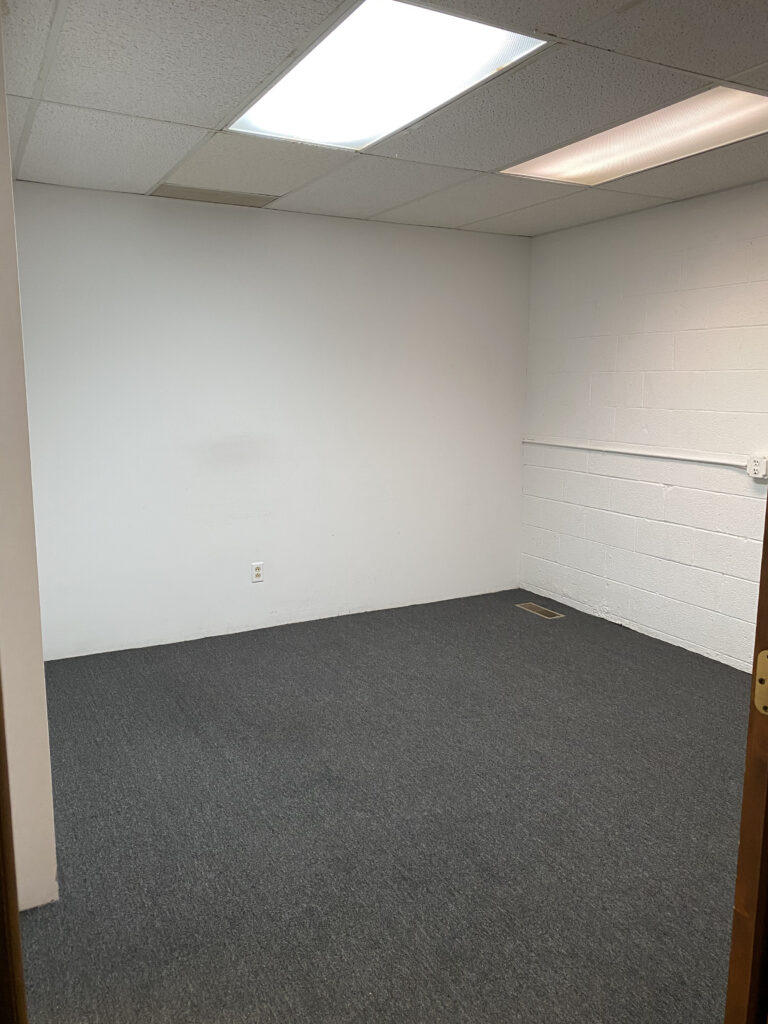
When we had our first walkthrough of the office we’re currently in we nearly puked. It was disgusting and appeared as if a couple decades of bandaids was all it received. And we were right. The carpet was filthy even though we were told it was recently replaced, the walls were dirty as can be and the drop ceiling was covered in dust and baked in stains from cigarette smoke. It was very, very bad. But we knew a long weekend would create a completely different aesthetic in the space.
First we ripped out all of the carpet, moldings and drop ceiling panels. We also removed the awful fluorescent panel lights throughout the office space. Once everything was out it we installed the new flooring first. While we would typically paint the ceilings and walls first, we were out of town and had our crew tackle this since we hadn’t yet decided on paint color. It just meant a little extra prep work to protect the floors.
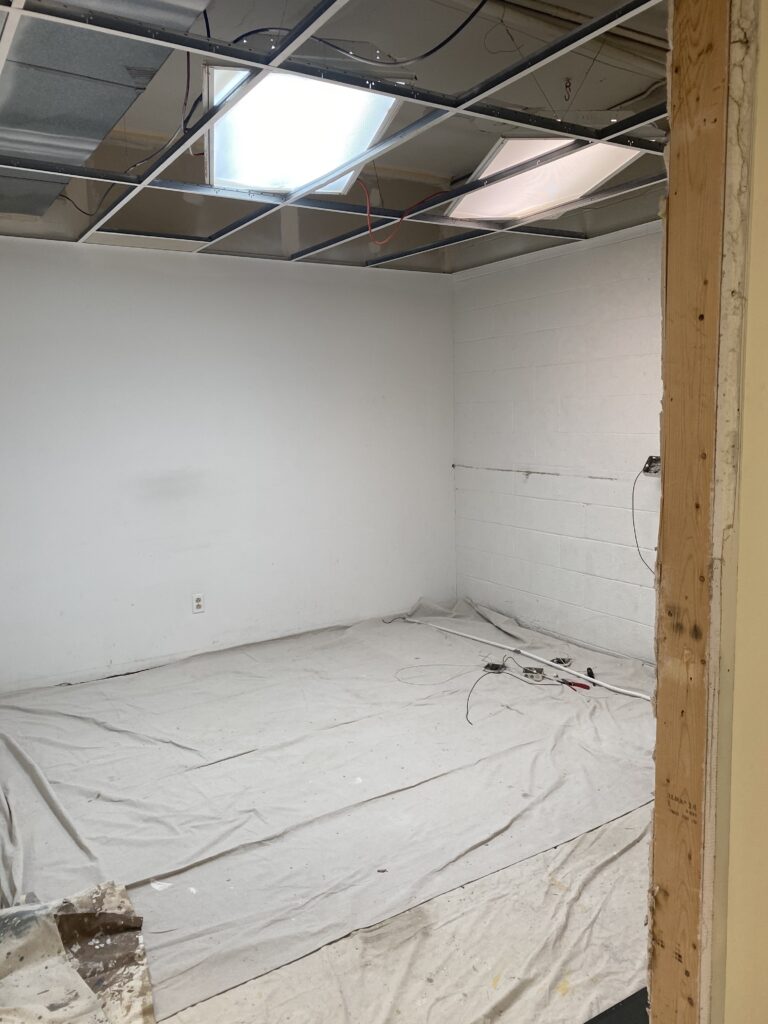
Next it was time to paint. We went with our favorite black shade, Armory from Sherwin Williams for the ceiling frame as well as the cinderblock accent walls. It was a very easy and quick process for us since we sprayed everything. 3 coats later and things were already looking much better than when we first walked in.
Now that the frame was painted it was time to create the new inserts. One by one we cut panels out of ¼ birch plywood using our table saw. We then began the process of installing them, every other row accommodating for the new recessed lighting. We started from one end of the room and ran wiring from one light to the next to create a seamless grid (perhaps we should do a post on that in the future?!?). We used these canless 6” recessed LED lights that are perfect for the thickness of the panels we used after cutting a 6” hole with a hole dozer. We also use these when we are running electrical in ceilings that are not being fully demod.
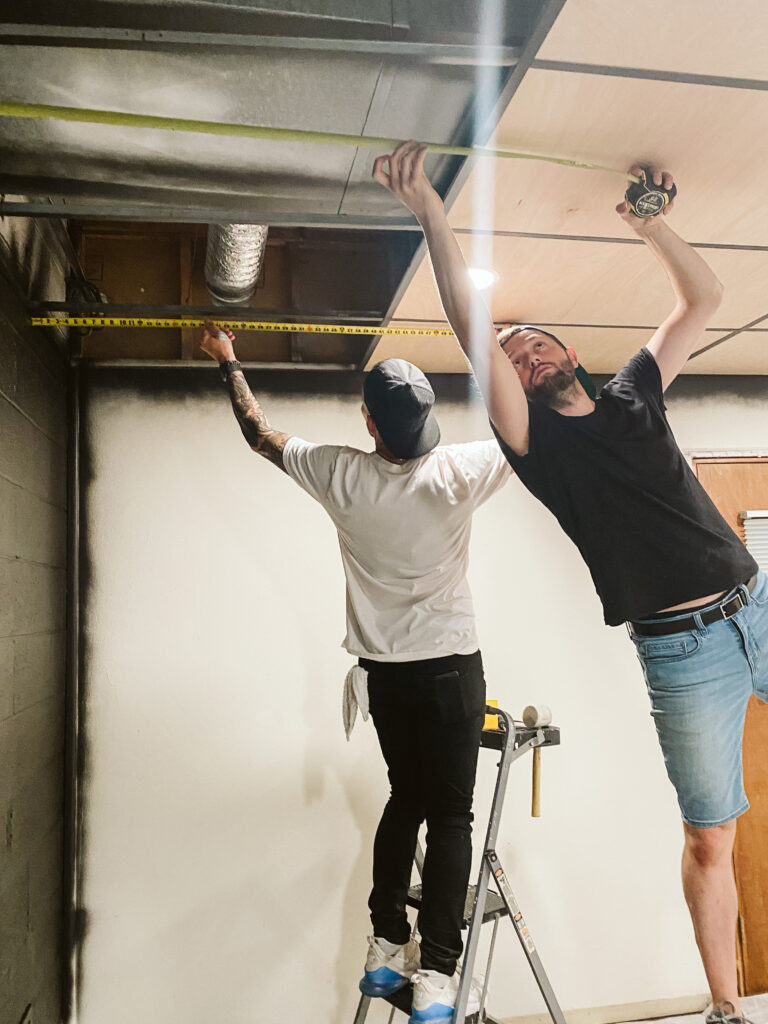
Pro Tip: If you’re ever cutting plywood for a project make sure that your grain is always cut in the same direction, whether you’re going vertical or horizontal.
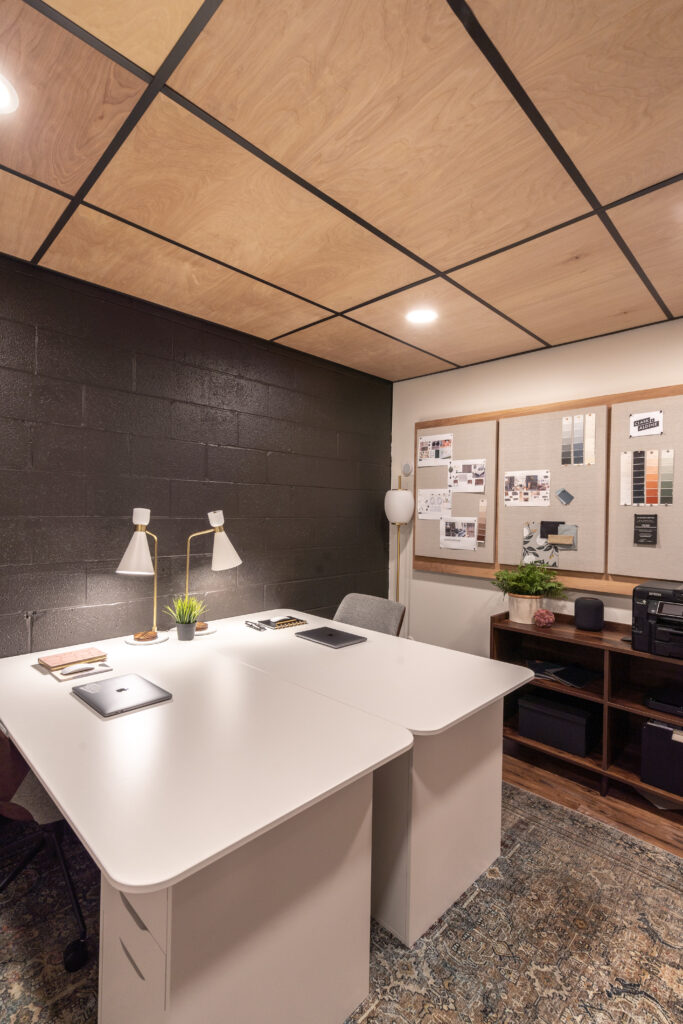
So one by one each panel was cut and inserted and each light was appropriately spaced and installed. By the end of the process we had a completely different vibe in our office. And considering this space has no windows looking outside (we know we know, major drag) this design gives all the warm and cozy feels to make up for it.
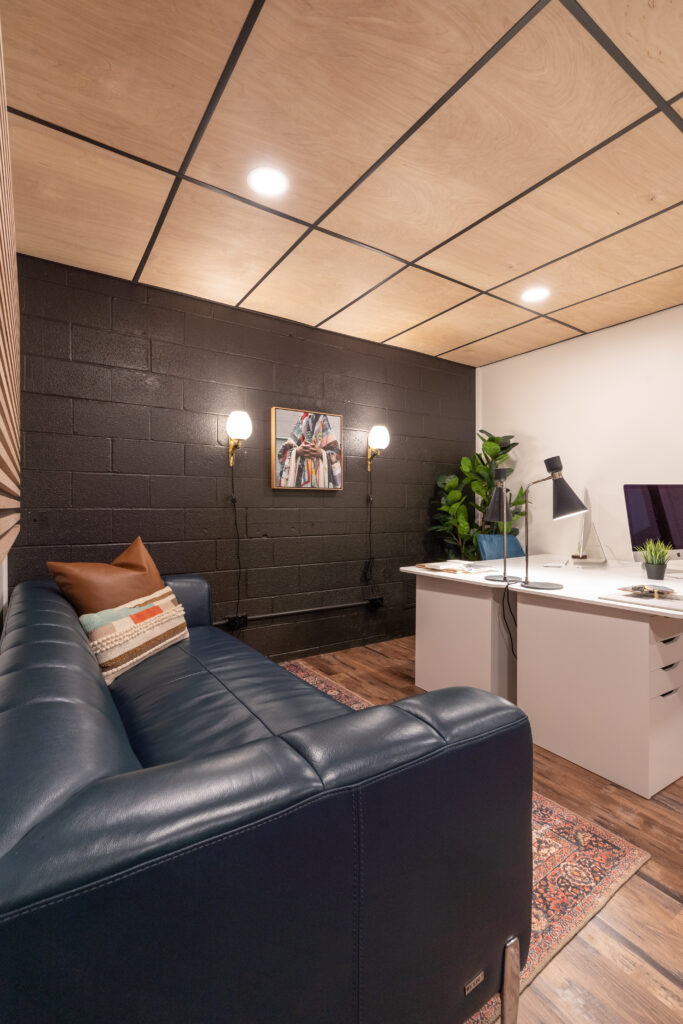
If you haven’t seen full office reveal check it out although it will, most likely in 2 parts…because we have a major element that is being built for us by one of our favorite makers ever. So stay tuned!
-much love
Co-Founder, Clark + Aldine

Clark + Aldine is fully licensed and insured.
© 2024 Clark + Aldine | Interior Design Websites by Formcode | Privacy Policy · Terms and Conditions