Close
Having your own personal workspace is something I’ve absolutely grown to love. When we lived in Chicago the thought of a real work space was pretty dreamy. I mean, Michael owned his own company and worked from home – but it was his space, not our space. So when we made the move to Michigan and found our home I was beyond geeked to create a functioning workspace for us. Since both Michael and I do a lot of work from home, having a large desk area we could both function in was essential. After hunting for the perfect desk we came to the conclusion that it just wasn’t out there. The easiest way to fix that…build your own! As you already guessed Michael’s about to tell you how to do just that!
So, I did actually find two desks that I really loved – one from West Elm and another from Ikea. Both were completely different in style and function – but they had one thing in common…they were not big enough. So, as Danielle mentioned, I took it upon myself to start a 10 day project in our garage (cough, our workshop).
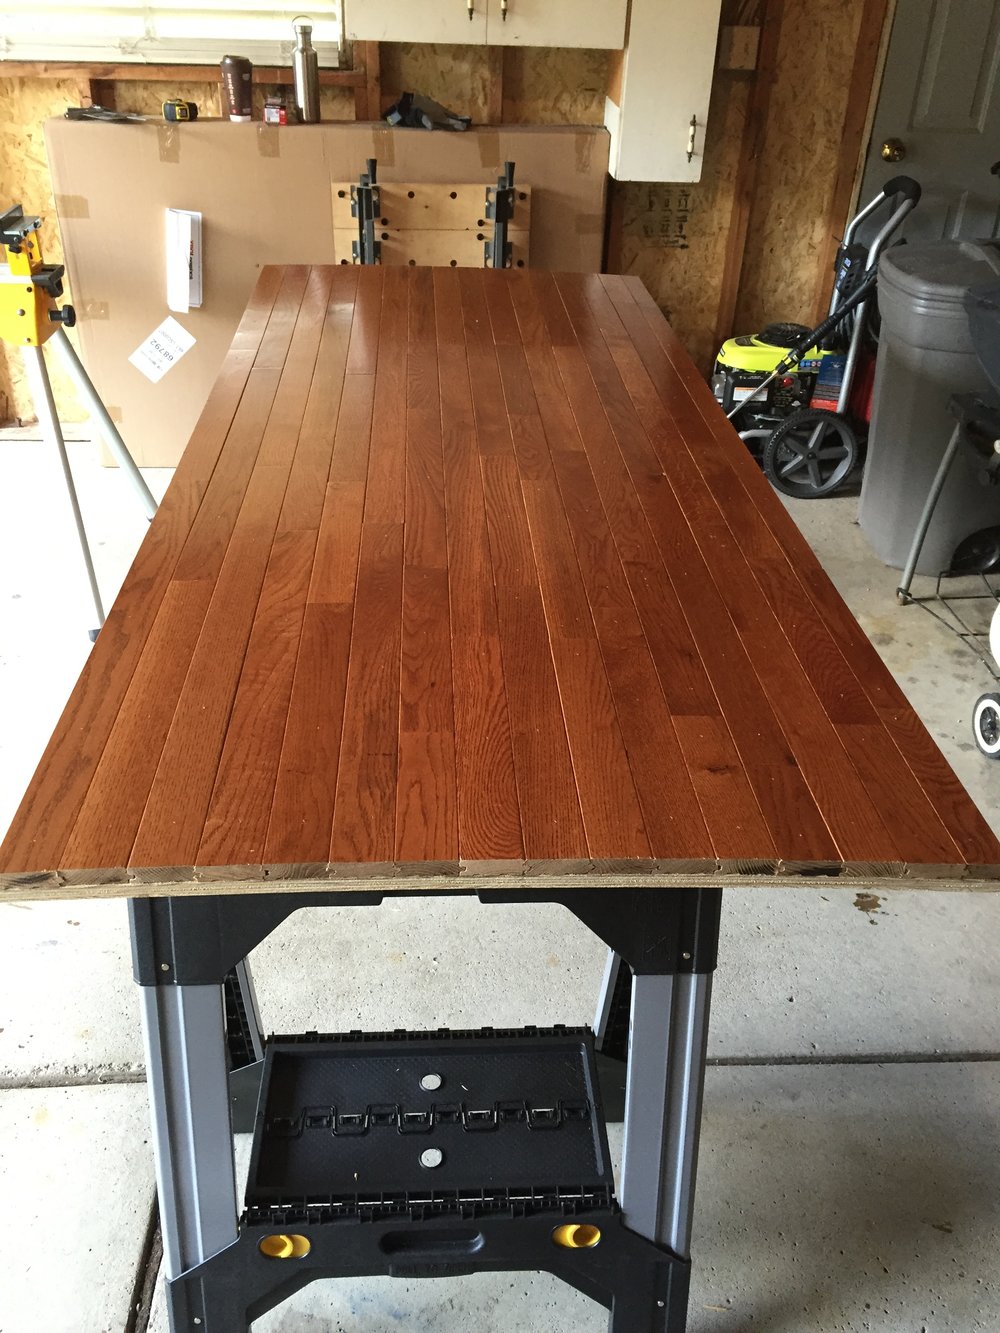
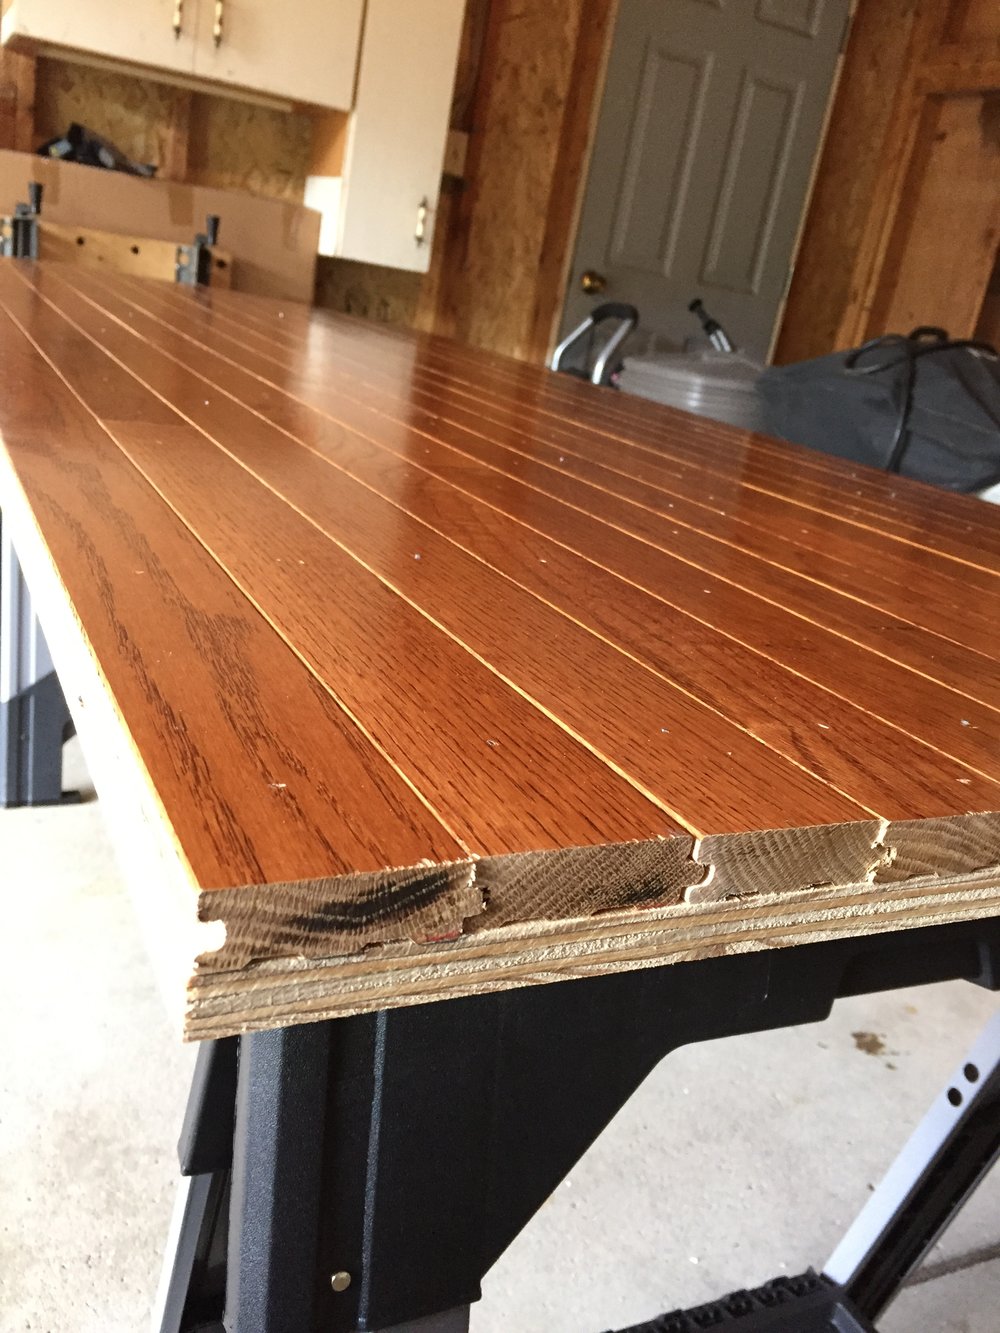
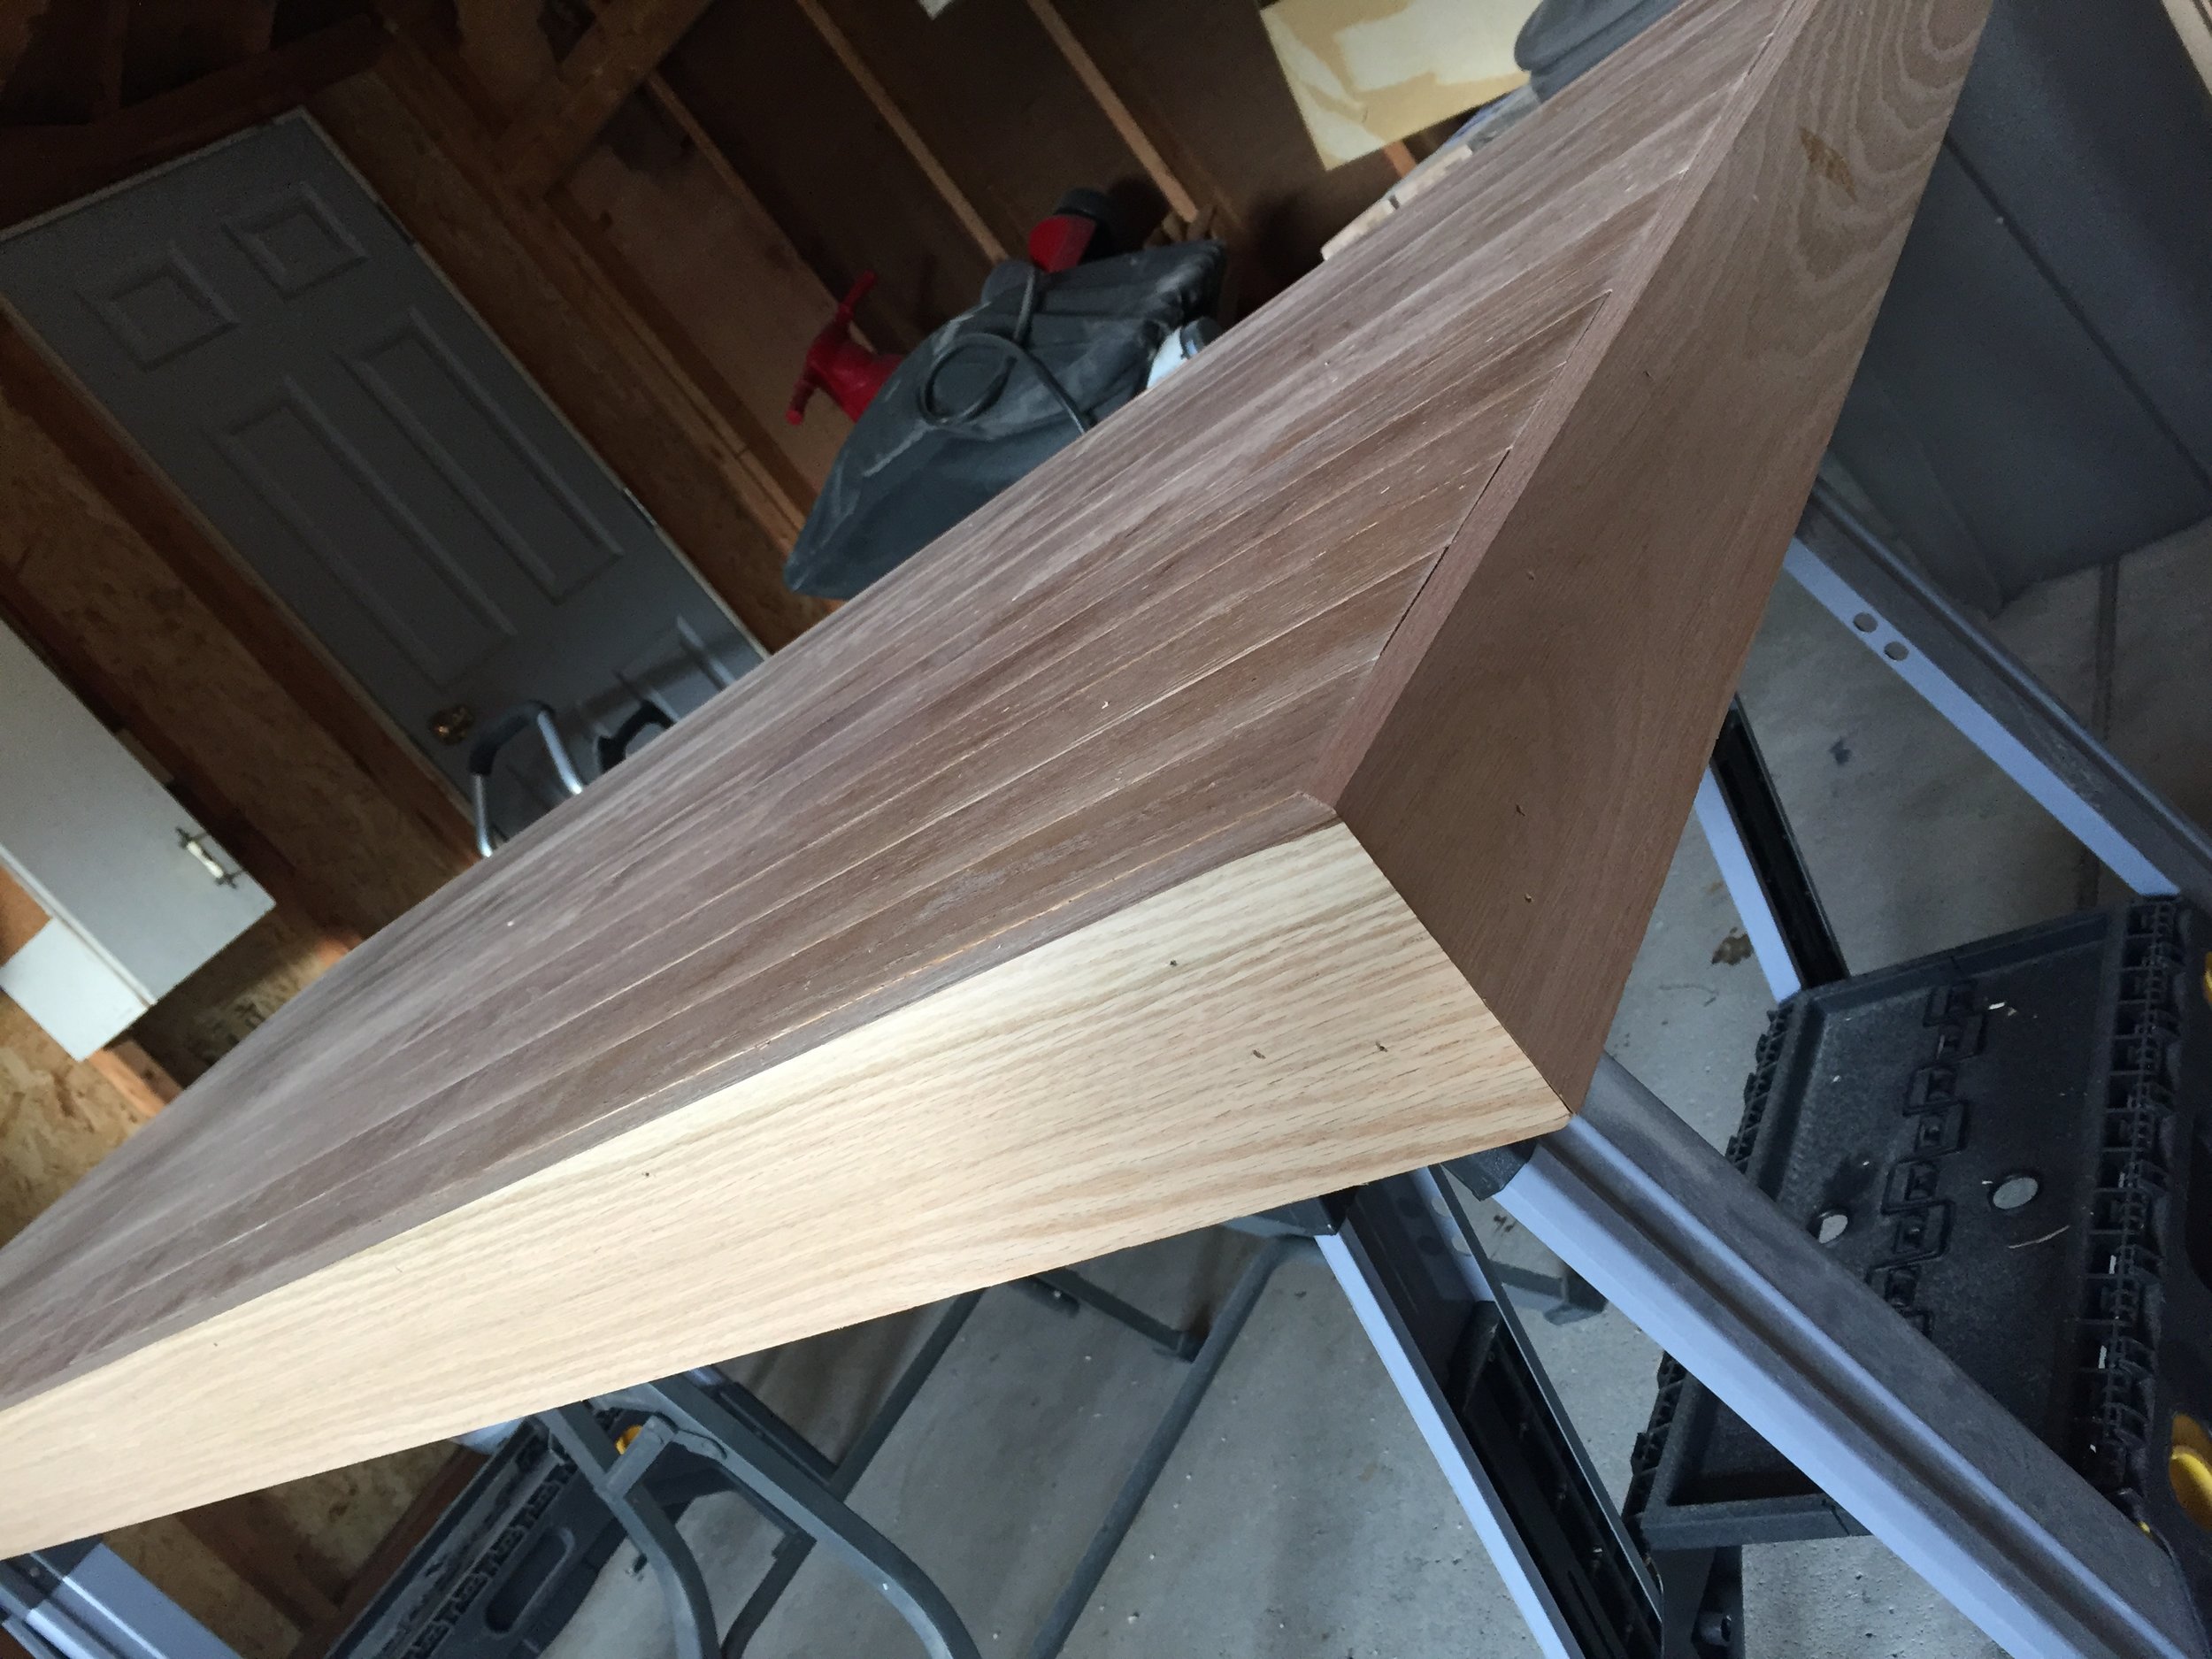
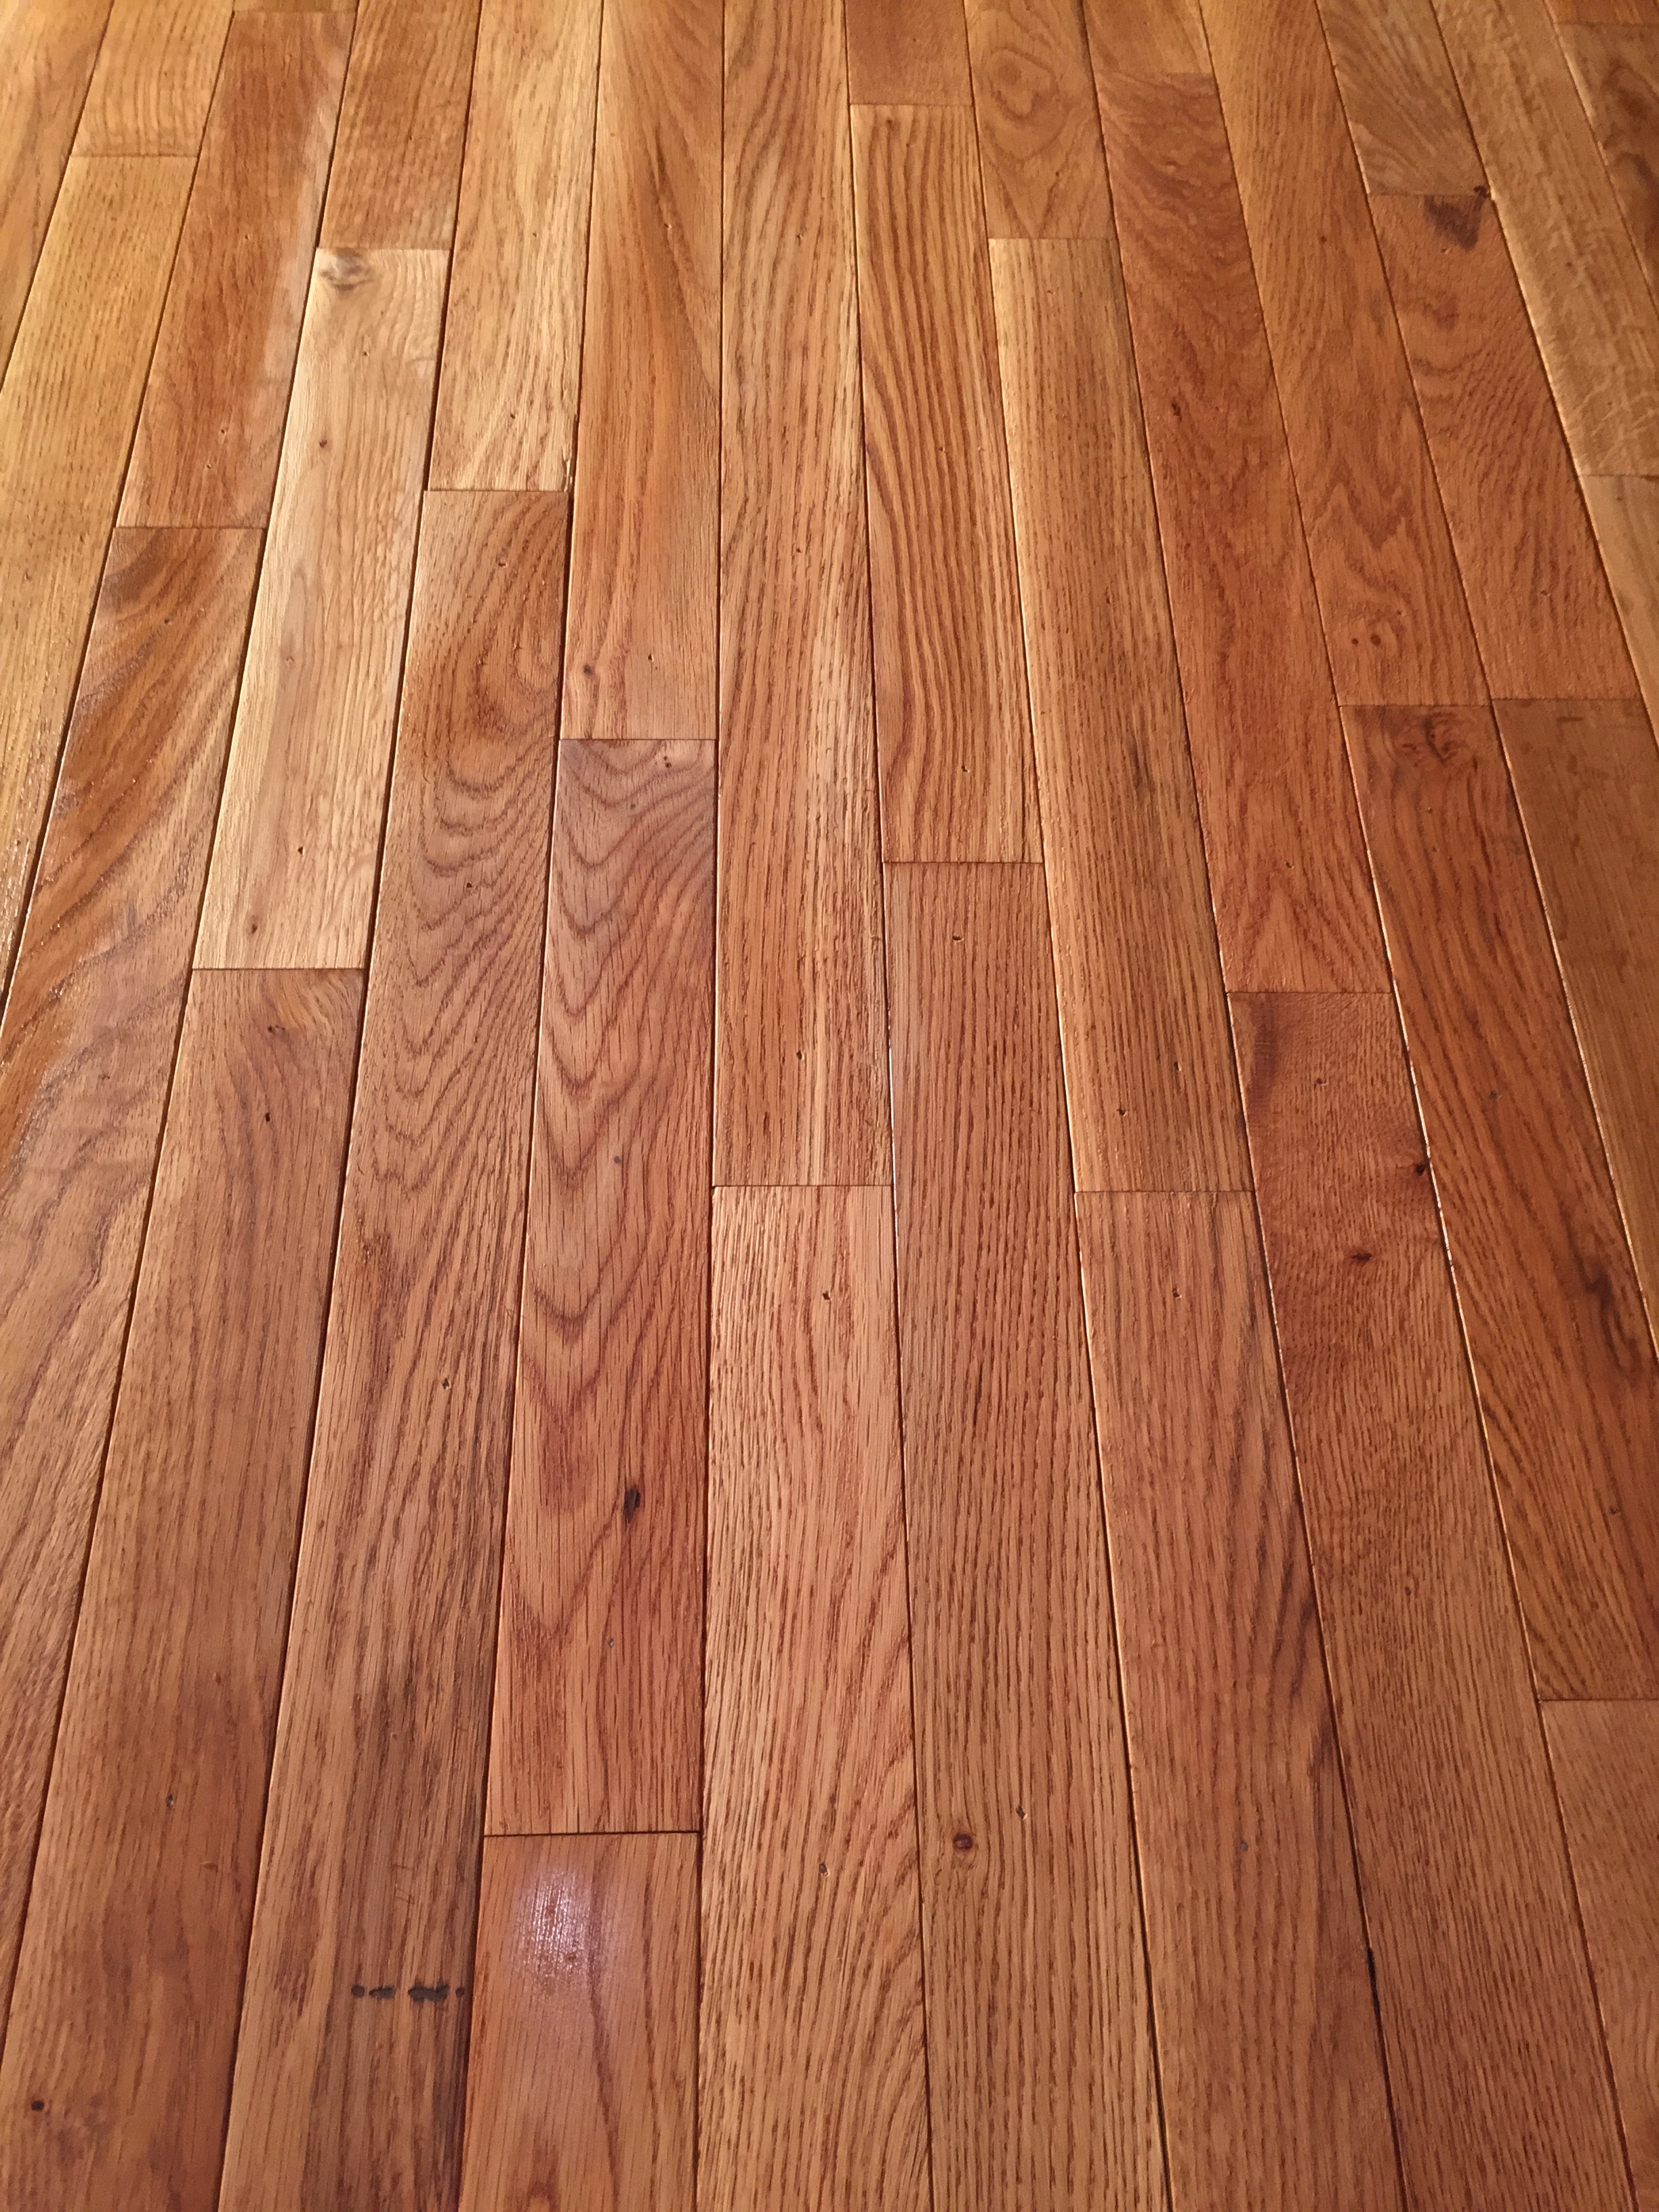
I started with a trip to my home away from home – Home Depot – where I purchased a piece of 1/2in plywood. I cut that to size (7ft x 3ft) for my base and placed on 2 saw horses. I knew that I wanted to create a piece that looked as if it belonged – something custom – and I happened to have a nice selection of left over oak planks from the new hardwood in the kitchen and other needy spots throughout the first floor. I started my line on the edge and began tacking each board in with my brad nailer. Row after row the table began to take shape. I completed the surface and moved on to the side trim. For that I used 1×4 oak. Each of the 4 sides were fitted using 90 degree cuts and brad nailed together.
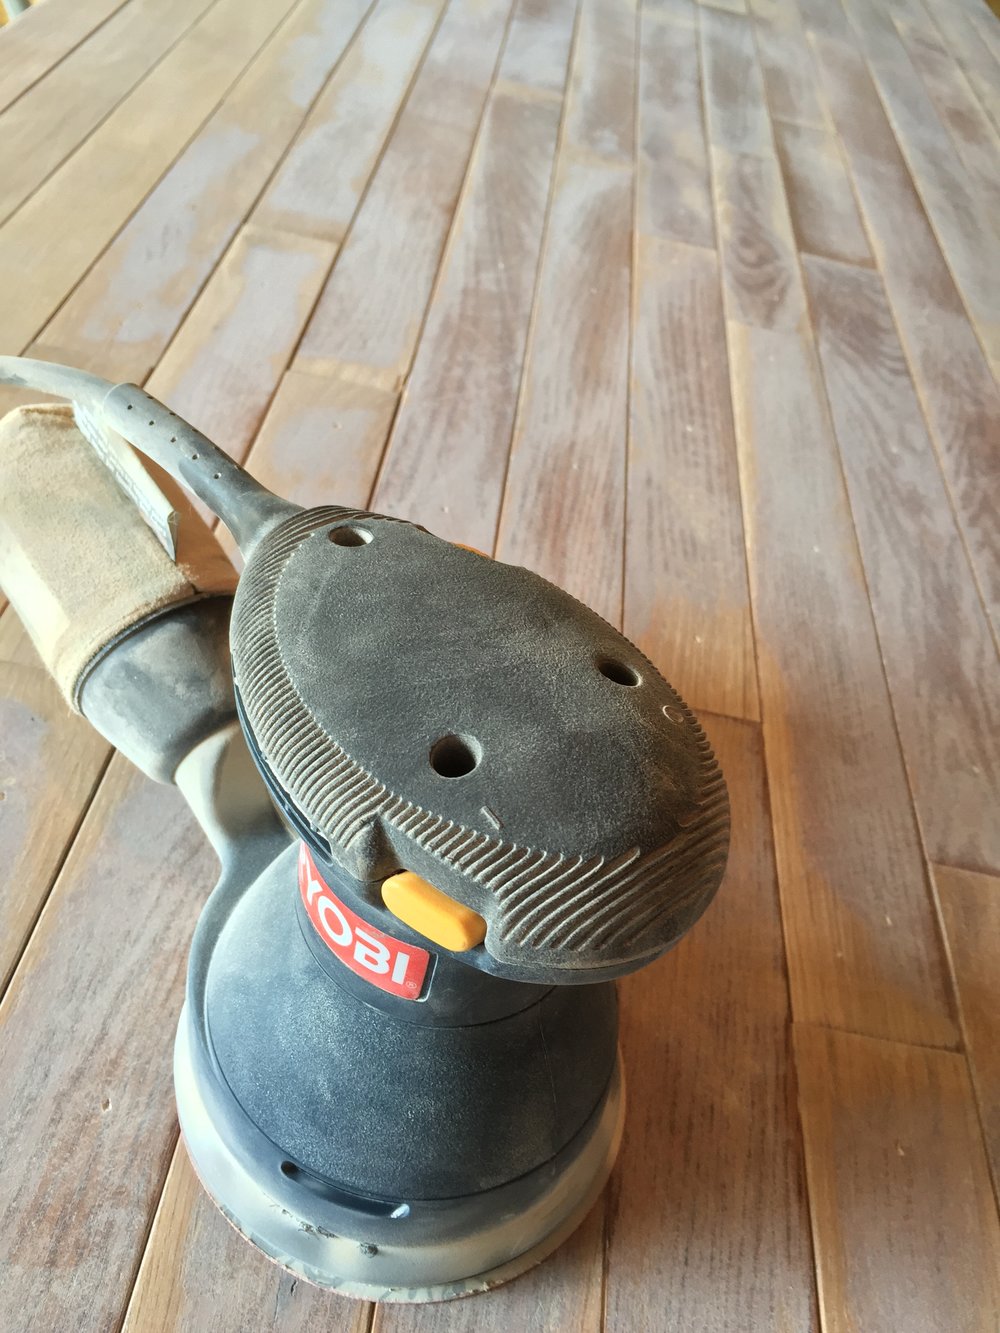
Once all of the oak was installed I began sanding with my circular sander. I started with a coarse grit (40) to take off the finish – the oak planks I used for the top surface were pre-finished, but I wanted to stain a custom finish to match our floors. Once the finish was removed, I took another pass with an 80 grit sand paper, then another pass with a 100 grit and the final finishing pass was with a 220 grit (very fine coarse) on the top and sides. When you sand bare oak (or any type of fine wood) you simply need to sand with a fine grit to remove any particles or splintery pieces that may be lurking in the wood. Taking steps such as this will ensure your final finish will be smooth.

Once the sanding was complete I took 2 tack clothes and wiped down the wood – a tack cloth will remove any dust and debris. Once that was complete it was time to “water pop”. When you sand a surface, you remove the depth of grain. And when staining fine woods such as oak, the grain is what gives each board its unique character. Water popping simply pulls the grain out a bit and allows stain to penetrate the wood deeper once applied.
The next step, you guessed it, is to apply your stain. For our desk and floors we used a custom “classic gray”. I prefer paying 1 thicker coat using a lambs wool pad versus taking multiple passes…but it is preference for everyone. You will need to allow at least 4 hours to dry (but I recommend 24 hours). Once it is dry, begin your first application of polyurethane. I used a triple poly and applied with a lambs wool pad. I applied 3 coats, and in between the 1st and 2nd coat, I took a piece of steel wool and made a pass over the entire surface, then took another tack cloth to pick up the debris. On the 3rd and final coat, I let dry for 24 hours prior to installing the legs and placing in the office. 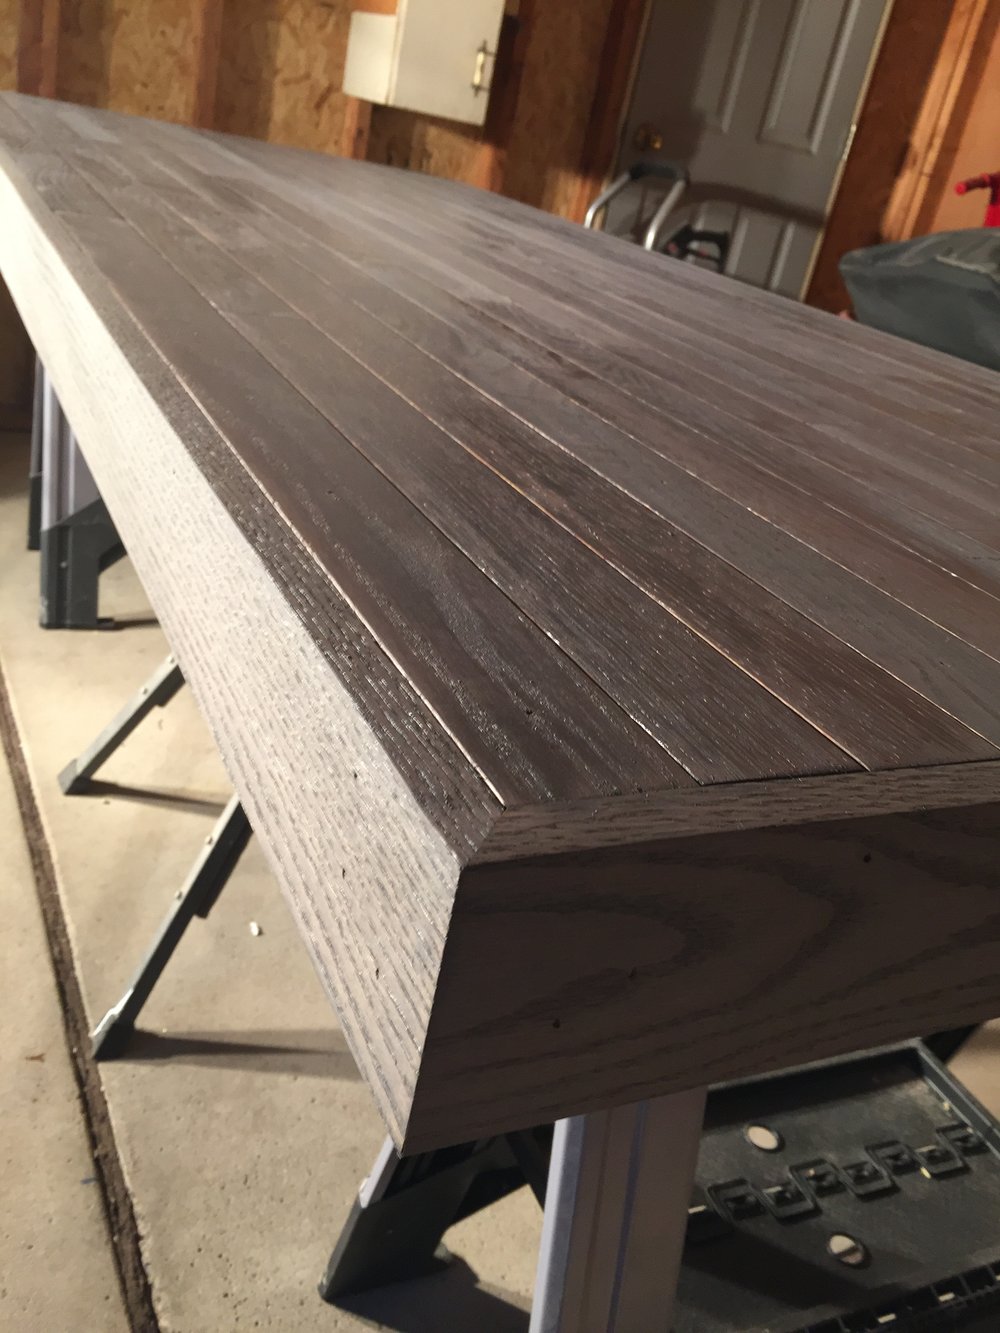
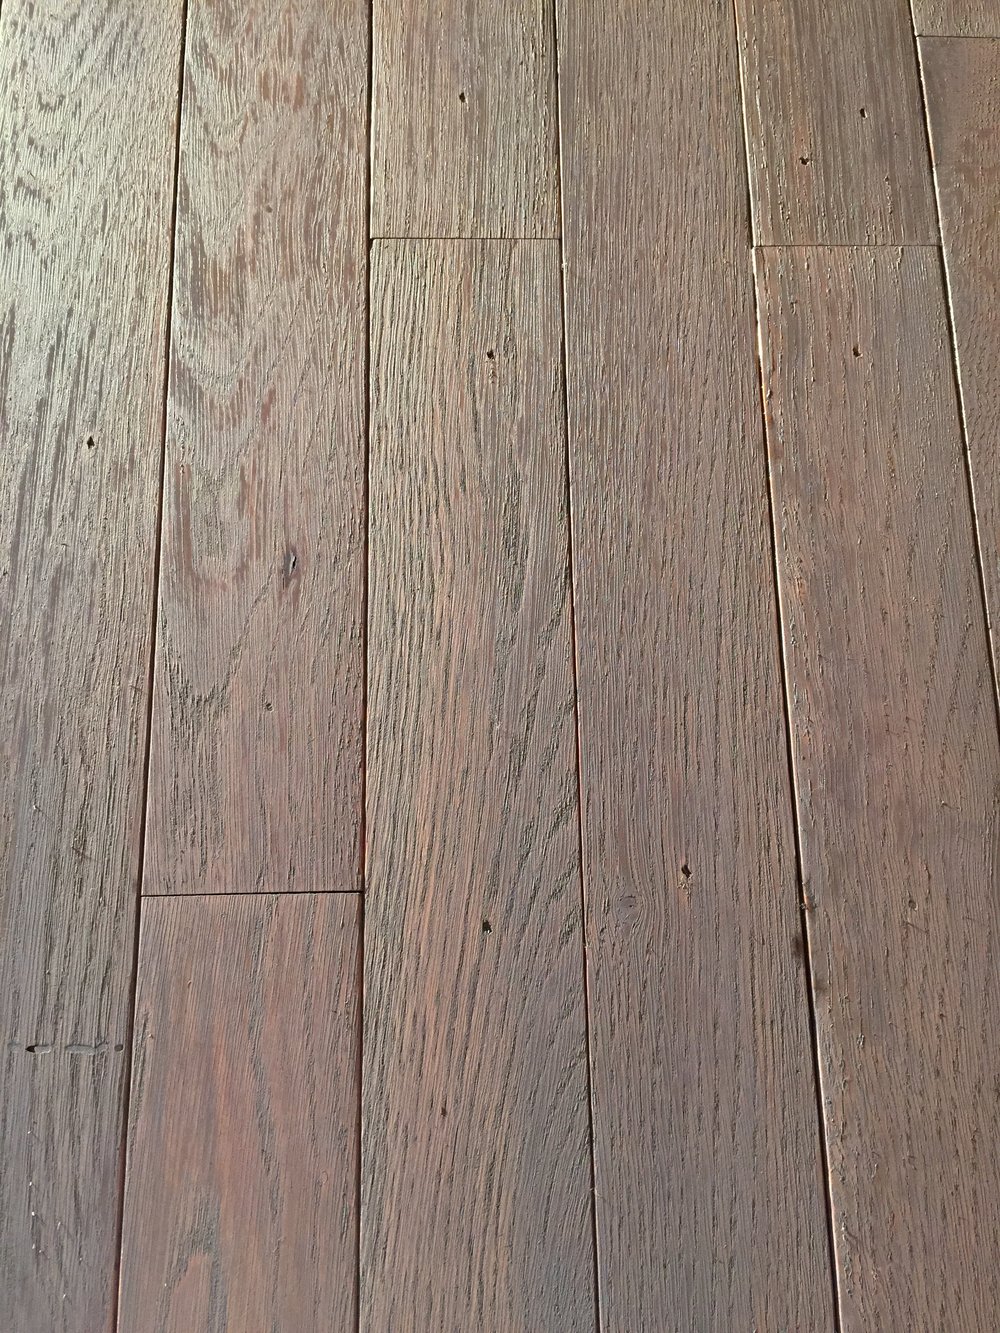
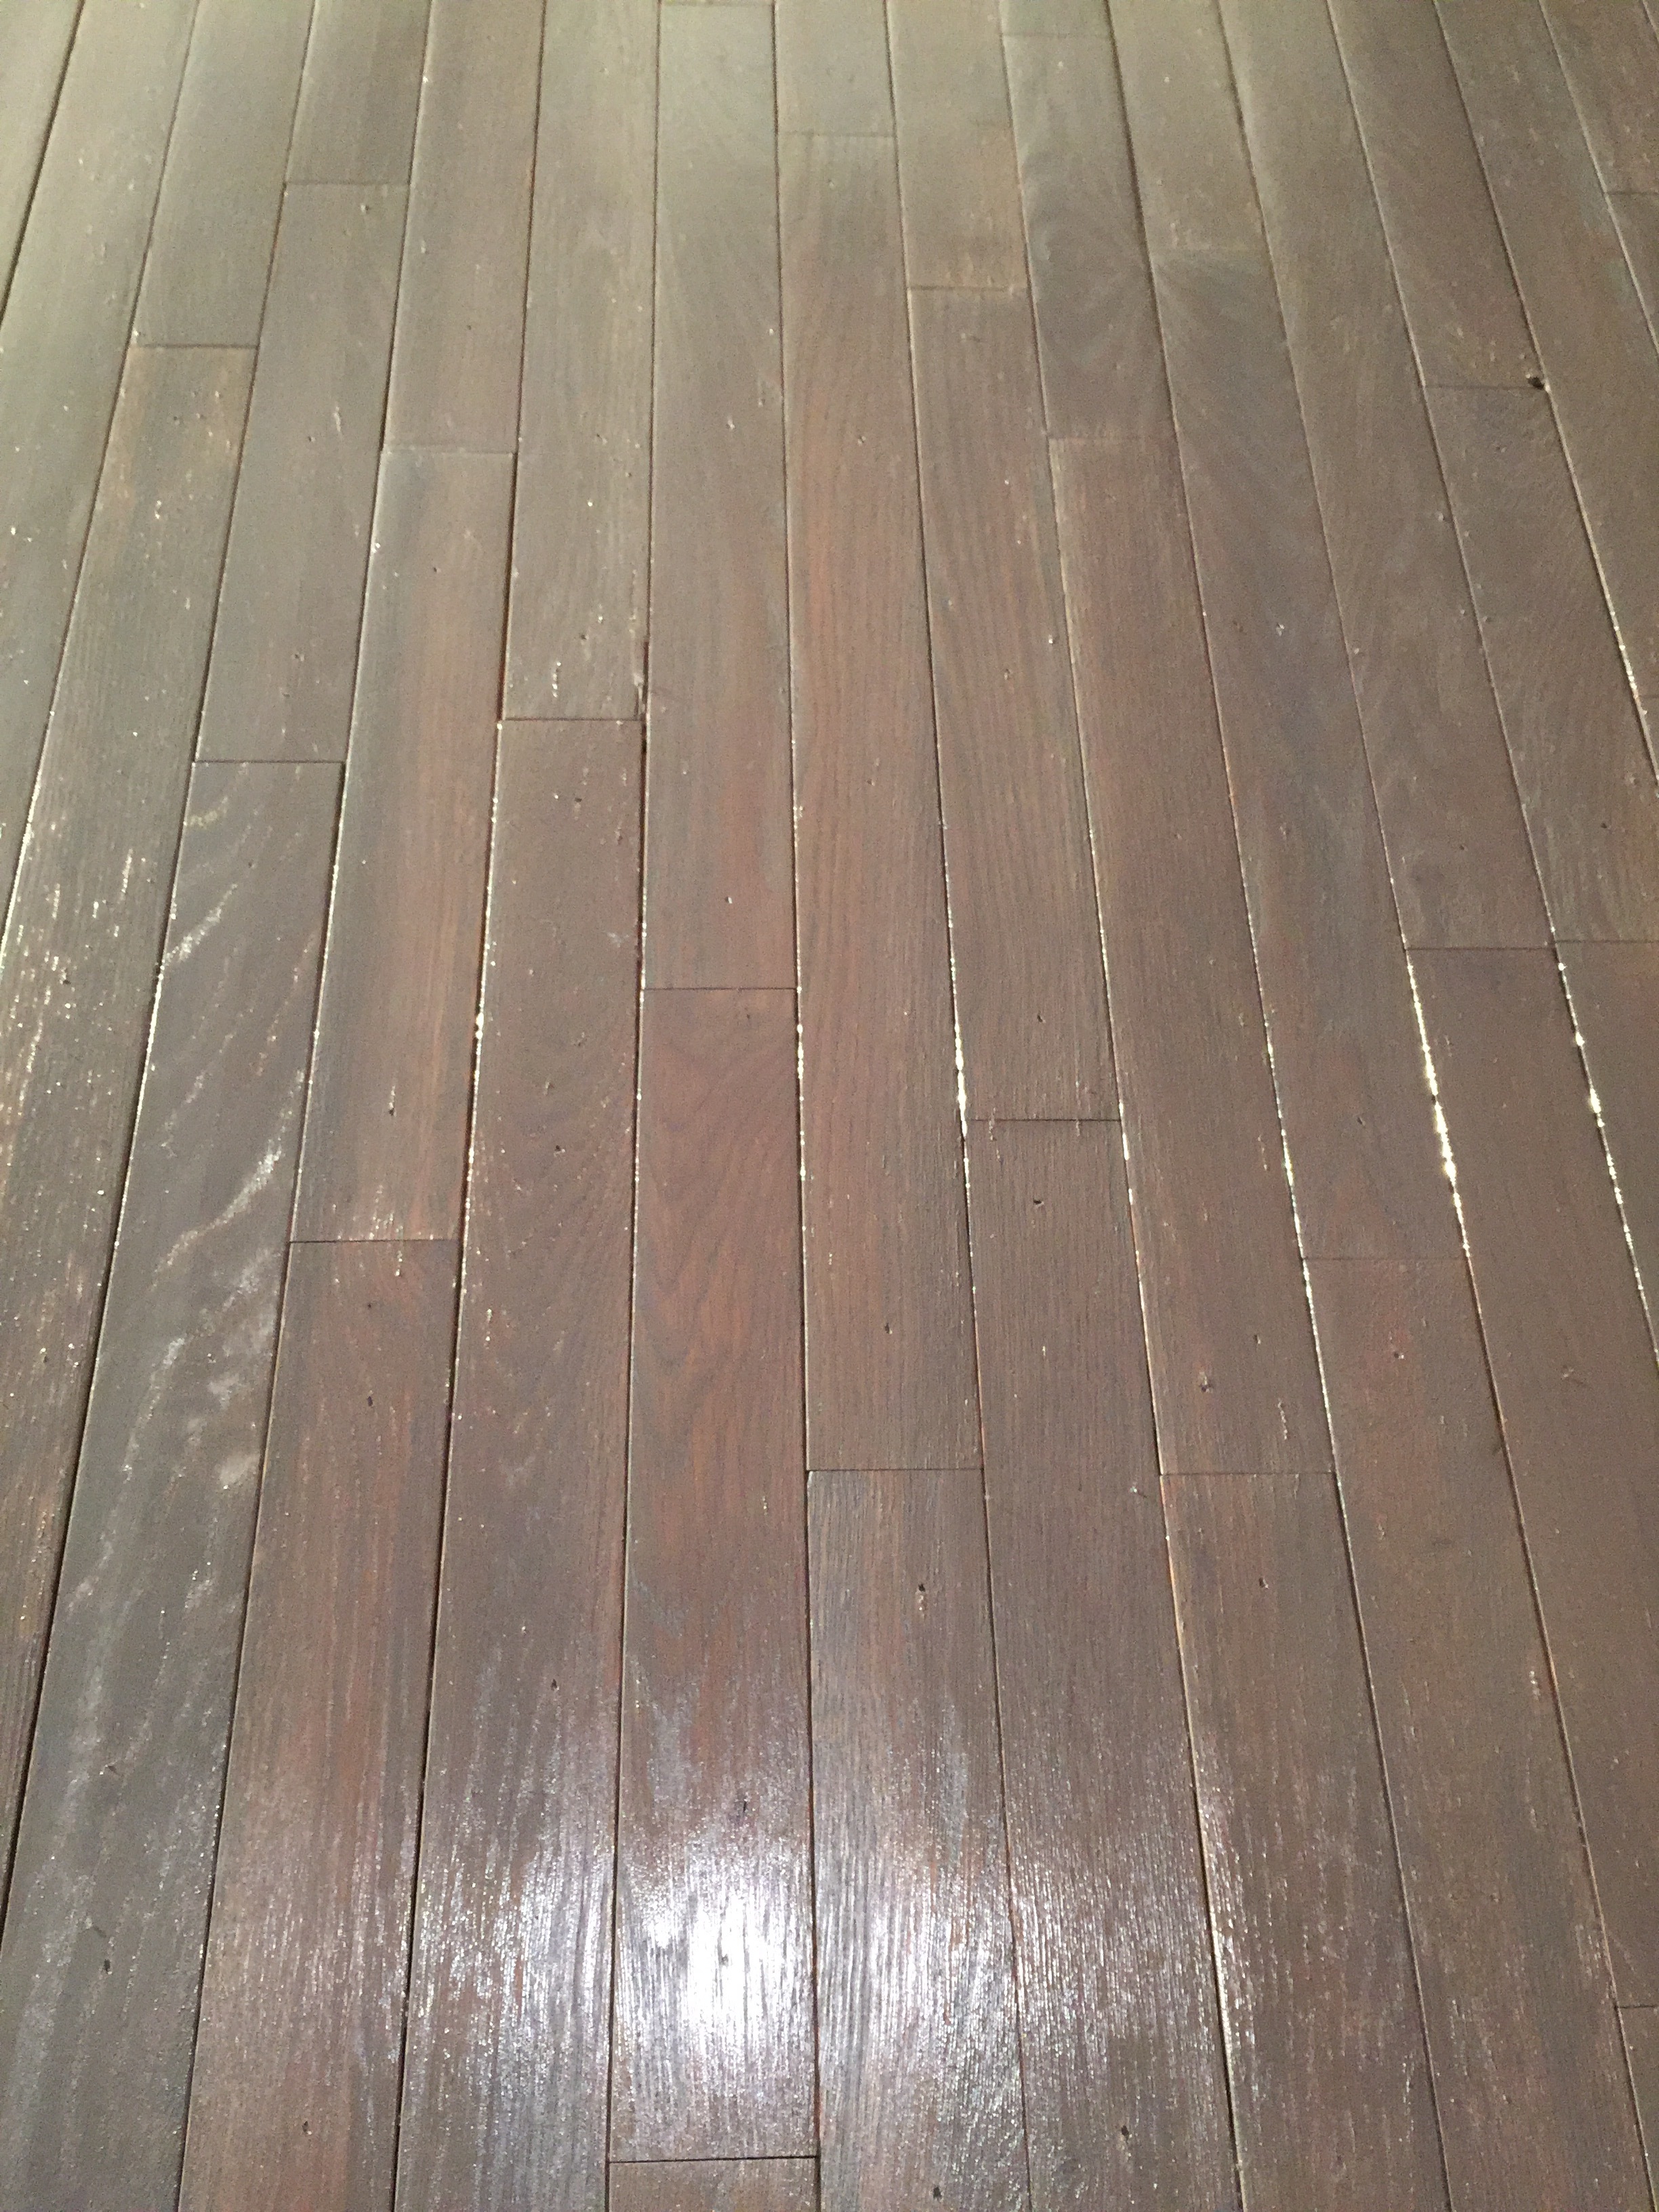
Patience is key with projects like this. I have no patience at all, and had a brand new 27in iMac 5K Retina sitting in the box waiting to be setup…it was there for the 2 weeks leading into this project and its completion. But honestly, we couldn’t be happier with how it turned out.
Another important area of our office space was both a bookshelf and storage! Since we both love to read we have plenty of books that need homes. To add a fun element to the room we made our books color coordinated throughout the shelving unit. The bottom two shelves have kids books and no they don’t stay in order all the time?only when we have our home photographed or maybe if we’ve got people coming over! Both our bookshelf and storage is from Ikea. I went ahead and linked everything in the room below for you! For the storage drawers I really wanted to jazz up the feel. So Michael helped make that happen with a little gold paint!
Happy working!
Much love-
danielle & michael
xoxo

Clark + Aldine is fully licensed and insured.
© 2024 Clark + Aldine | Interior Design Websites by Formcode | Privacy Policy · Terms and Conditions