Close
So here we are at the end of August and it’s been a minute since I last posted on here. Needless to say life has lead us down some new paths these past few weeks, but all for the better. I’ll get into more of that later, but for now I want to talk to you all about our kitchen. As a foodie having a kitchen space I love was for sure high on my wishlist when hunting for a house. But as with every house hunt not every wish is granted. So you’ve got to make the best of what you’ve got. Today we are here to show you just how we did that.
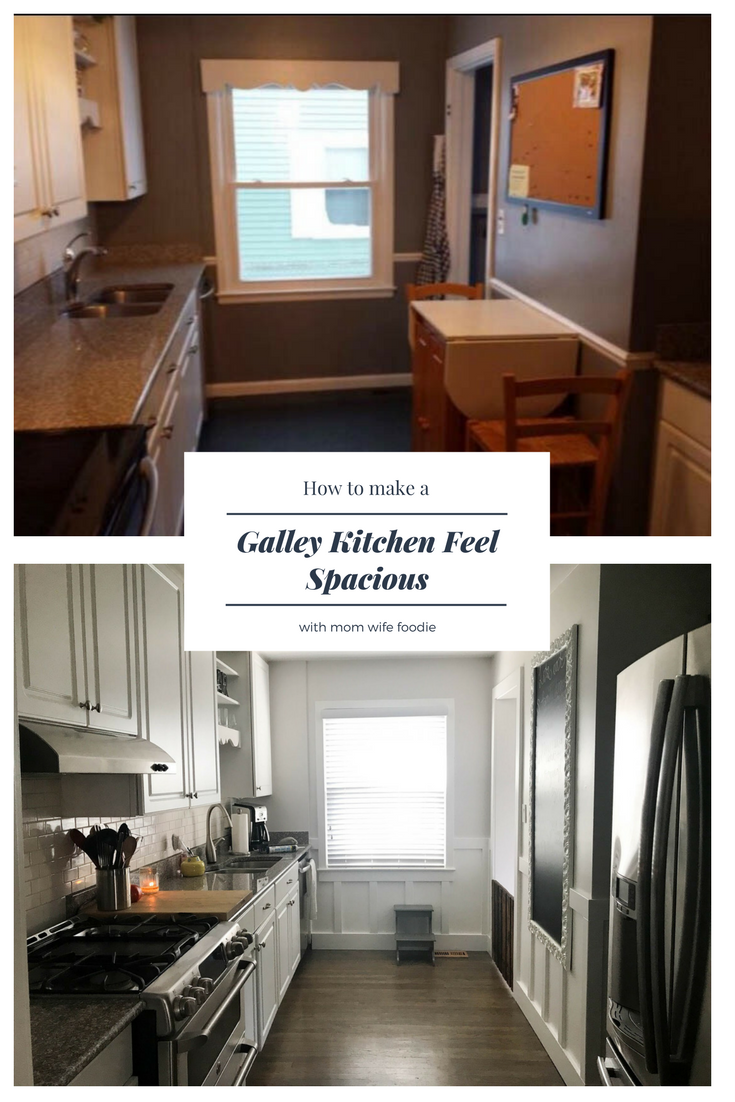
Here’s a look at what our galley kitchen looked like on our walk-thru when we first decided to buy our home. My first thoughts were “this kitchen is closed-in and dark, who wants to cook in here?”
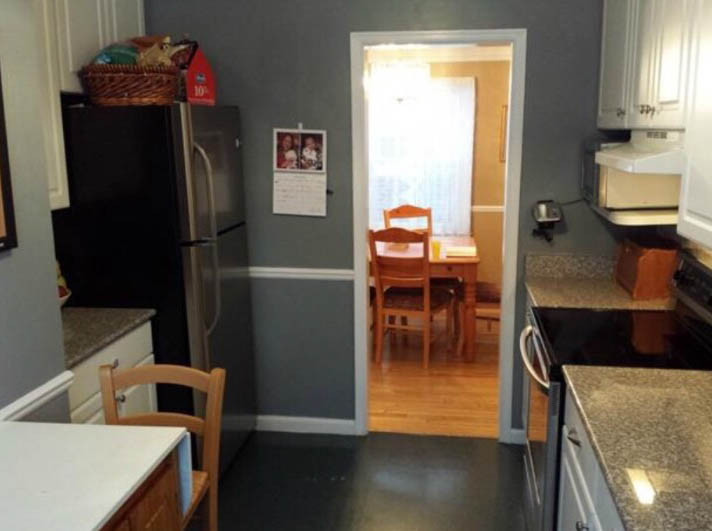
Kitchen (before)
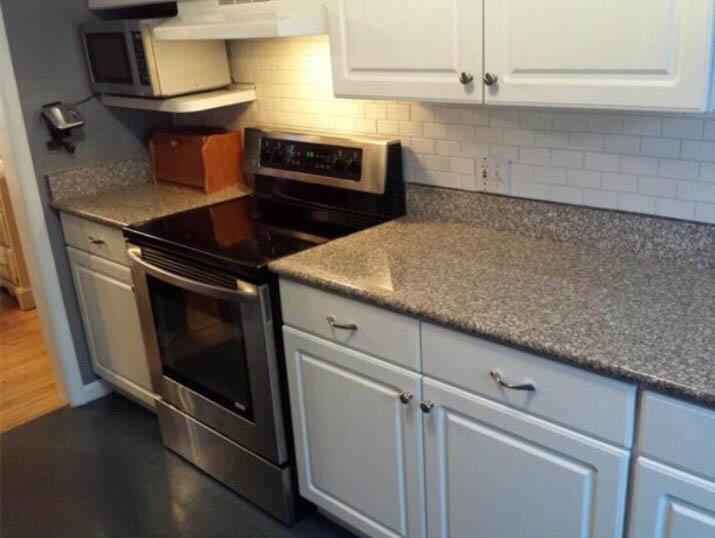
Kitchen (before)
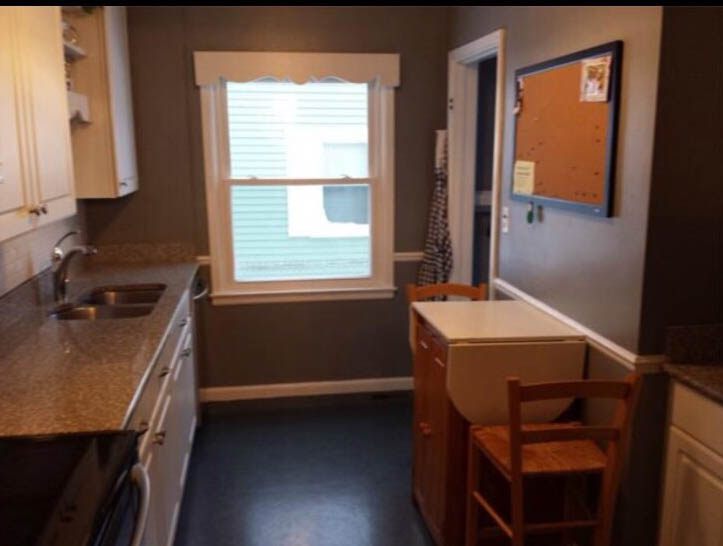
Kitchen (before)
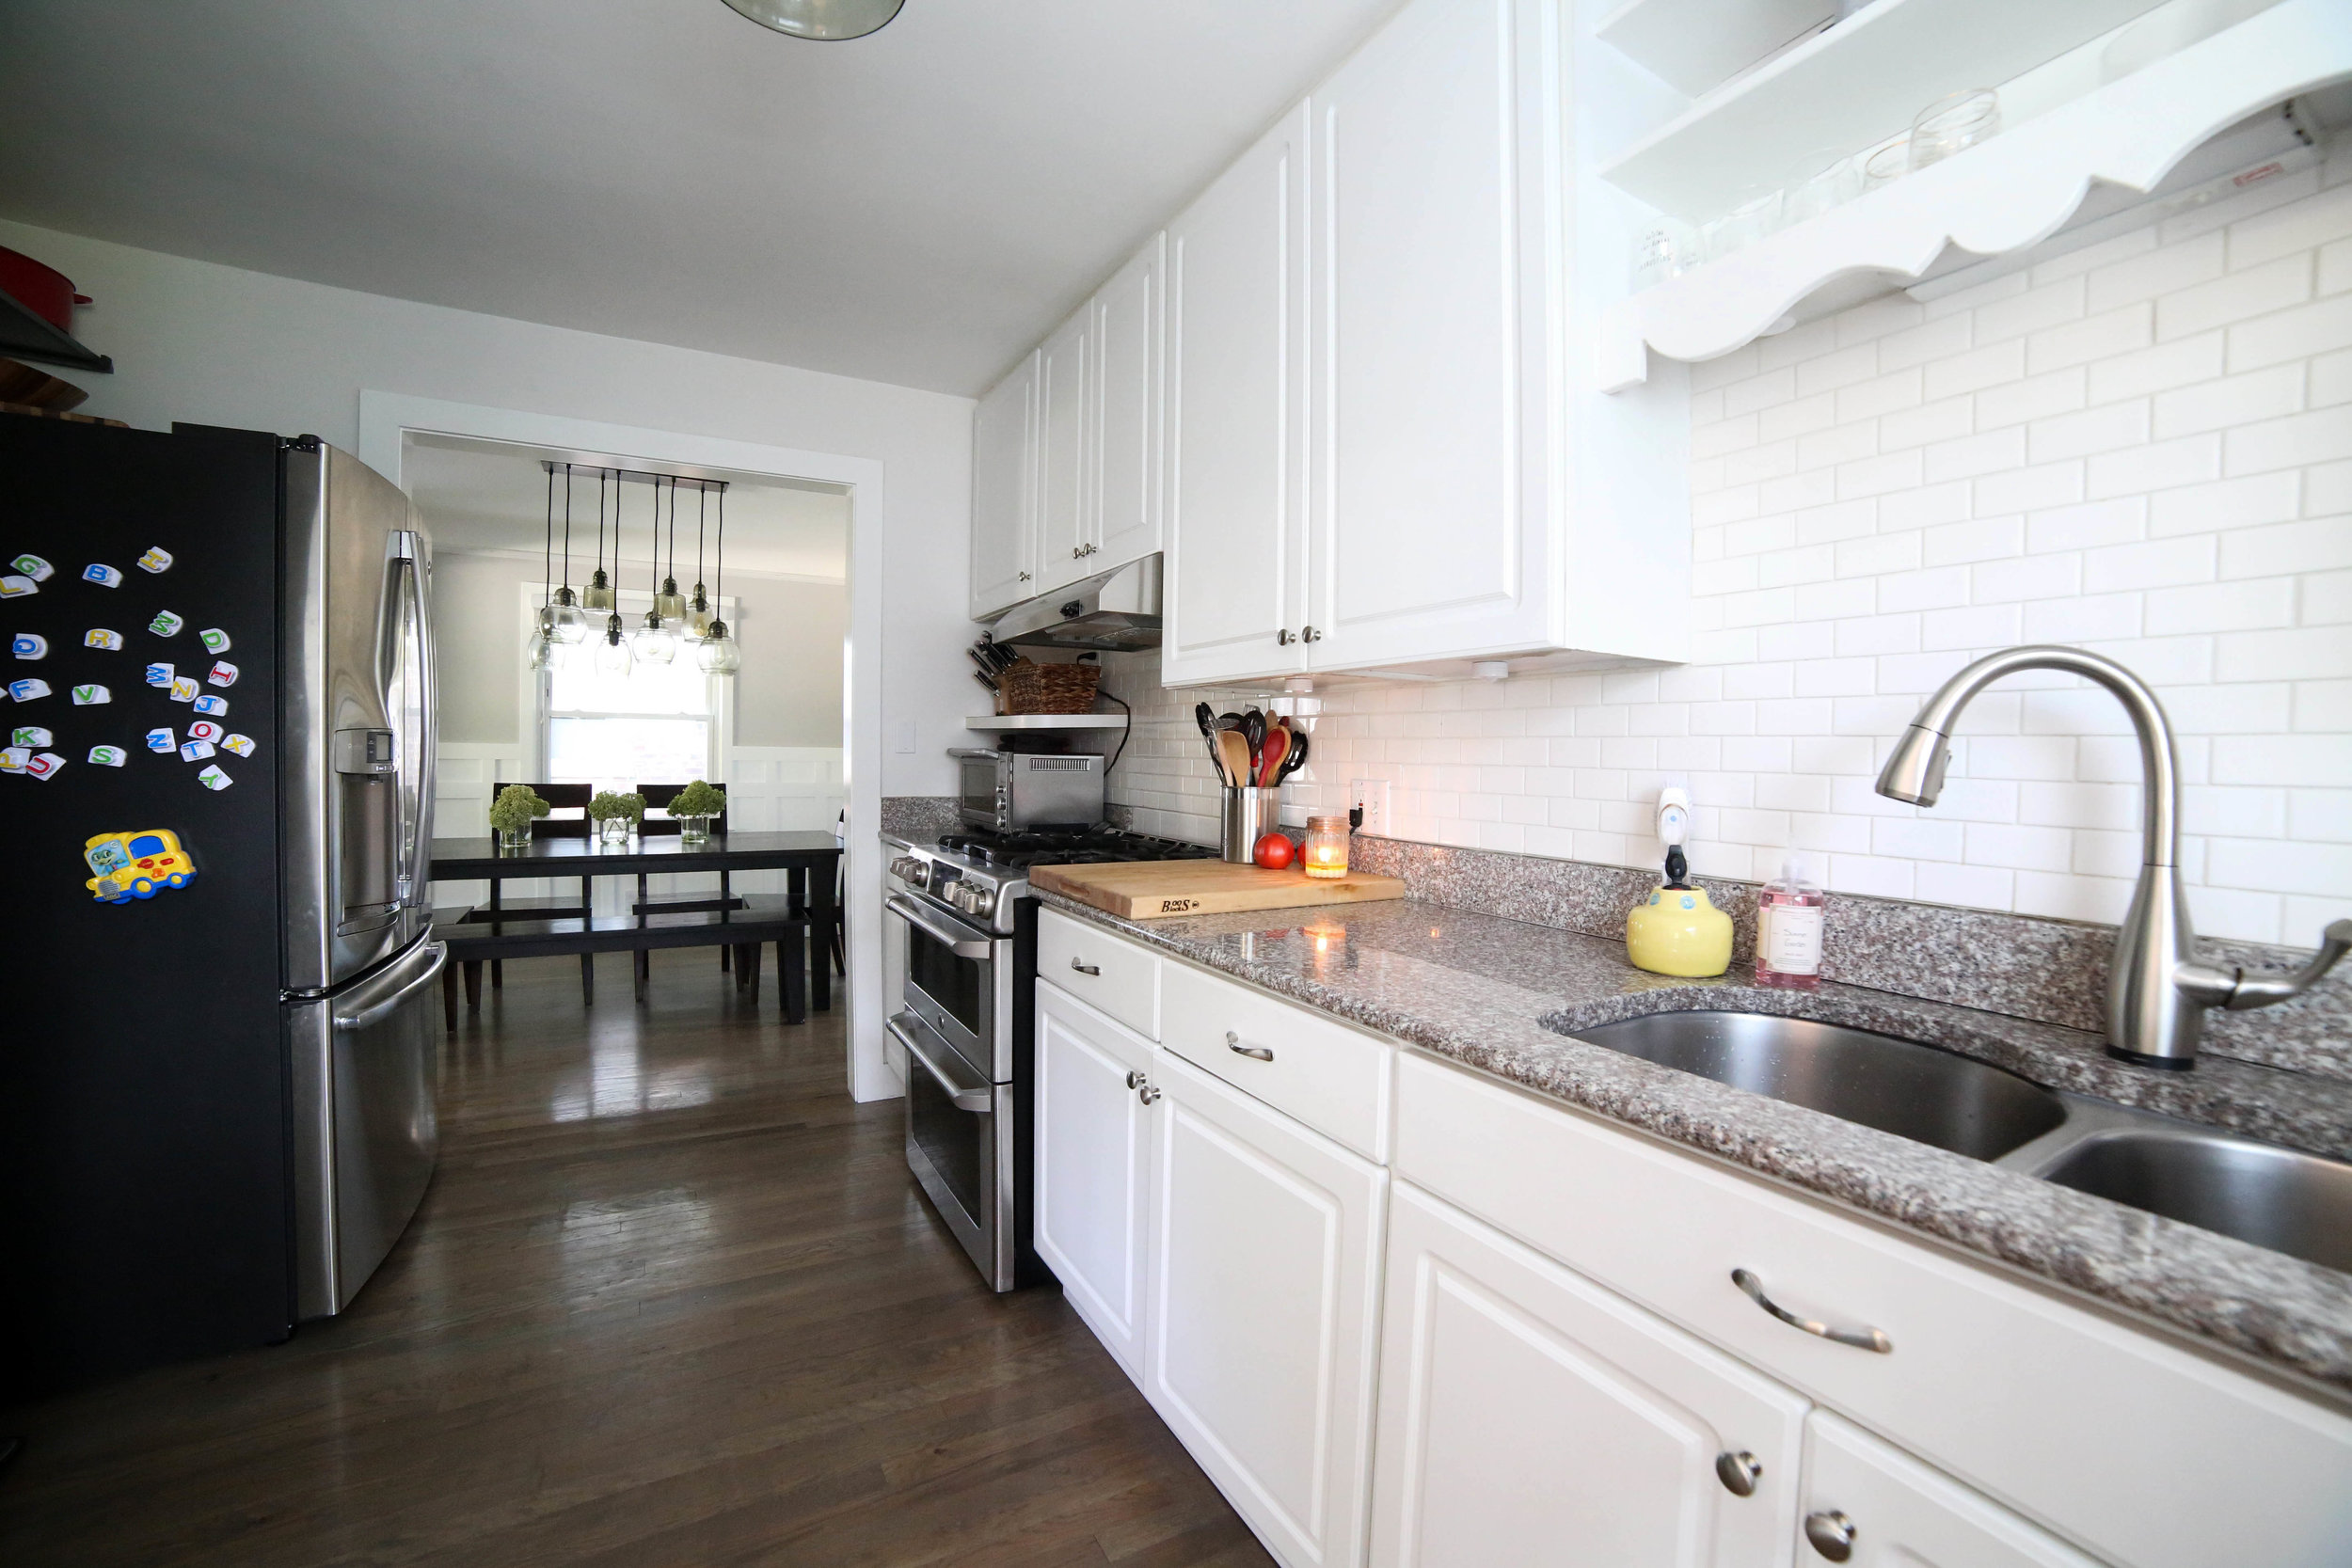
Well with just a few adjustments we’ve turned what felt like a boring galley kitchen into a bright open space! Let’s take a look at some before and afters shots and how we made the magic happen!
The first thing we did to help lighten the space was open up the entry wall and change the flooring. Yes, I am not going to lie this was a HUGE task. Michael can share some details with you on how he made that happen!
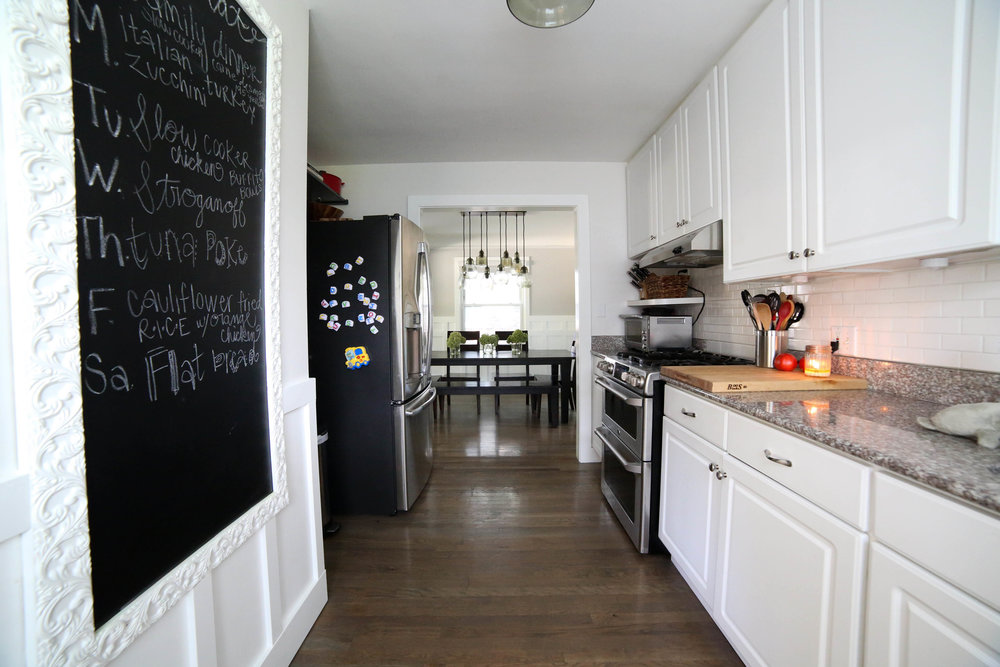
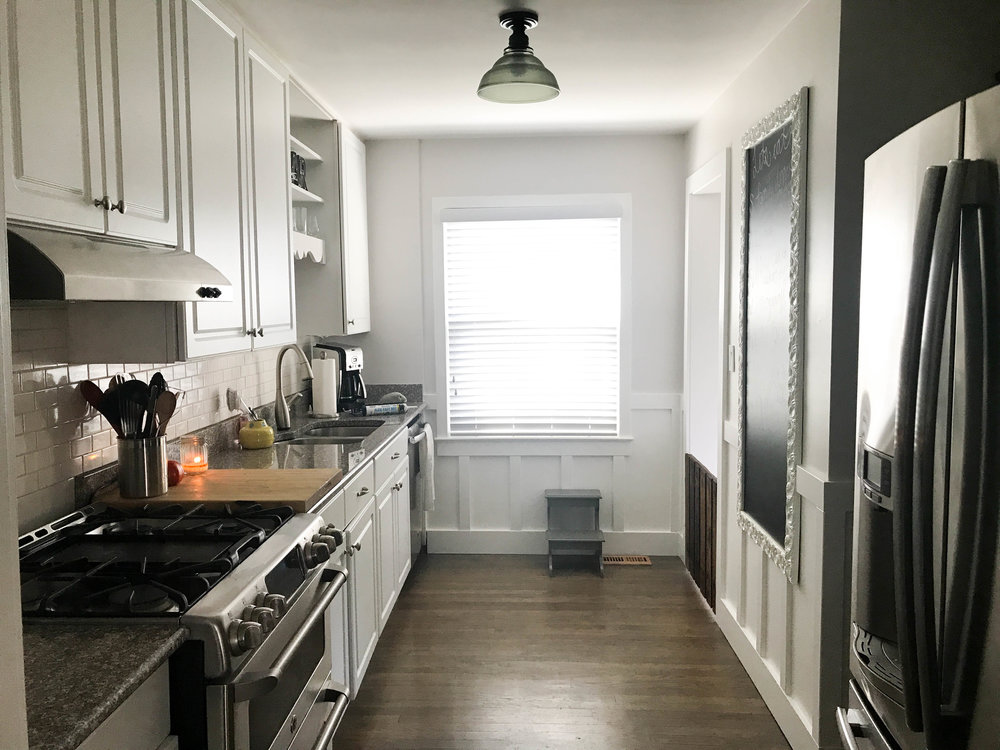
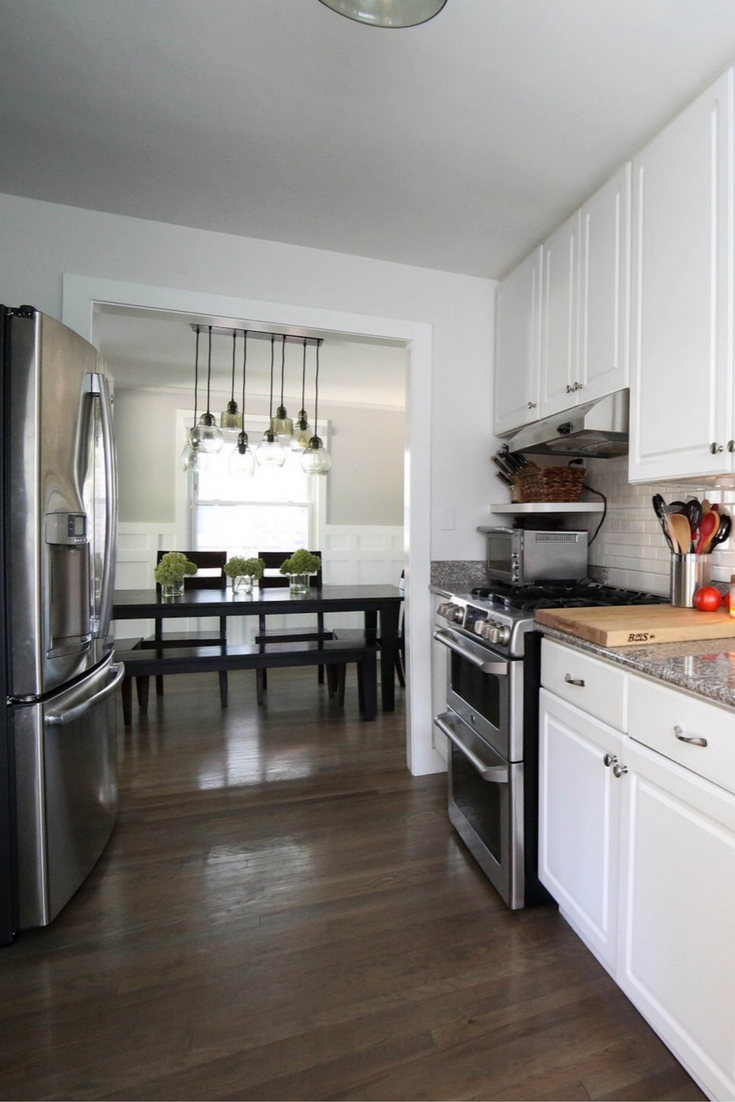
So…this wasn’t my first rodeo. As some of you may already know I used to build custom homes and have retained the skills and passion. The first thing I did was open the wall between the kitchen and dining area. This served two main purposes – allow for more light from windows on opposite walls, and make room for a large refrigerator doors to swing into the dining room when opened. Once the wall was opened and framed, I began tearing up the old floors…and it took what seemed like forever. There was a shotty layer of laminate tile, followed by 2 layers of sub flooring. And because we did not want to remove any of the cabinetry to rip up the floors I had to cut out around each cabinet and tear away from there. Fun times.
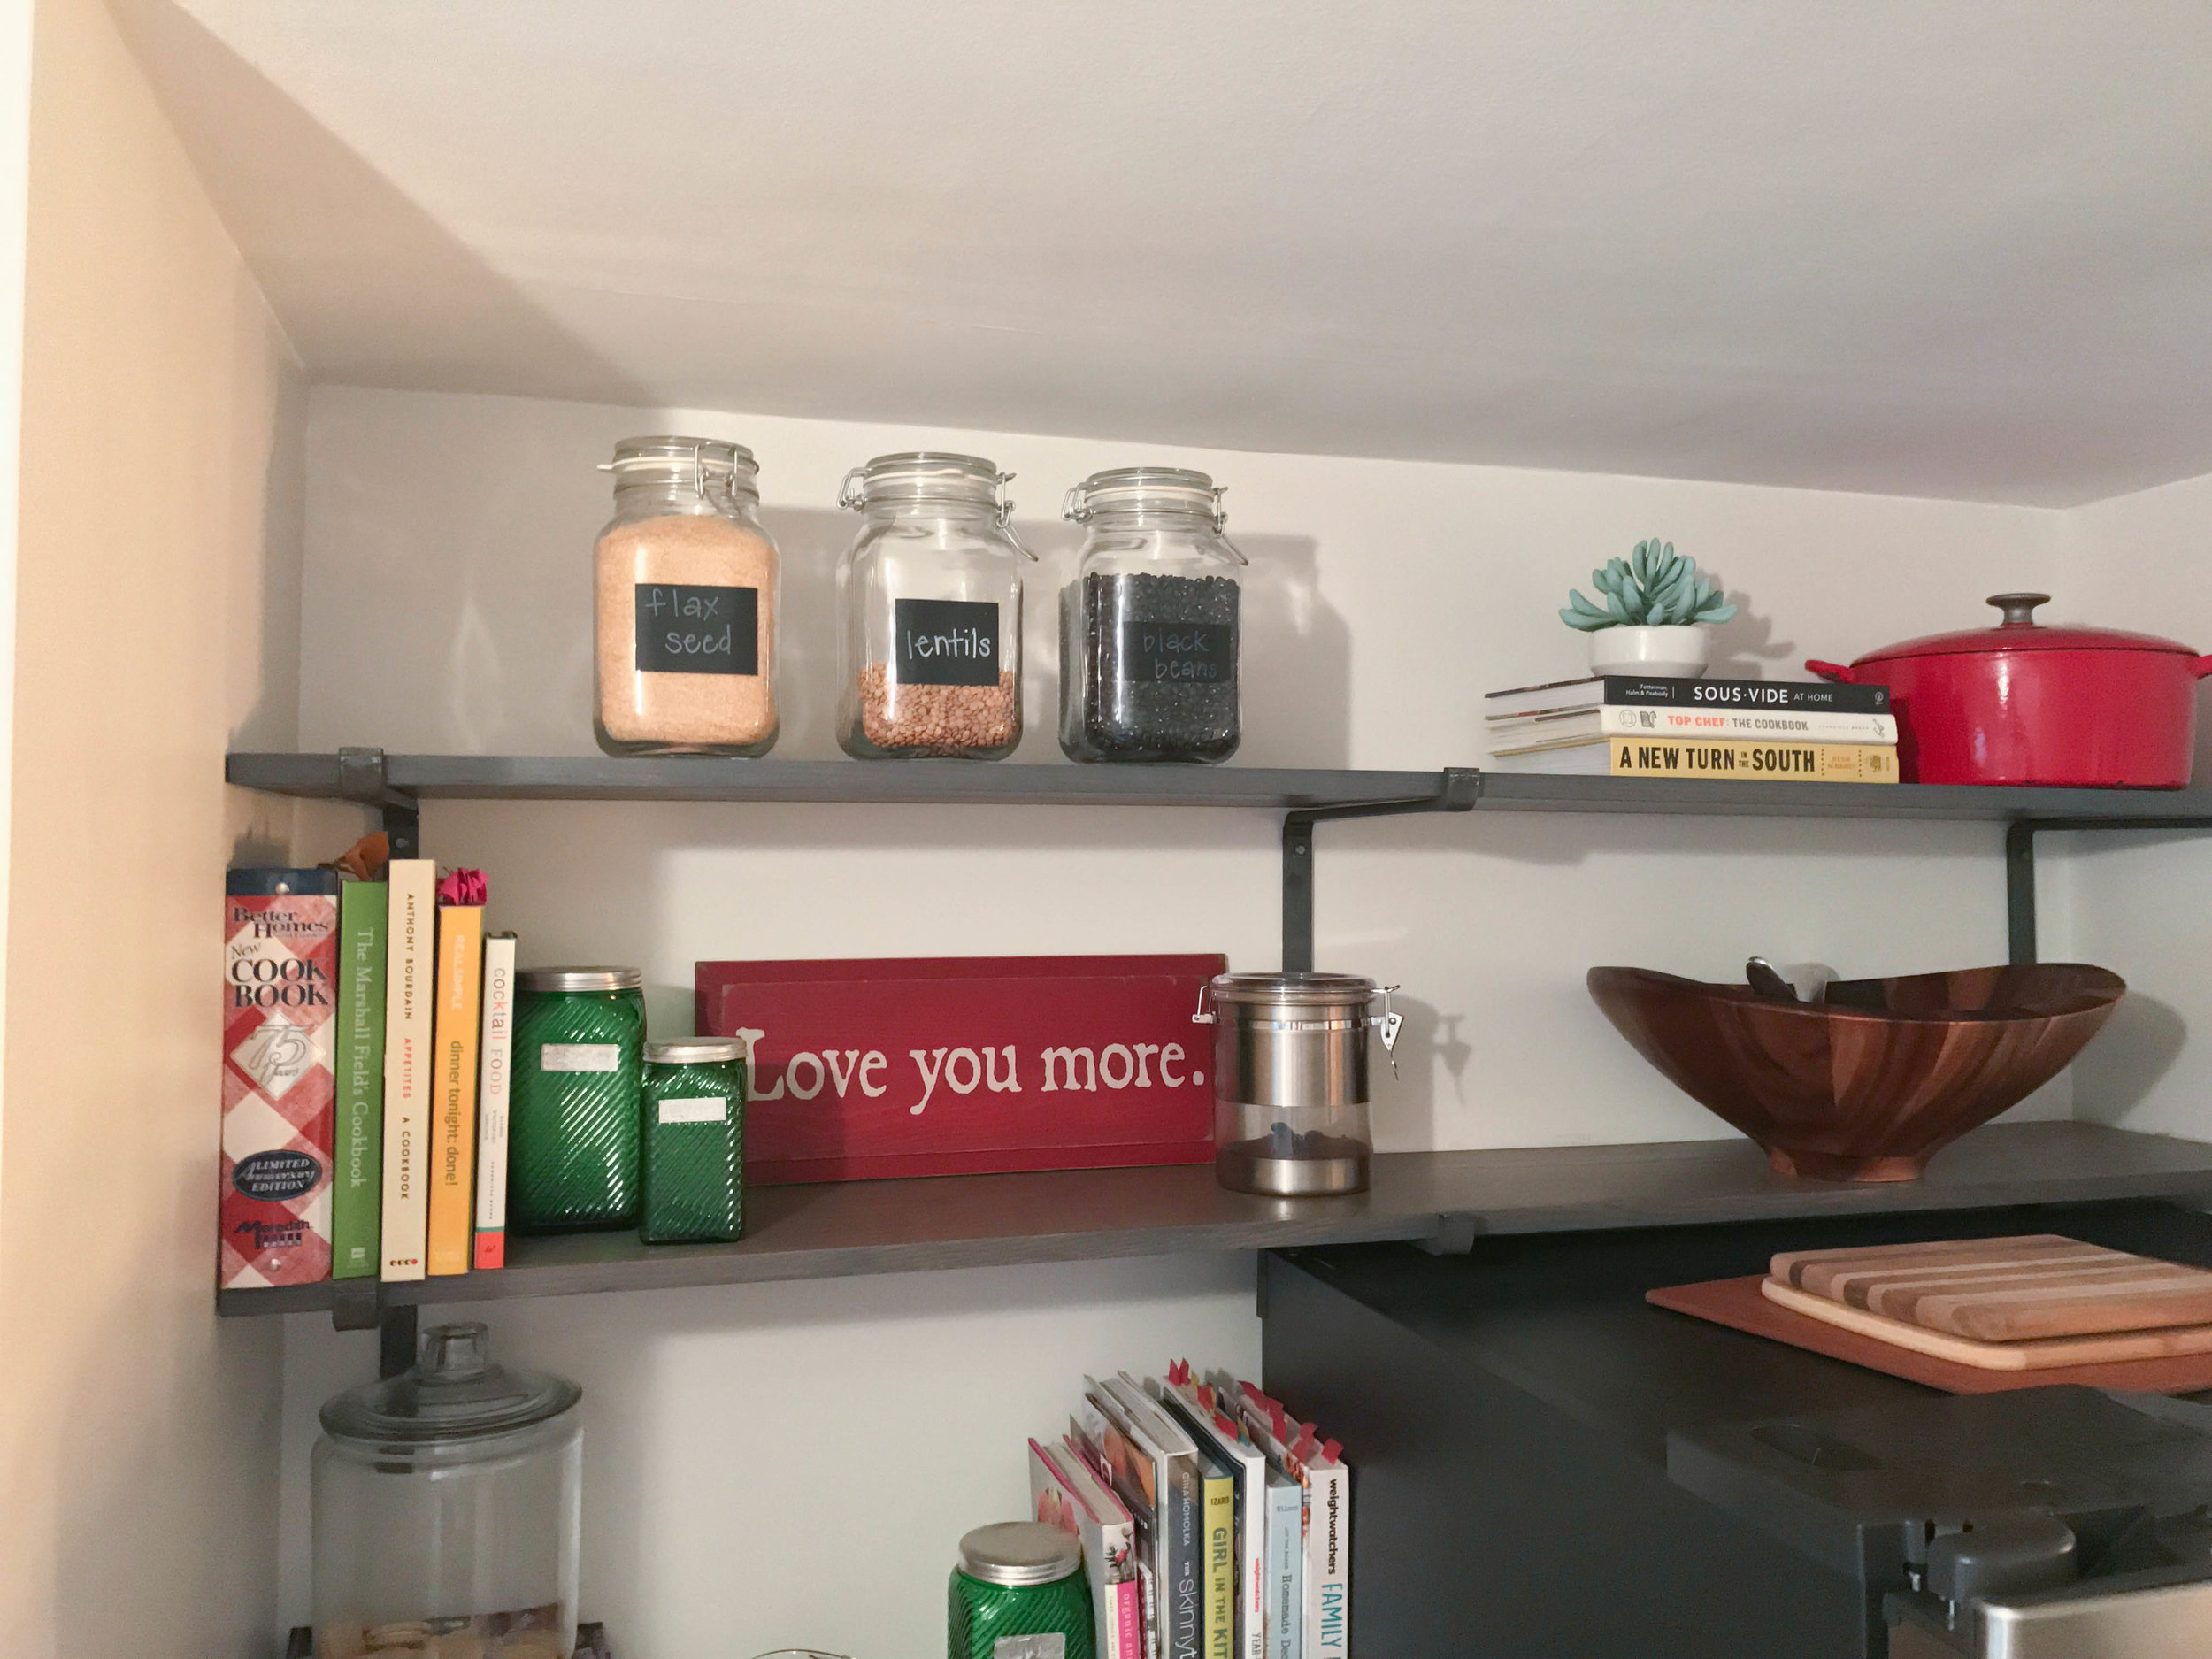
Once we had these two big projects done it was time to add some open shelving. We went with open shelving on the opposite side of the cabinets (on the refrigerator wall) to make the space appear larger and more open. Plus the practicality to open shelving allowed us to house cook books (my favorite),fresh fruit and vegetables and a larger bottom shelf to house our microwave. Some personal touches include vintage storage containers from both of our grandmothers in green and we wanted to be able to showcase these!
To help lighten the space we decided to paint the room white. We went with a white paint from Behr called Frost that has slight gray undertone to help pull in our color palette with flooring and the dining room area.
Finally, we wrapped up the space with custom board and batten with a large vertical chalk board. I am going to turn this one over to Michael again to give you a little more detail regarding how he made the chalkboard appear built-in amongst the board and pattern.
Board and batten is a great way to draw the eye to a space and create a glamorous finish. I first measured the space (and per usual, added an additional 10% to account for error) to ensure I purchased enough product. For this space I used 2.5 inch pre-finished MDF board, a size typically used for window casing (yup, we used the same material on all of the windows throughout our home). The vertical MDF is a hair thinner than our 5.5 inch pre-finished base boards throughout the house, adding additional depth to the space.
Before I installed the trim we went hunting for a chalk board. Actually, that is a lie. We stumbled upon it randomly at Home Goods and knew it was perfect for the space. When we brought it home I went to work on customizing it for a flush mount installation. There were 3 horizontal boards on the backside, serving as braces for the piece. I removed those, predrilled 6 holes for screws with a small bit and followed with a larger bit to allow for the screws to be counter-sunk. Danielle and I then leveled the chalk board and mounted on the wall.
Once the chalk board was installed I created a base line and began installing the horizontal board and batten on each wall. Taking a quick step back – I wanted to ensure the hight of the top board would allow the lowest of the open shelves to sit on the edge when installed. It’s just the added touch that we wanted. So, back to it. Once the horizontal board was installed I began measuring out the vertical boards and installed from there with my brad nailer. Filled the holes with white wood puddy, caulked every edge, sanded and painted with Behr Ultra Pure White paint. It turned out pretty rad and dramatically transformed the space!
So there you have it. That’s how we transformed our galley sized kitchen into a more spacious kitchen! Stay tuned for Tuesday next week as we share how we transformed another part of our house.
much love,
Danielle (and Michael)
xoxo

Clark + Aldine is fully licensed and insured.
© 2024 Clark + Aldine | Interior Design Websites by Formcode | Privacy Policy · Terms and Conditions