Close
Welcome back to week 4 of the One Room Challenge. This season we are bringing you along for the ride as if you’re our client. Week 1 we gave you an idea of what the space looks like. Week 2 we broke down our space planning and rendering phase. And last week was all about design. This week we are ready to bring you into the build out phase which includes everyone’s favorite around here…demo day.
If you’re finding us for the first time from the One Room Challenge, welcome! We’re Danielle and Michael Gutelli and together we’re Clark + Aldine, a design-to-build collective in Plymouth, MI.
Clark + Aldine is named after the Chicago streets where we first met, and was born out of a love for purposeful design and everyday functionality. What we didn’t know then was that our passion and design influence would continue to grow, and we would soon leave our established careers to pursue Clark + Aldine full time. But like they say, when you know, you know! Learn more about us.
Let’s get into it!
It’s demo day. Sometimes we do demo while our clients are home and/or staying in the homes and other times we do it when they are gone. I bet you can guess what we prefer! Regardless of that scenario we always make sure to prep the space so all of the existing structure and furniture is protected. We pride ourselves in running and operating a clean jobsite so that our clients always feel like their home is still their home, even when we have spaces torn apart.
Every project looks a little different from a demo perspective, but this particular project is pretty common for us. This full bathroom is getting a full remodel from top to bottom. Everything is going to be brand new and the shower will be expanded, stealing space currently occupied by the laundry room (which is relocating to a separate section of the home). That means all flooring, fixtures, drywall, shower walls, jacuzzi tub, toilet and lighting is coming out. It is a big job but one that we can knock out in a day no problem.
We start by removing all of the larger fixtures – vanity, toilet and tub. Then we move on to the shower, light fixtures, accessories such as towel bars, and the drywall. Once all of that is out and cleaned up we start on the floor. Most bathrooms have tile floors which will require a hammer drill and demo bar (a very large crowbar) to break it up. Demanding how it was laid the tile can come up easily, or be a timely job that is stressful on your body. This one was the latter…and it was rough.
The last thing we do during demo is make sure that any nails/screws/staples are removed from the floor and studs, any glue is scraped off and everything is vacuum thoroughly. Once this is all done we’re ready to move on to the rough-in stage.
Coming in after demo day requires a good night sleep, especially if you had to discard all of the refuse from the demo in a dumpster off site, which is what we do. A little coffee doesn’t hurt either!
Rough in is a very strategic process for us. While some of the heavy lifting can be done in space and elevation plans, you always need to triple check where all components are being placed. The first thing we do is measure the open space once everything is ripped out. This project called for framing to be done for the larger shower space which is where we started. Once the new shower walls and custom niche were in place, we had to relocate the drain and run all of the new plumbing for the shower, vanity and soaker tub. Fortunately for us the basement is not finished so we had easy access to the existing drain and water lines.
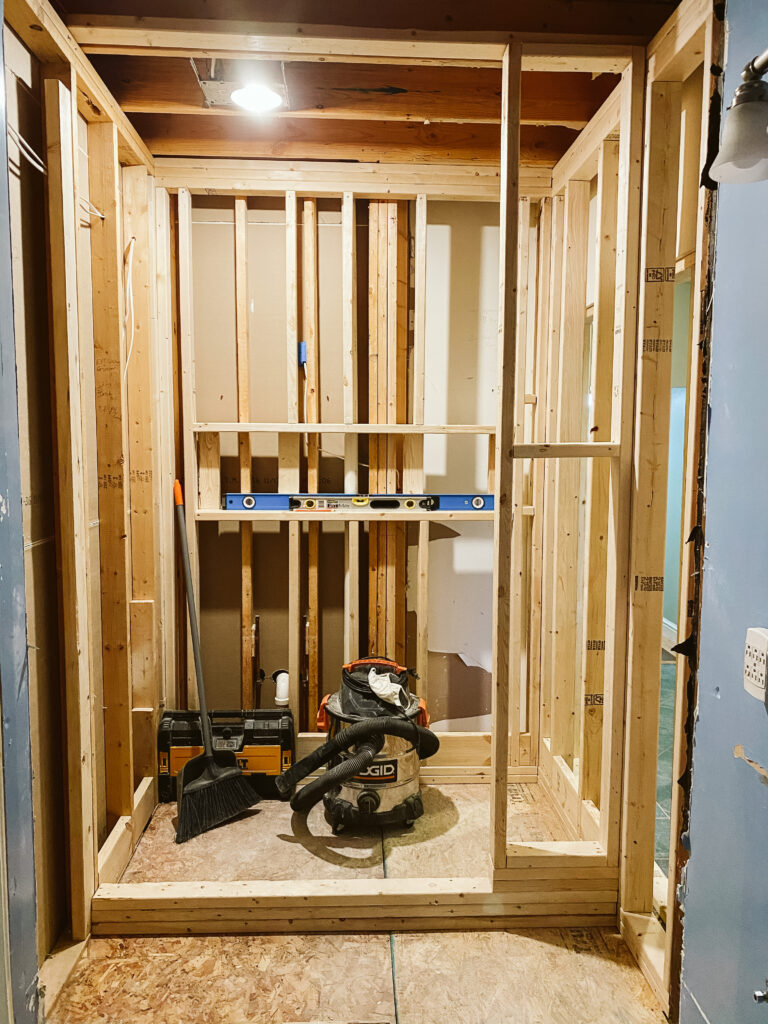
Electrical was limited on this project, but it is always something we pay close attention to. The prior layout had one wall mounted fixture above the mirror, and we were replacing that with two wall mounted lights on either side of a large medicine cabinet and mirror. We found our center by measuring where the vanity footprint would be off of the exterior shower wall, followed by the center of the toilet and exterior of the soaker tub. Precision is key here, as there is no room for error – a ¼ inch off is noticeable to us and we won’t stand for it.
With all of the rough in completed and approved via inspectors (if the job calls for it) we move on to the finish work. This particular job consisted of first installing the new soaker tub followed by drywall installation (install, tape, mud and sand), primer and paint and tiling. The tile on this job was a HUGE project as it is a large space with varying tiles and patterns. What would typically be a 3 day process was 6 days due to the intricacy of it.
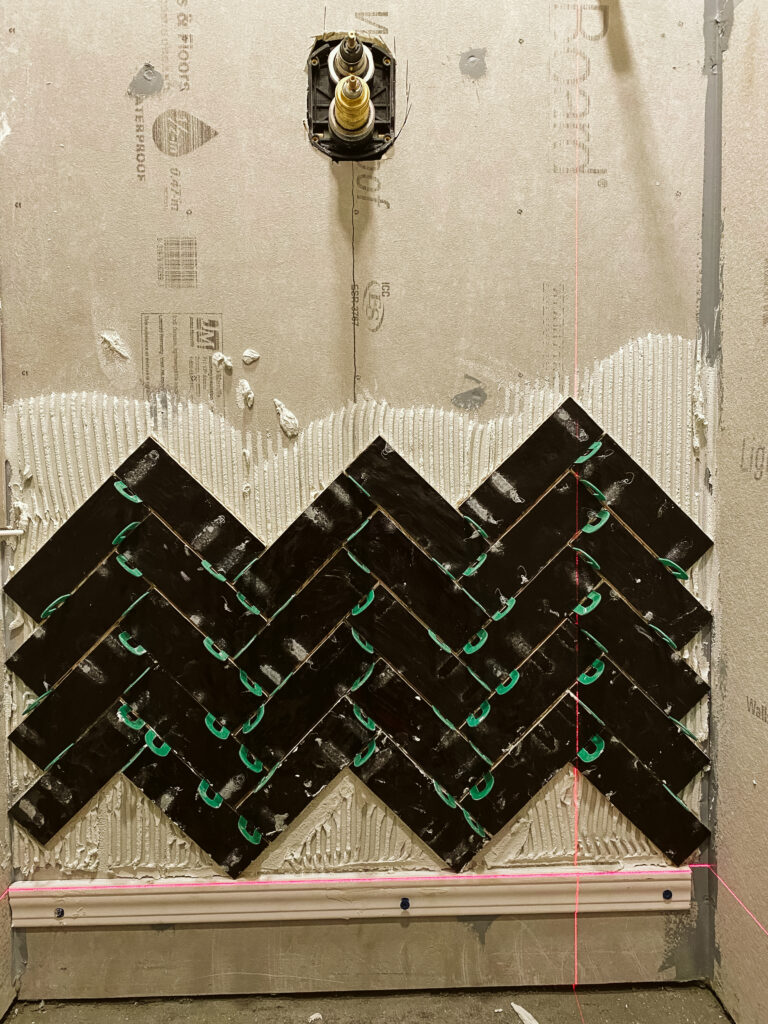
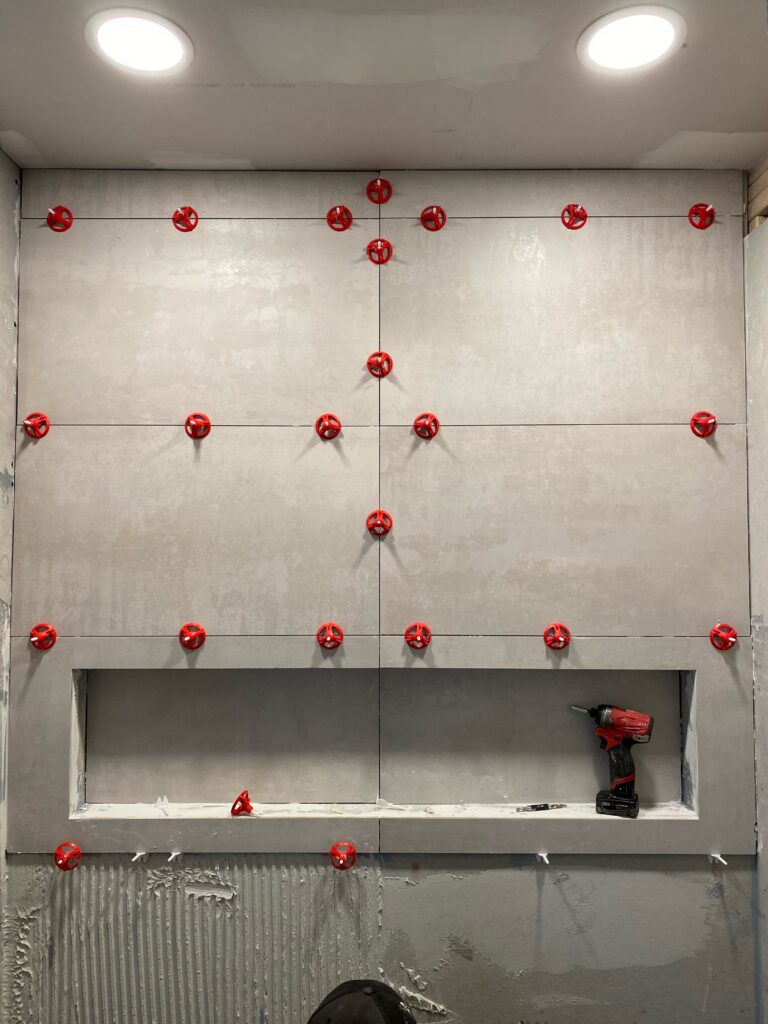
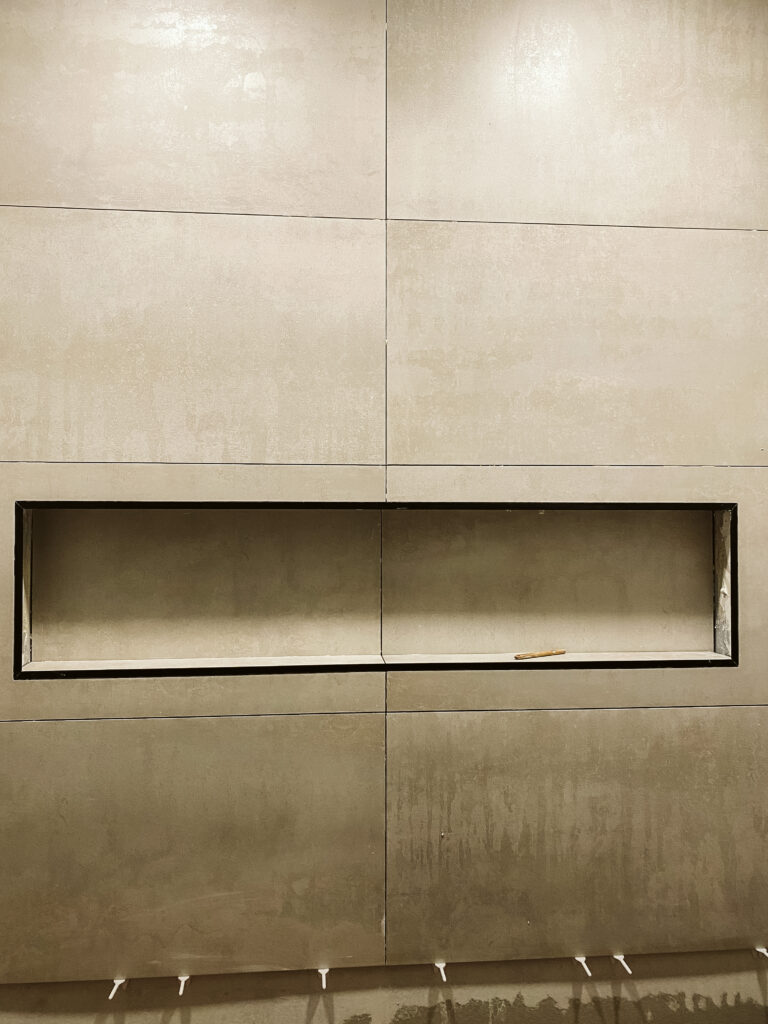
This process is long and tedious, but there isn’t much to it. It just has to be spot on or it won’t be right.
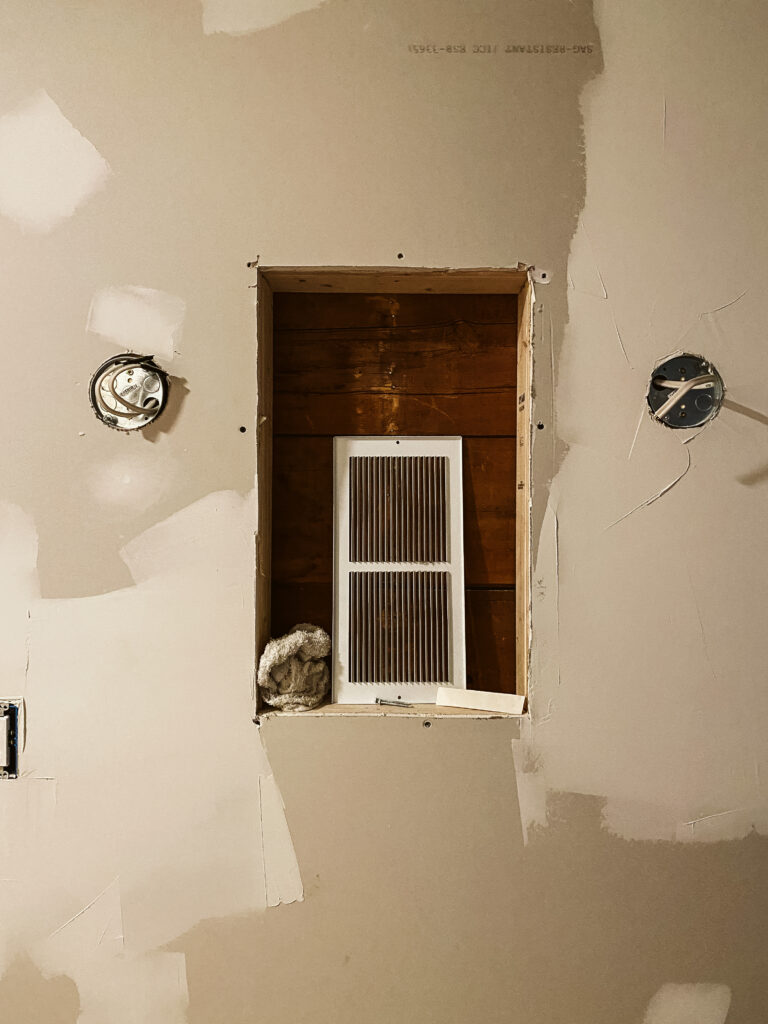
Ok now it is time for the magic to happen! It is install day, which is just as exciting as demo day…but it is not actually a day. Most often this is a 2 – 5 day process, again depending on the scope of the job. But since this gives away the full look and feel of the space…you’ll have to wait until the reveal!
For this full bathroom remodel we had a lot of components to install. Starting with the shower we had the trim kit and shower head, as well as a hand held head and a custom shower door to install. From there we moved on to the vanity and faucet, wall mounted sconces and medicine cabinet. Then we moved on to the bidet toilet, finishing with the soaking tub components. This one was tough as it has a warm air pump that we located under the tub in the basement on a custom shelf we fabricated This allowed our client to have full access to the pump, and allowed us to fully secure the tub skirt in place.
This is also the stage where touch ups and imperfections are caught and touched up. All silicone, grout caulk and finish caulk work is completed, and installation of any accessories is done as well. We always have a walk through with our clients to ensure items such as robe hooks and towel bars are at the most convenient height and location for their use.
That was a long one but we think that gives a solid idea of the process. Next week we will bring you into the styling phase of the process. Until then make sure to follow along on our Instagram page to get a full behind the scenes of exactly what is happening in the space and how we work with real life clients to make their Pinterest dreams into their reality.
Also, don’t forget to check out all the other amazing Guest Bloggers participating in this Fall’s ORC.
Much Love –


Clark + Aldine is fully licensed and insured.
© 2024 Clark + Aldine | Interior Design Websites by Formcode | Privacy Policy · Terms and Conditions