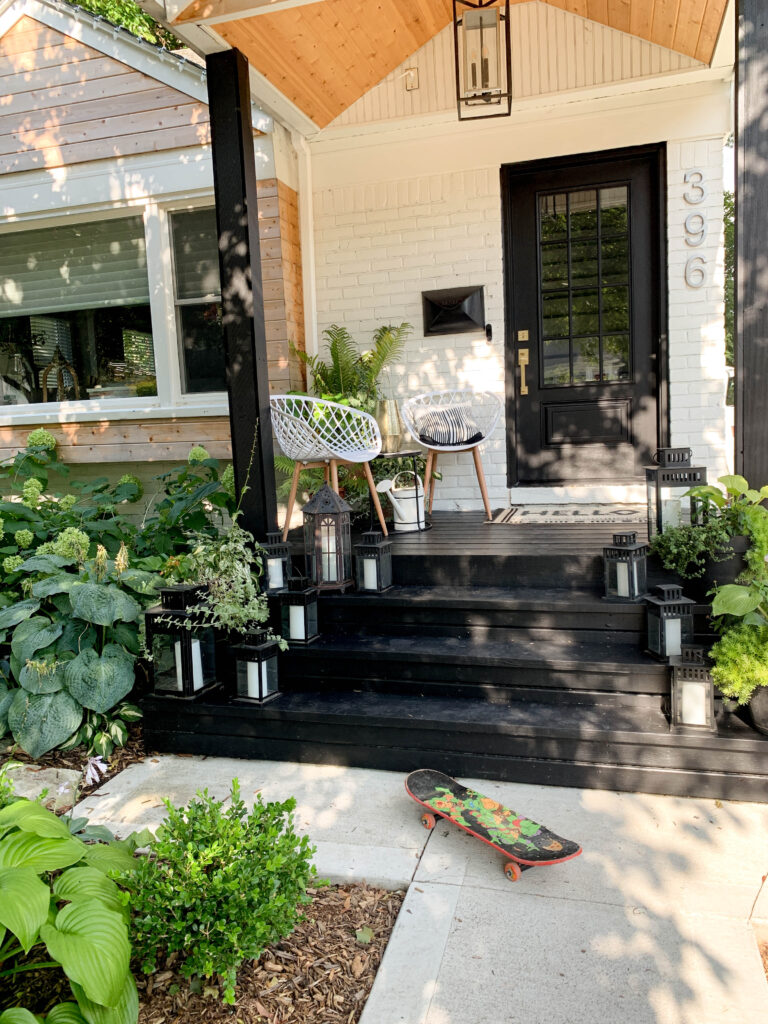
Paint my entire house in a weekend’s time? Really? Is that even possible?
Yup, pretty sure you may be asking yourself those questions. I mean, that is if you’re like me and find yourself having conversations with yourself…discussion for another time. But yes, you absolutely can accomplish a full exterior makeover from Friday evening to Sunday evening. I know this because we did it. And I want to share it with you. So here is our guide on how to paint your exterior on a weekend.
First, let’s be real. If you have a 4,000 sq ft house this may be a stretch. My gut tells me that your home falls somewhere between 1200 – 2500 sq ft…am I right? If so this post is for you. We started on Friday night with all of the prep work. We began by removing anything mounted to the house. These items consisted of the following:
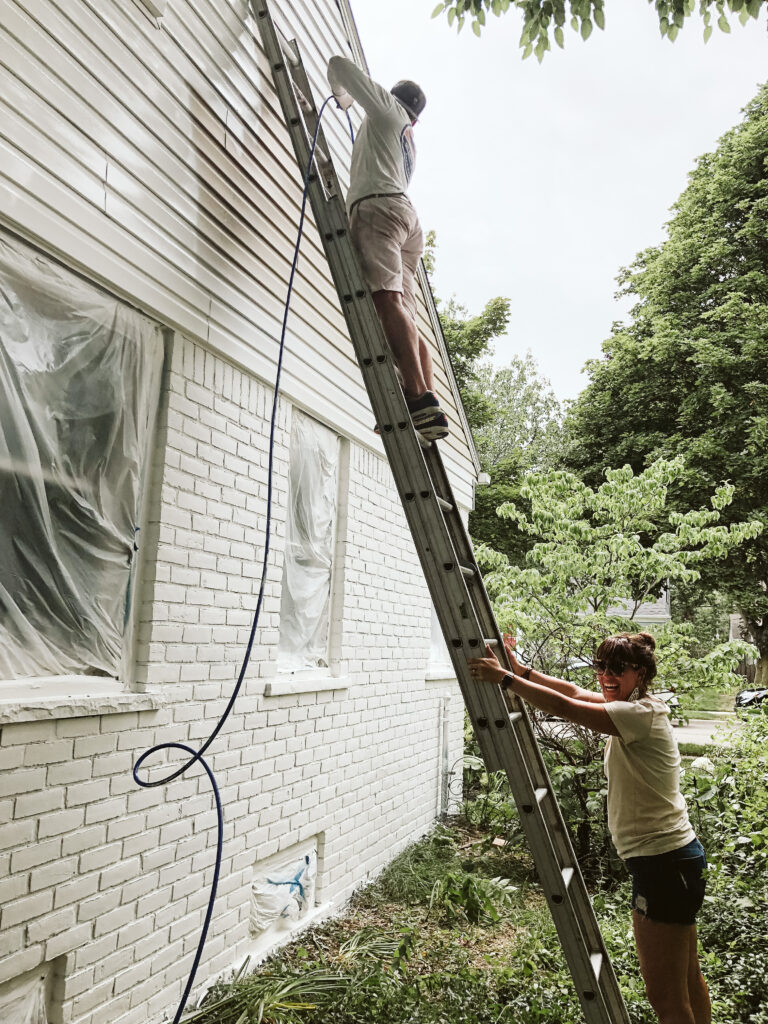
Now with everything removed you can begin the prep work. Start by taping off your windows. I like to place the tape firmly along the edges of the window frame, leaving enough space leftover to place clear plastic after the tape is run. Once all 4 side have tape cut a generous piece of clear plastic to fit inside the space. Starting with the top corner, adhere the tape to the plastic and work your way around until the plastic is fully in place. Then place an overlapping row of tape to reinforce the plastic in place.
Always get tape in place on the window or door first. This allows you to peel just a bit back so you can install your clear plastic. Doing this makes the process much quicker and more efficient than trying to cut plastic, hold it up in place and tape at the same time. It never works out right.
Once you have all of your windows covered go back and do the doors. Make sure to leave one of your doors accessible so you can get in and out. When you get to that door then you can break from priming or painting and cover it up good.
No matter if you have brick, stone, wood or vinyl siding on your home it is a good idea to apply a coat of primer before you paint. Primer provides a solid foundation for paint to be applied and adhere to successfully. It also covers a majority of imperfections. And when applying a fresh coat of paint to multiple surface types or colors, it allows the paint to blend well and last longer. This is especially true for surfaces that see a lot of weather, like here in Michigan.
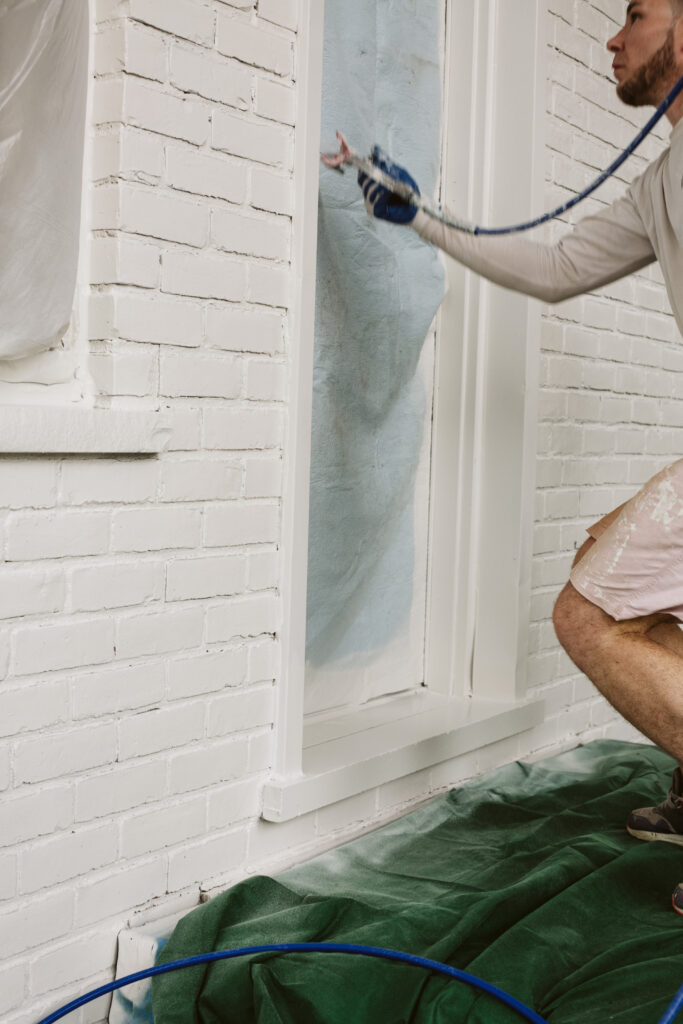
We used two different primers for the exterior of our home. For all of the brick we used Sherwin Williams LOXON Concrete & Masonry Primer/Sealer, and for the vinyl siding and wood garage we use Sherwin Williams Extreme Bond Primer. Both were applied with a paint sprayer moving from right to left, top to bottom until the entire house was primed. When you are spraying move from side to side, and when you reach the end of one side you want to make sure you flick your wrist out softly, and then softly back in. It is like a smooth sweeping motion side to side. This ensures that you smoothly transition one line to the next without paint build up. Maybe we will shoot a quick “flick of the wrist” video so you get the idea.
Any sprayer will do but I would recommend a pro machine that can handle the amount of paint you’re going to put through it. We have a few sprayers in the shop but the one we used was the Graco NOVA 390 PC Electric Airless Sprayer. This thing rocks it out and sprays super smooth.
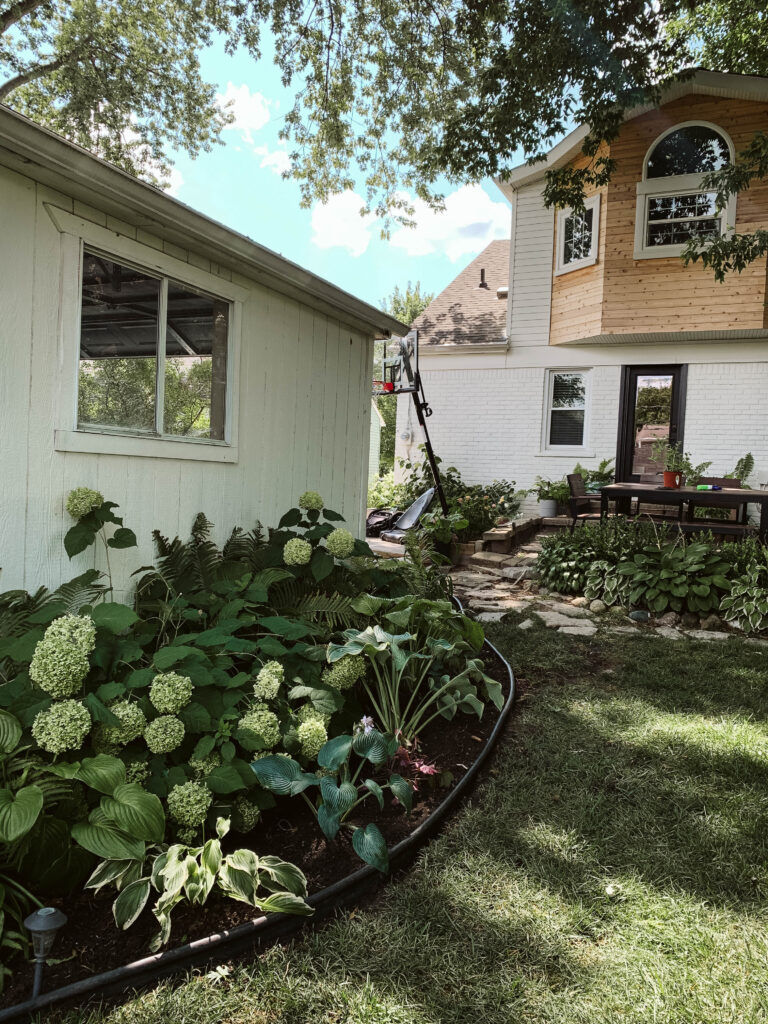
Ok, you now have everything prepped and primed. You should be extremely proud and confident going into the third step…PAINT. For us, the first coat of paint started right before lunch on Saturday and was completed on Saturday night. This included a full 1,800 sq ft house and 2-car detached garage. It takes a lot of time and patience when you are maneuvering around the entire exterior and being cognizant not to get paint on plants and flowers. Plus, paint should be more relaxing of a task…at least it is for me!
Take a large piece of cardboard or plywood, something at least 3’ x 3’, and test your sprayer. You want to make sure you have the perfect amount of pressure as you are applying your paint. The last thing you want is drippage and overspray. No need to go full pressure here…middle of the dial is what you are likely looking for.
Now for your 2nd coat. This only took me about 3 hours to do it all because I was already prepped, had a solid first coat of paint on top of a nice coat of primer…and I had a full night’s sleep. Take your time and dial it in. You may notice some spots that need to be touched up a bit, perhaps by hand with a brush, or just a quick touch with the sprayer. Make note of those and knock them out at the end. Your exterior is now refreshed with brand new paint!
First, let’s talk about cleaning your paint sprayer. I am not going to go into full detail about this because Graco has already done it! Check out their video on how to properly clean your paint sprayer. Oh, and you don’t have to have used a Graco to watch this…the same applies for any brand of paint sprayer. This needs to be done after every paint job. You do not need to do this between primer and paint if done in the same day, but at the end of that day it is necessary.
Next, it is time to remove all of the tape and plastic. I like to take my knife with a fresh blade and strike a light line at the edge of the tape. This allows a clean break from the freshly painted surface and the tape, and eliminates any paint being pulled off of the surface. Be gentle and take your time…you just busted your hump to get the job done so don’t ruin it by moving too fast. Remember, patience.
Lastly, it is time to re-install all of the exterior components you removed such as your mailbox, address and gutter downspouts. Perhaps wait a full day and give yourself a break and give the paint more time to fully cure.
And there you have it. Please reach out with any questions. Drop a comment and share pictures of your completed exterior painting project!
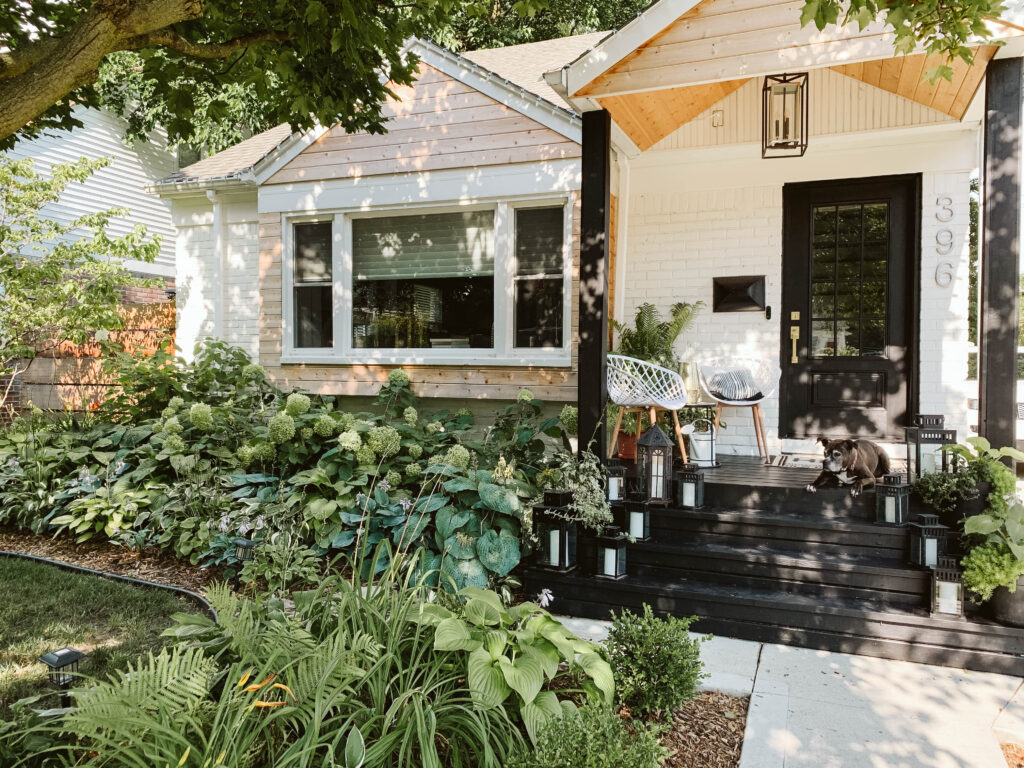
What paint colors did you use? The black and the white? Love it!
White is Sherwin Williams Greek Villa. Black is Sherwin Williams Tricorn.
Clark + Aldine is fully licensed and insured.
© 2022 Clark + Aldine | Interior Design Websites by Formcode | Privacy Policy · Terms and Conditions
Leave A Reply
It is my dream to paint our brick, but my husband is against it- so we have a compromise. When our house was built it had a detached garage. When we bought it, a room was added to connect the garage with the house. In doing so, we have one wall of this room that is exterior brick. I would love to paint it as an accent wall and make the area a mud room/office. Due to it being ‘inside’ I don’t feel comfortable with a sprayer because of the floors and lack of ventalation. Can you suggest a proper roller size to get all the grooves and crevases?
We would use an 1/2 nap roller