Categories
- Design Tips (1)
- Design Tutorials (1)
- Uncategorized (349)
Ok, so we’re a little behind on this reveal but we promise it was worth the wait. If you’re new to the blog or haven’t had a chance to check out our latest One Room Challenge project, now would be the time to do so. You can check out the Modern Farmhouse Entryway Reveal, and exactly how we got to the final result (weeks 1 – 5 corresponding links in the post). But of course when we took on this project for the One Room Challenge it just wasn’t enough to do one space in 6 weeks…we did 3!
When we initially met with our clients Tiffani and Chris they had just begun the initial stages of their kitchen remodel with a local kitchen design company. What they wanted from us was a way to tie the rest of their first floor into the new look and feel of their kitchen. So, we took on the foyer, powder room, entry way and a bit of updated trim molding in the living room. And we did all 3 at the same time their kitchen was being done, in the absolute dead of winter here in Michigan. Talk about a challenge!
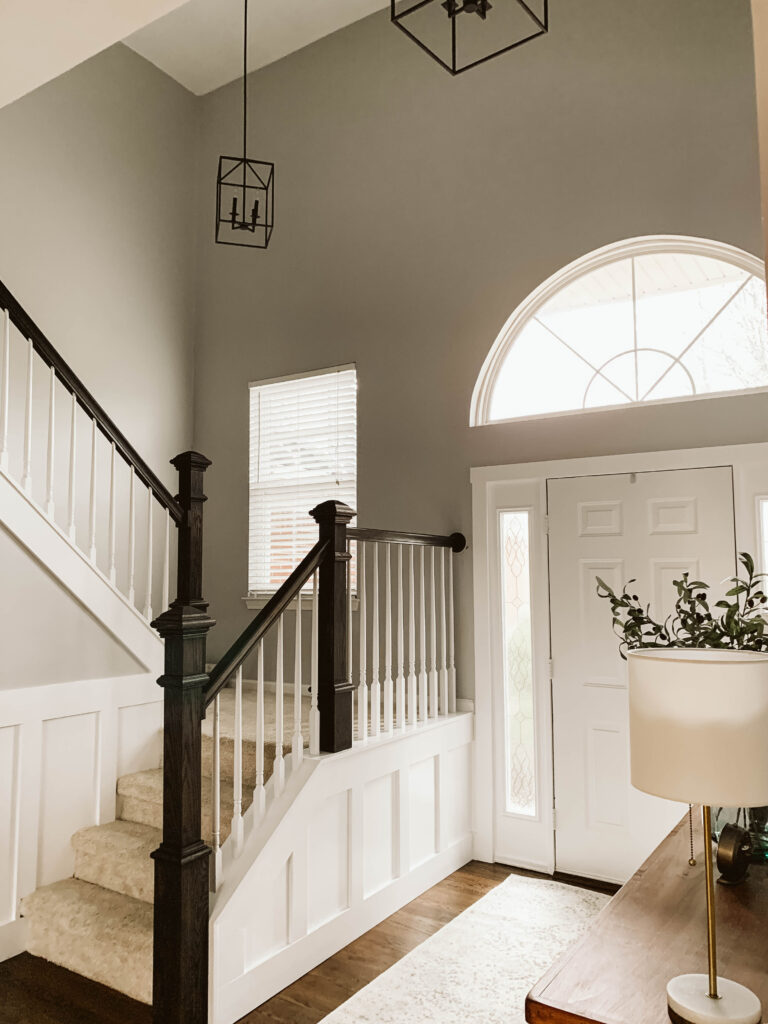
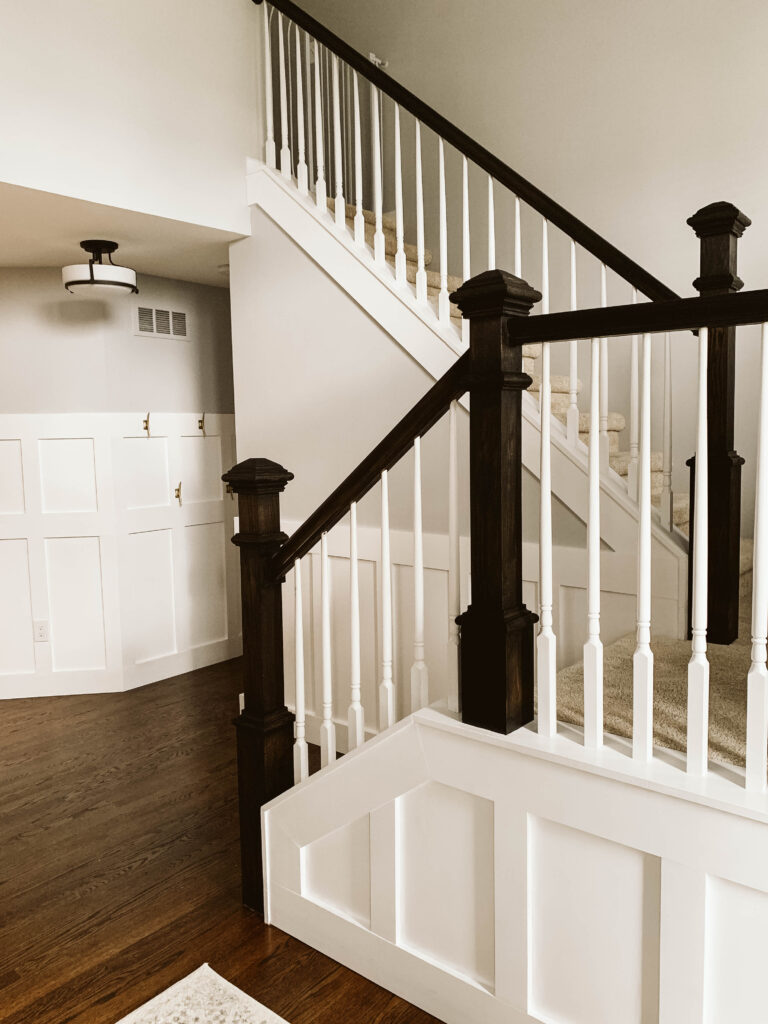
So let’s start at the front door…a massive cathedral foyer. It needed some major refreshing, as it hadn’t been touched since they purchased the home from the previous owners who apparently thought they were living in an Italian villa. Well they weren’t, and either were Tiffani and Chris…we made sure to shake things up. Our clients began with new paint that carried all the way up to the second floor. That allowed us to come right in, remove all of the existing trim molding and plan out a custom board and batten design throughout the space. A simple double stack surrounds the entire foyer, but as an added bonus Michael created a triple stack along 3 walls with hooks to hang coats and bags as guests arrive. A little bit of function goes a long way.
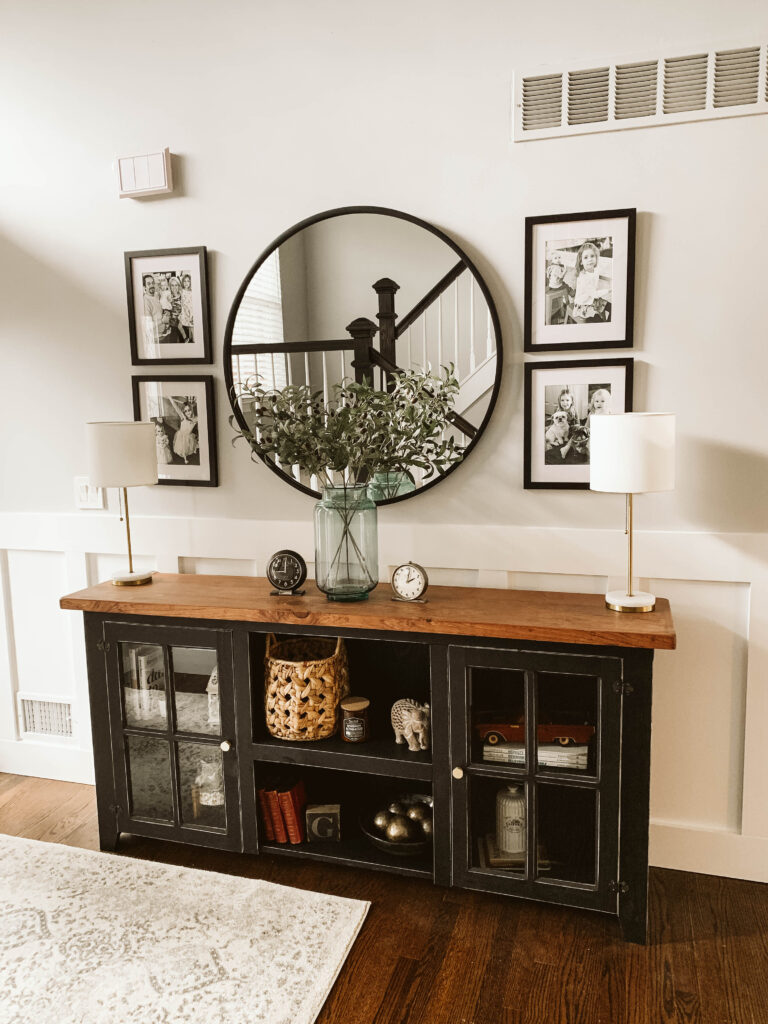
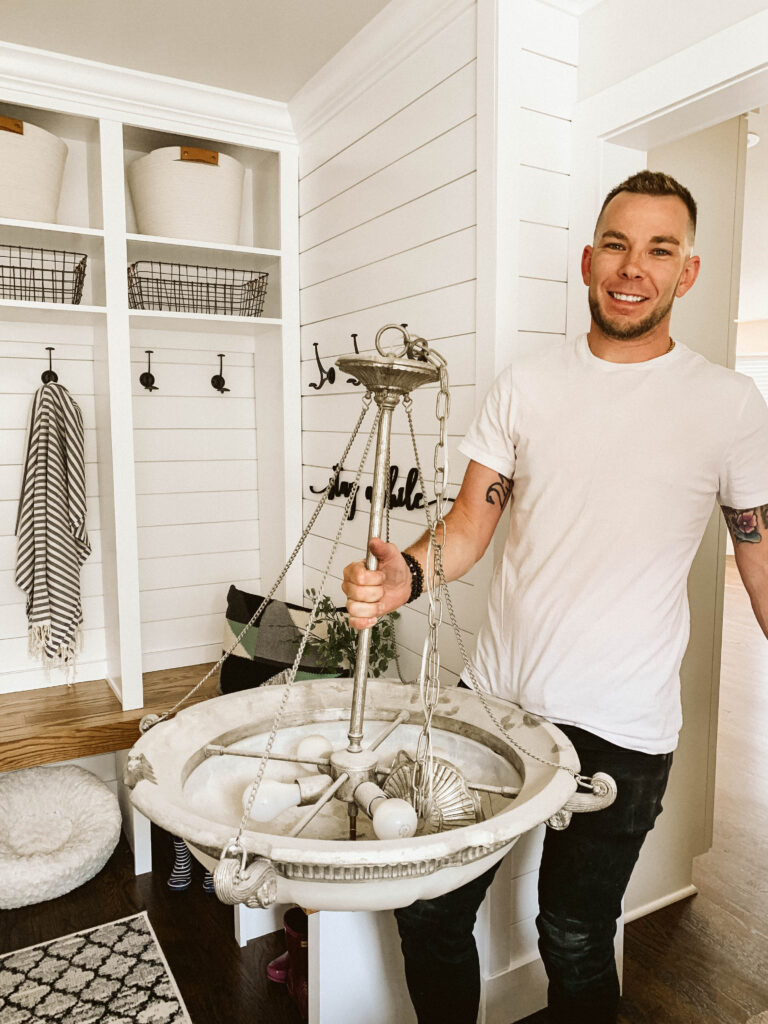
Next was lighting. All the lighting. It needed to go, especially the massive Italian inspired chandelier that hung wayyyy up high in the foyer…high as in 24 feet! And it weighed about 200lbs. Really fun removal process, but the end result was well worth it. Better illumination with a modern, clean feel completely transform the space. From there we sanded their stair rail, added new modern posts and stained a darker color to flow with their refinished hardwoods. And of course, we styled the entire space with some existing accessories and newly added gems, including a rug, a handmade console table, a huge circular mirror and some amazing family photos of this incredible family.
This space just makes us so happy…it’s absolutely perfect.
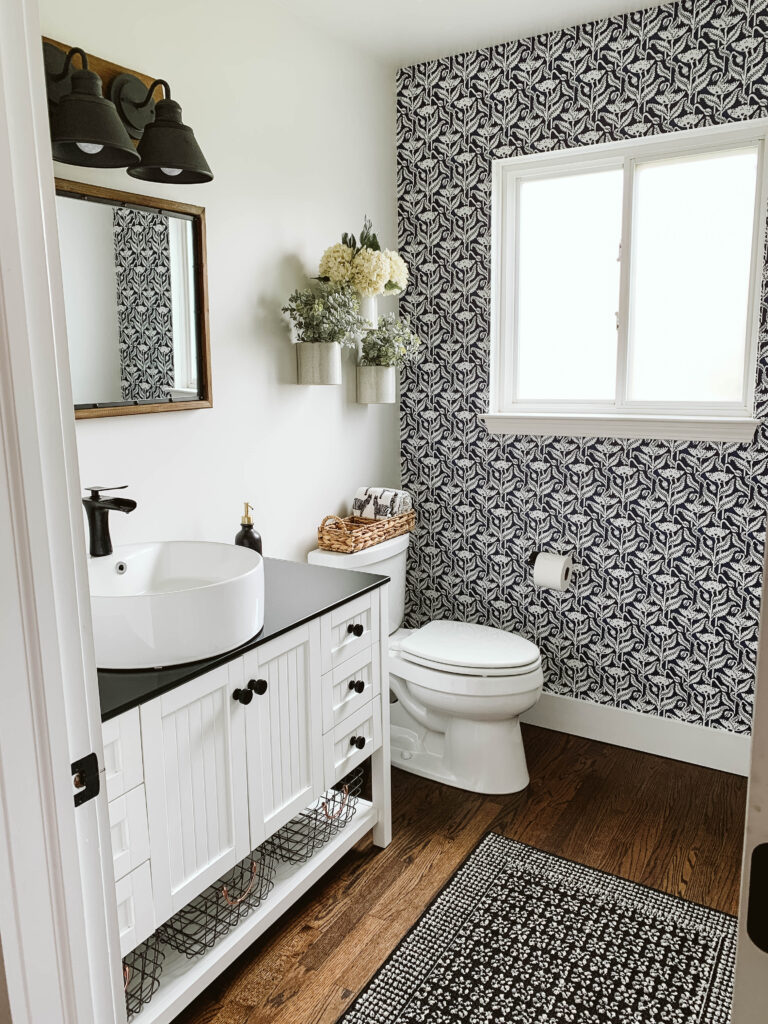
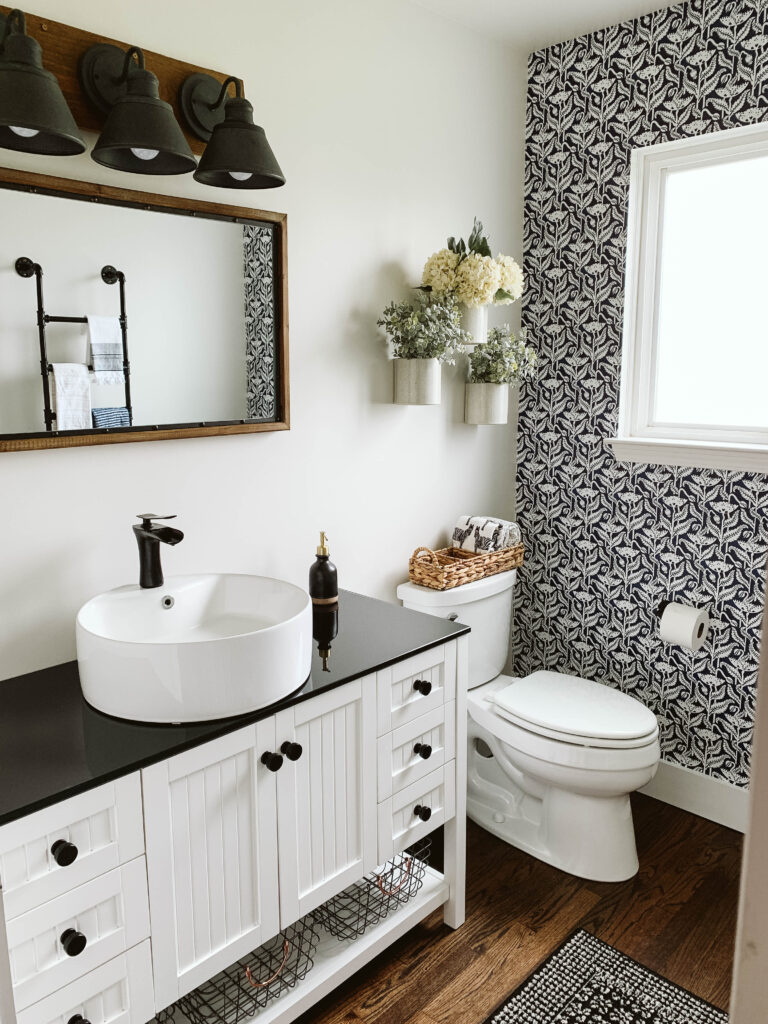
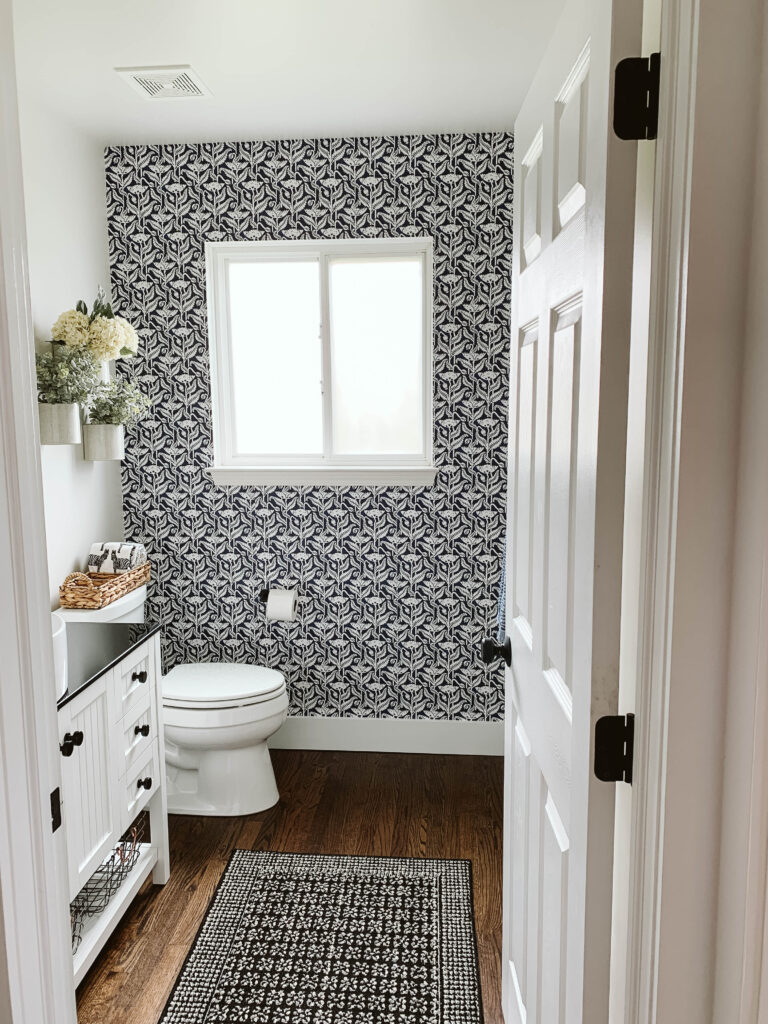
Seriously now, this has to be one of our favorite transformations ever. For such a small space in this open concept layout it makes the most dramatic statement. But before we get too excited let’s take a trip down memory lane…walking into this powder room was like diving head first into a glass of Welch’s grape juice.
Just a fresh coat of paint would have brought the life right back, but we went way further than that. First, we ripped out the existing vanity and toilet, leaving about 1/3 of the space needed fresh oak hardwood installed. Once the floors were refinished we went to work with fresh paint throughout. For this room we chose Sherwin Williams Oragami White Satin, and High Reflective White Semi-Gloss for the thicker modern molding that continues throughout the entire first floor.
Once the paint and molding was complete we brought in this modern farmhouse vanity, complete with a vessel sink and new toilet to spruce up the amenities. And of course, we did something a little different with it…we added a matte black waterfall faucet! And changed out all the exciting hardware for some more modern matte black hardware. For us it’s all about custom in these spaces, so we take the extra step to make it unique for our clients.
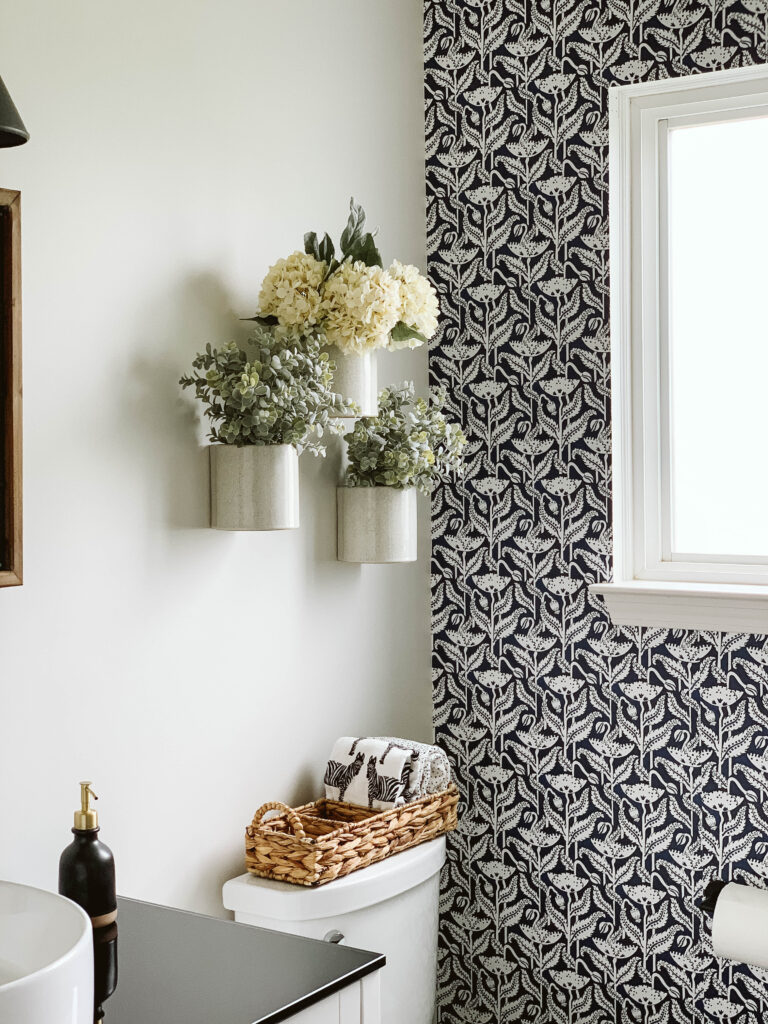
Now, this next change was a favorite for Michael. When I brought it up to him he honestly was not about it, at all. For real he didn’t understand why…but in the end we’re all so happy with it. And it is the change that made the entire space. We added a vinyl wallpaper accent wall that will stop anyone in their tracks. It is seriously insane, and I want one in our house now! The installation wasn’t nearly as bad as Michael had planned for, but it wasn’t the easiest either. In the end it all worked out beautifully, so we celebrate!
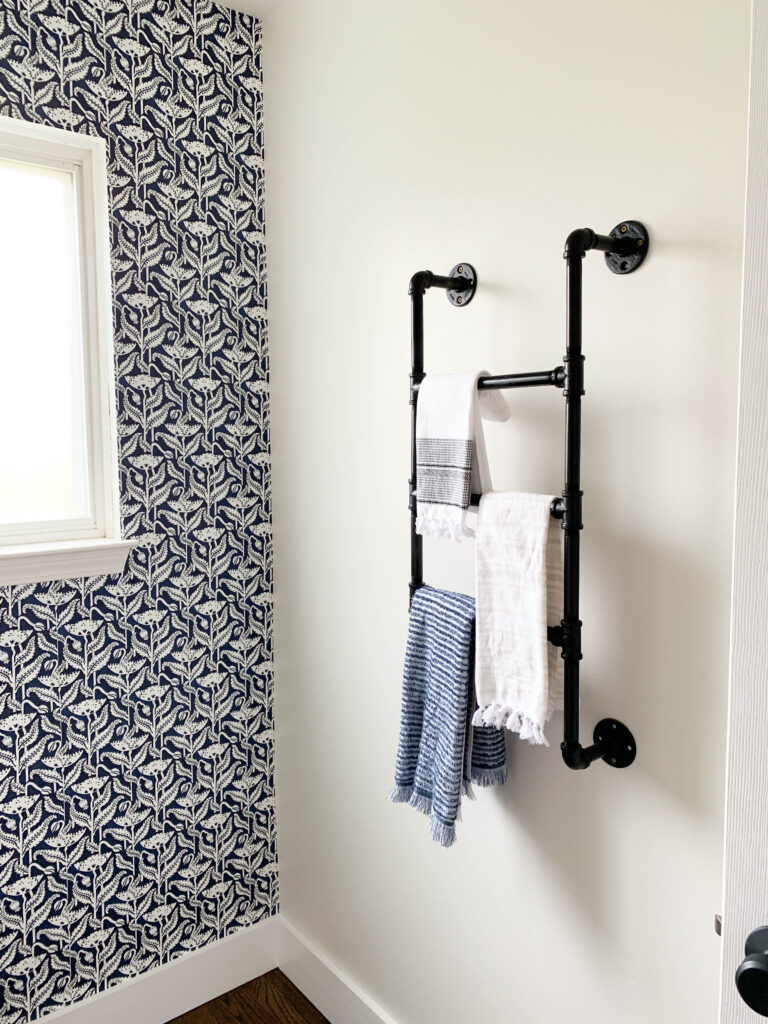
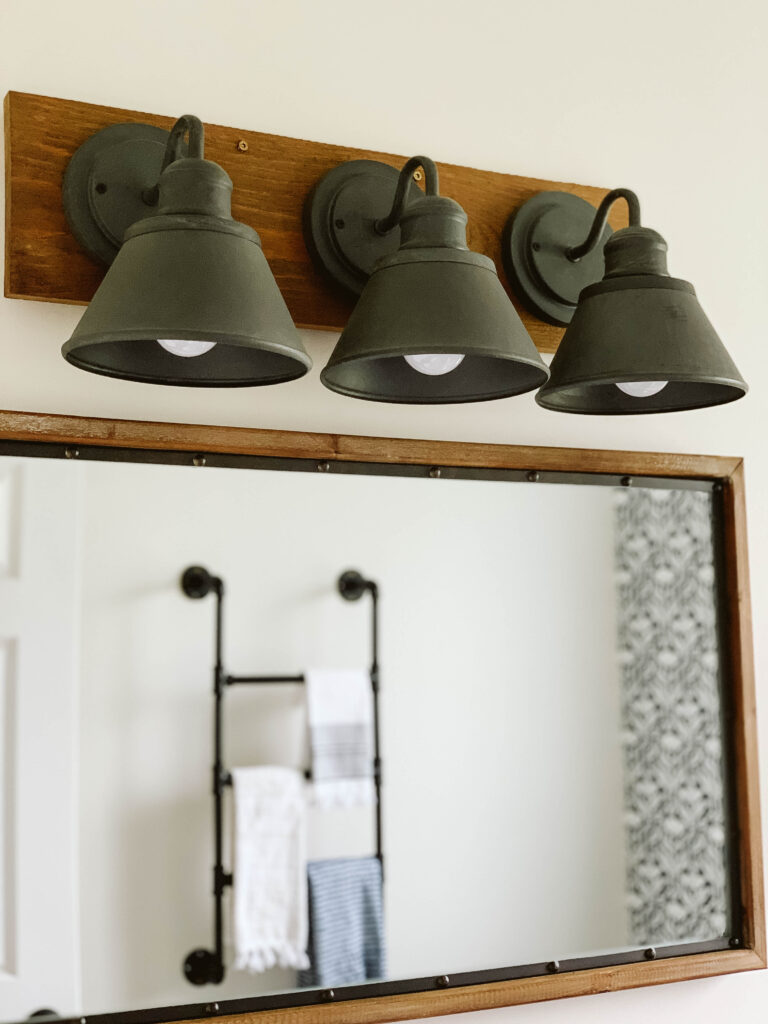
The final touches in this space just pulled the entire vibe together. We added these 3 rad hanging vases from 28 Furniture Co., tank basket to hold toiletries, toilet paper holder, and a custom made towel bar from conduit. Michael is writing a future post talking about how he made and installed it…so be sure to check back for that. OH and how can we forget the mirror and a custom farmhouse 3-scone light, which Michael also custom made and will write a post about, I promise. Feel free to help be out in the process by basically harass him for those…comment or shoot him some DMs @michaelgutelli!
Some of this may be a bit redundant if you did in fact hang with us during our latest One Room Challenge project, or if you read the reveal post that we mentioned top above…but maybe you’ll find it new and fresh nonetheless. So just follow along for a moment or two…
This space was, well, not functional at all. It was a laundry room/storage room/shoe and backpack collector/dump and run space right off of the kitchen. And it needed some love. Like a really big bear hug kind of love. And we gave it just that…after we pulled everything out, smashed through all of the walls and ripped out the floor and fake HVAC run to nowhere (oh yeah, its a real thing). Here’s a quick peek at just where we started! We had big plans for this space – a functional and purposeful entryway that housed a beautifully modern laundry space on one side, and a gorgeous mudroom space on the other. How we got there was super fun, too.
Once we opened it up the former linoleum laced subfloor was screaming for some fresh oak to be installed and finished. After that we came back and immediately covered up the lime green walls with, you guessed it, our favorite Sherwin Williams Oragami White Satin! It really brightened things up in there. Then it was time to install the molding and floor to ceiling shiplap on the two walls that made up the mudroom area. One thing we learned from this project was the decision to spray all of our molding (especially shiplap when we do it) prior to install. It just makes for a better end product.
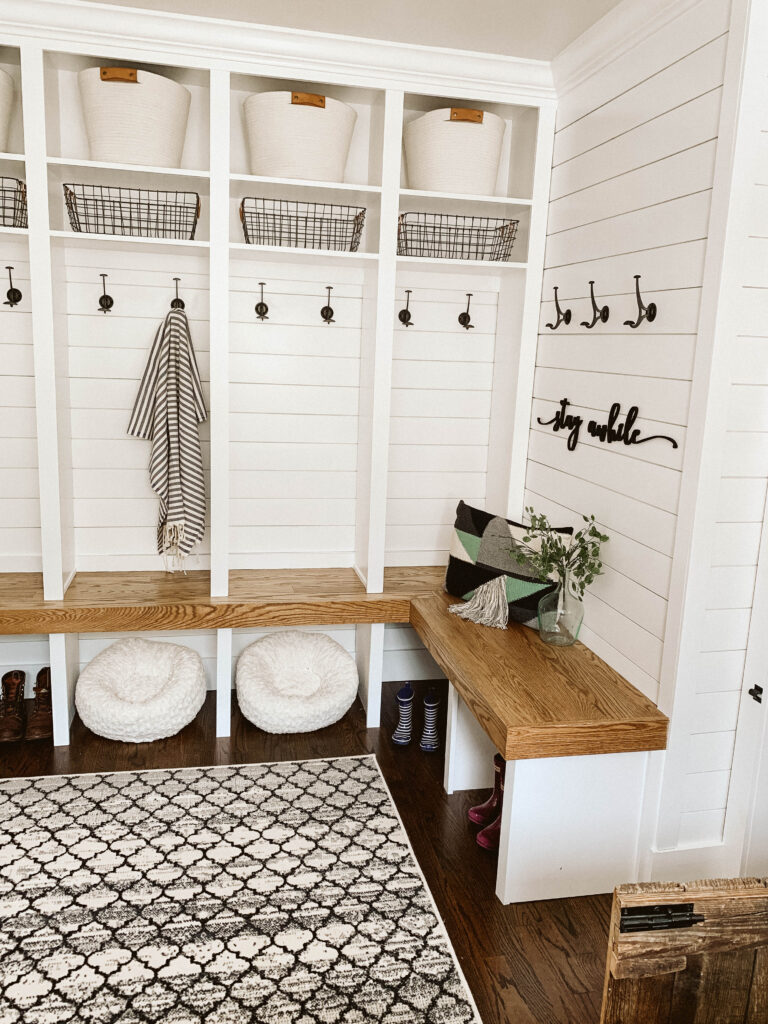
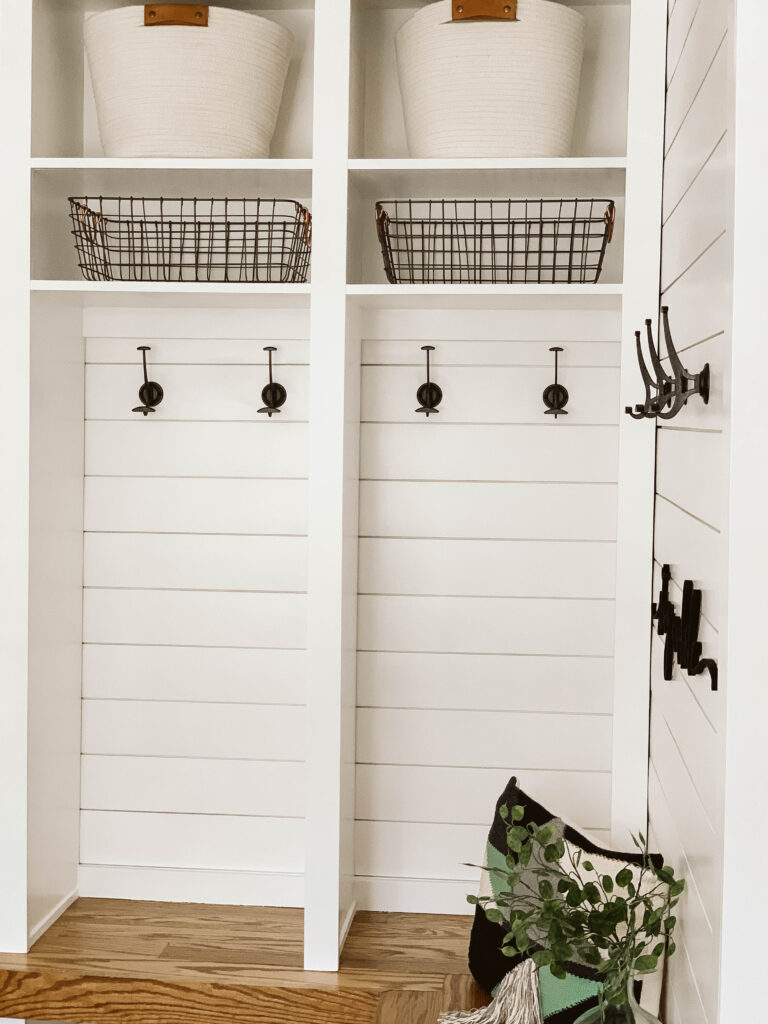
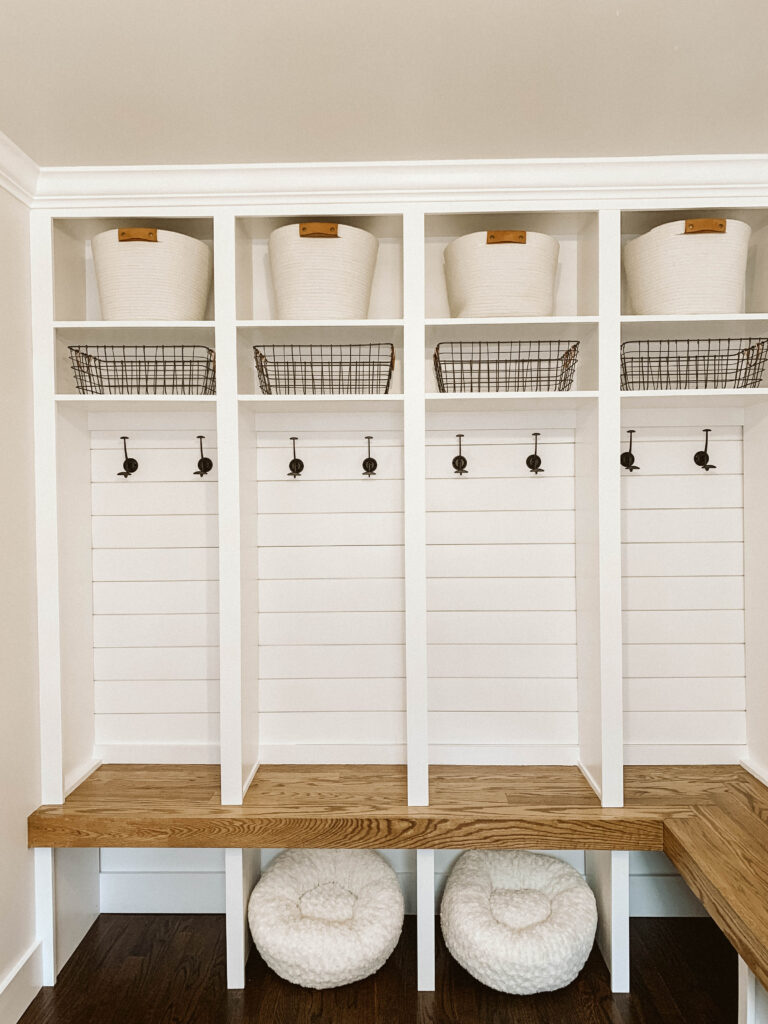
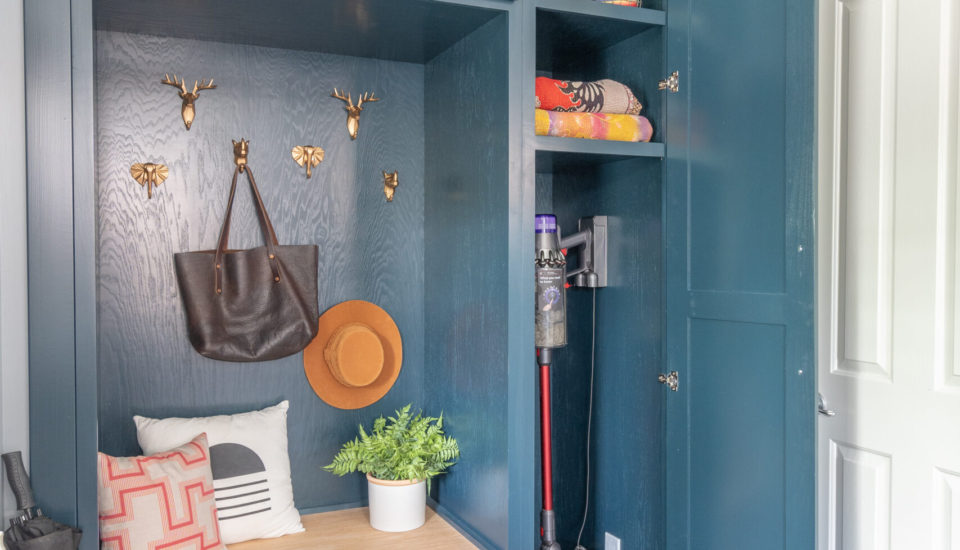
Once the molding and shiplap was in we re-installed the washer and dryer for the family. It was bad enough they had to live through an entire first floor renovation in the dead of winter…the last thing we wanted was them having to drag the crew to the laundromat. But those also served as a sort of work station too, so it was all good. Next we moved onto building the custom wall to wall mudroom, with a solid oak bench and open spaces on the bottom for boot storage and dog beds. Oh yes, the little pups get to use this space as well…and each space is the same size so the beds can be moved around. The upper lockers and double layer shelves are all open, allowing for maximum storage and function for this active crew. We added 2 hooks inside each locker for coats and bags, and each shelf has a basket for rotational/seasonal storage.
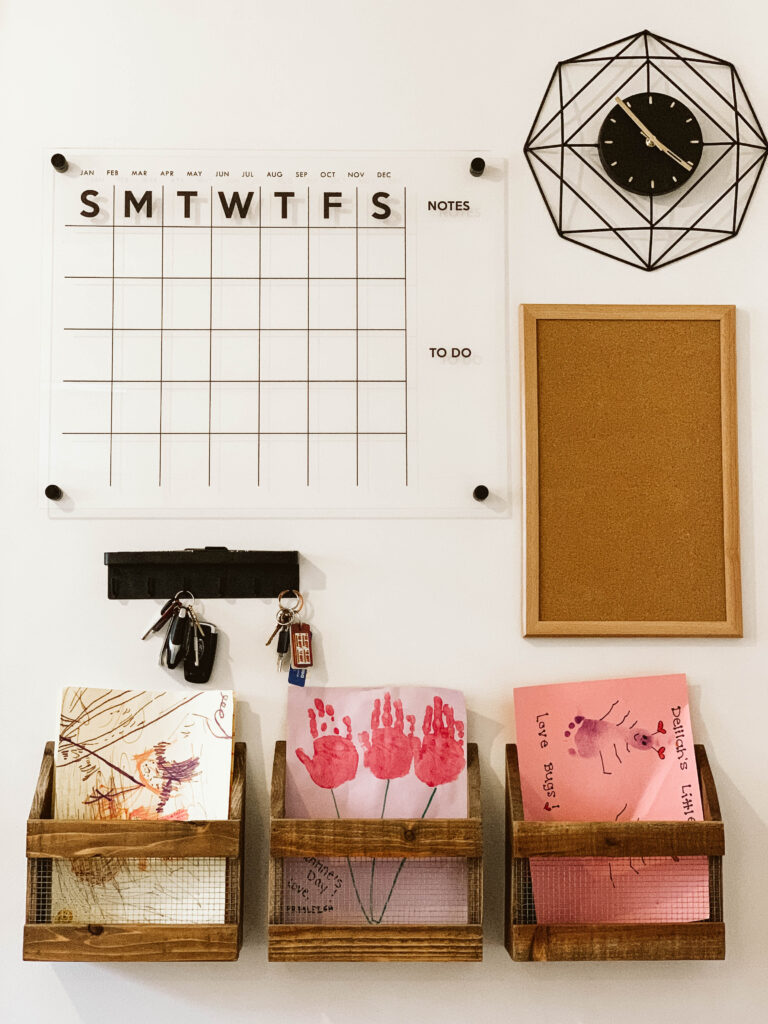
We also added some signage and an awesome command center to keep the household on time and on point every day. We know how it is…life is a little wild out here.
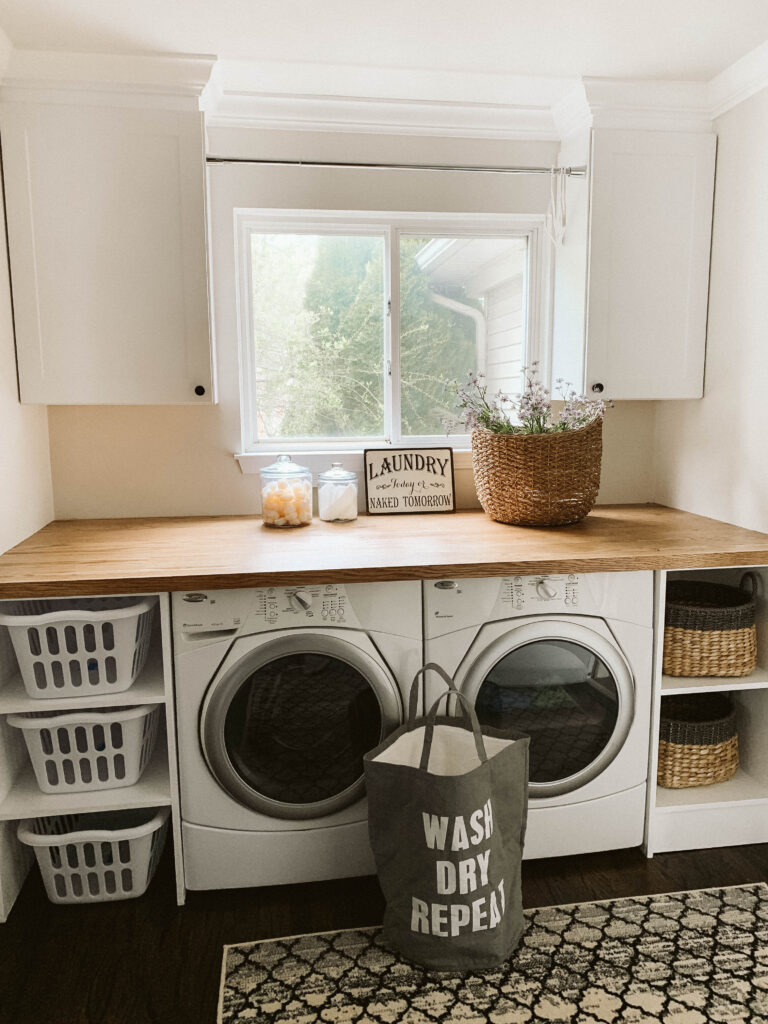
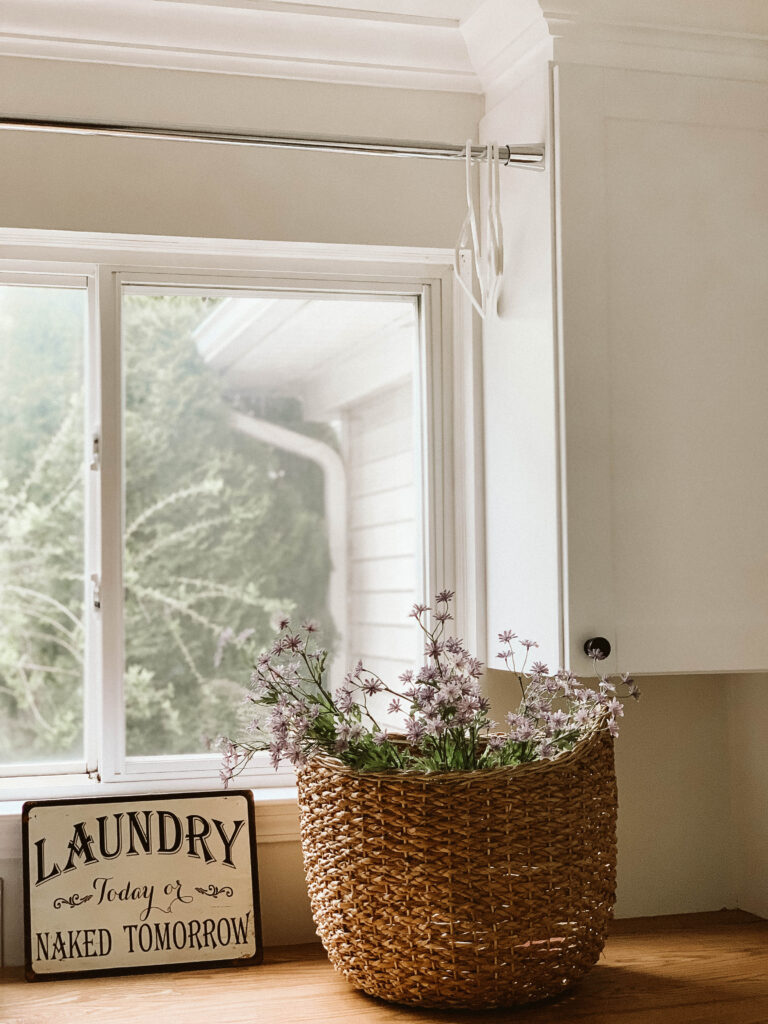
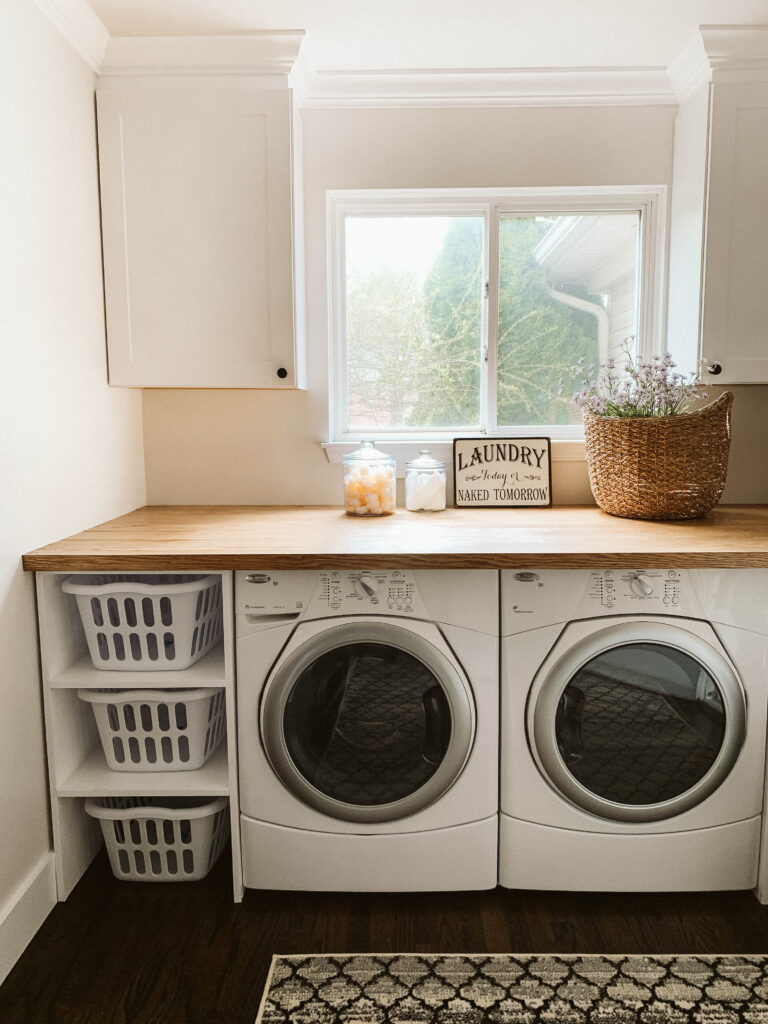
The last space we completed was the laundry room. Michael custom built cabinets on either side of the washer and dryer – one houses 3 laundry baskets and the other features baskets to be used for every day storage – like dog food and treats. Above the washer and dryer is a wall to wall, front to back custom floating oak folding station. This thing is a beauty and a beast! Stained in the same color and finish as the mudroom bench, it elevates the space to a new level. And it is a momma’s dream. We also added new upper cabinets, and mirrored the crown molding from the kitchen uppers for a cohesive look and feel.
There are so many details to all of these spaces that I’m sure we missed, but the pictures really do tell the story here. We are so thrilled with the outcome of this project and love each and every inch equally. We hope you too enjoyed the tour and found some inspiration to incorporate into your home, or client’s homes.
Much love
-Danielle and Michael
What color did u use to paint the stairs
[…] Image: clarkandaldine.com […]
Clark + Aldine is fully licensed and insured.
© 2024 Clark + Aldine | Interior Design Websites by Formcode | Site Map · Privacy Policy · Terms and Conditions
7 Comments
What color did you use on the entry way ? It’s beautiful!
What color paint on the walls is what I meant to ask for the foyer?