Close
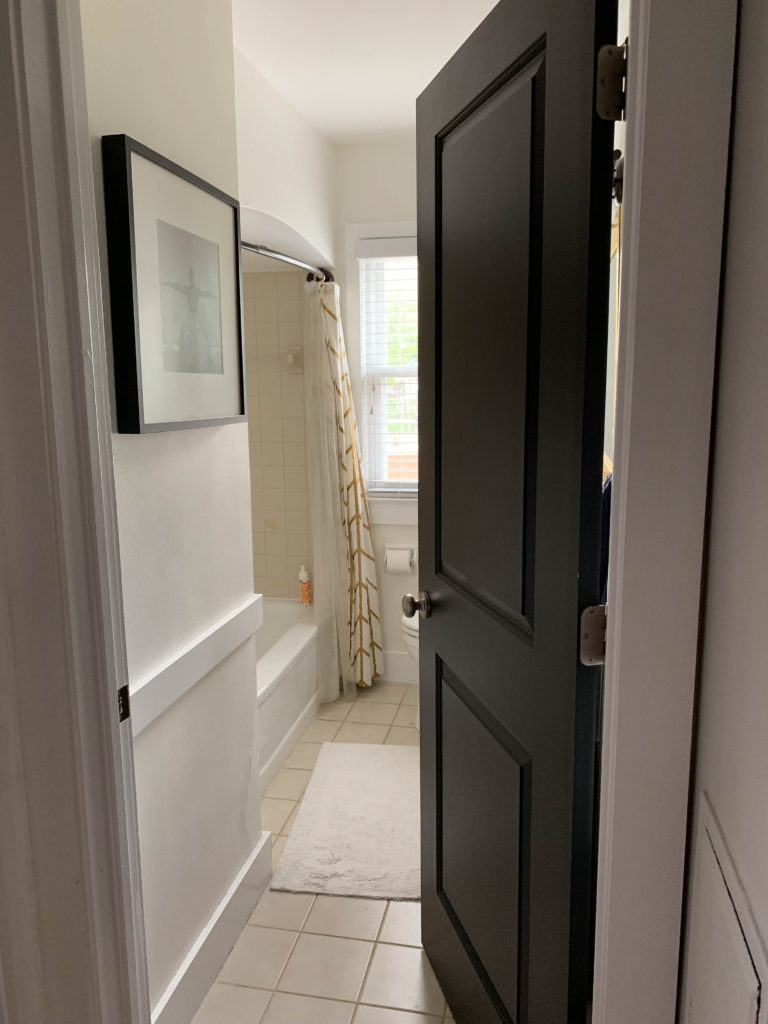
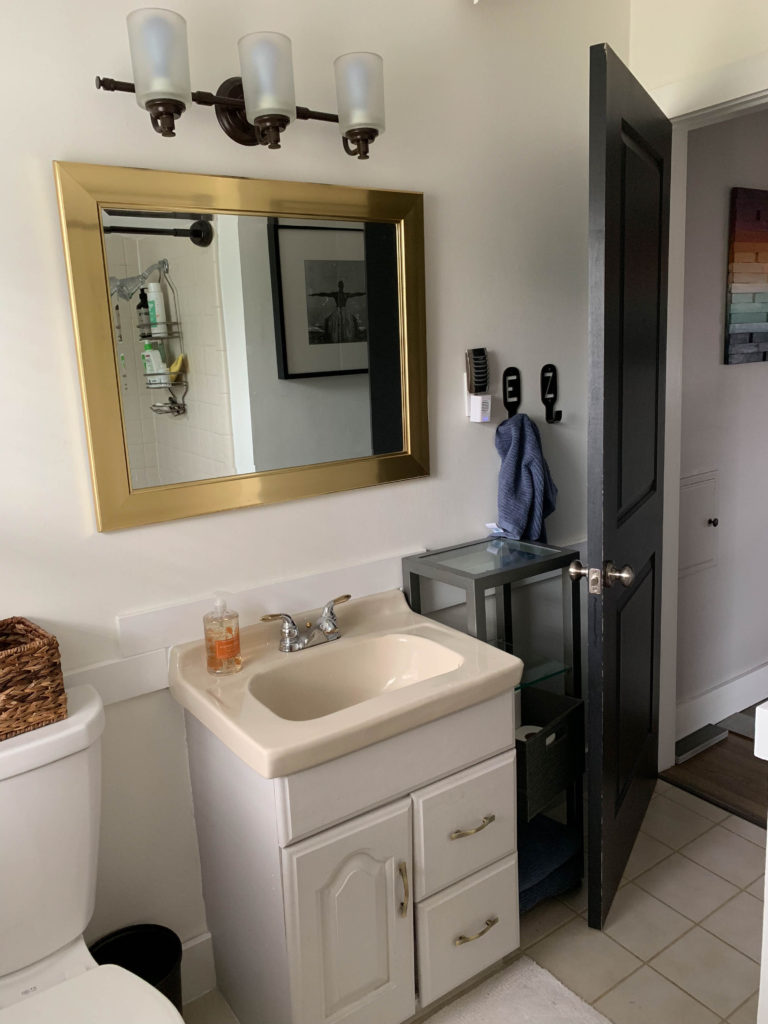
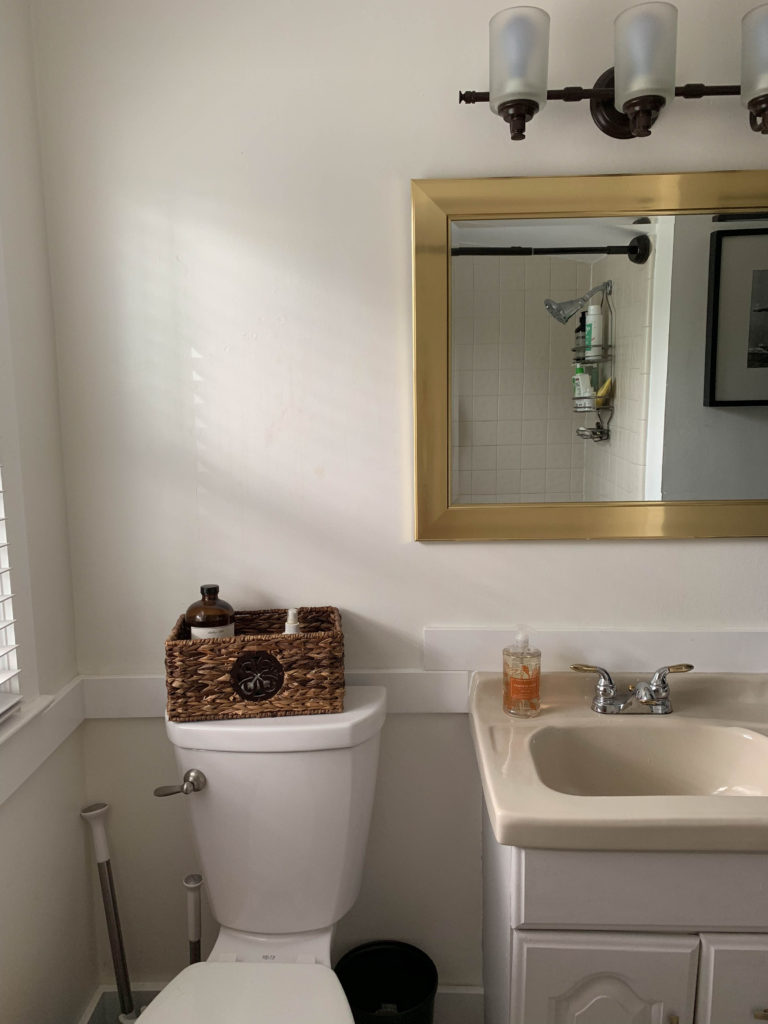
I can’t believe the day is finally here!!! Our main floor bathroom reveal with all the sources, before and afters and the long story about just why this project took us entirely too long!
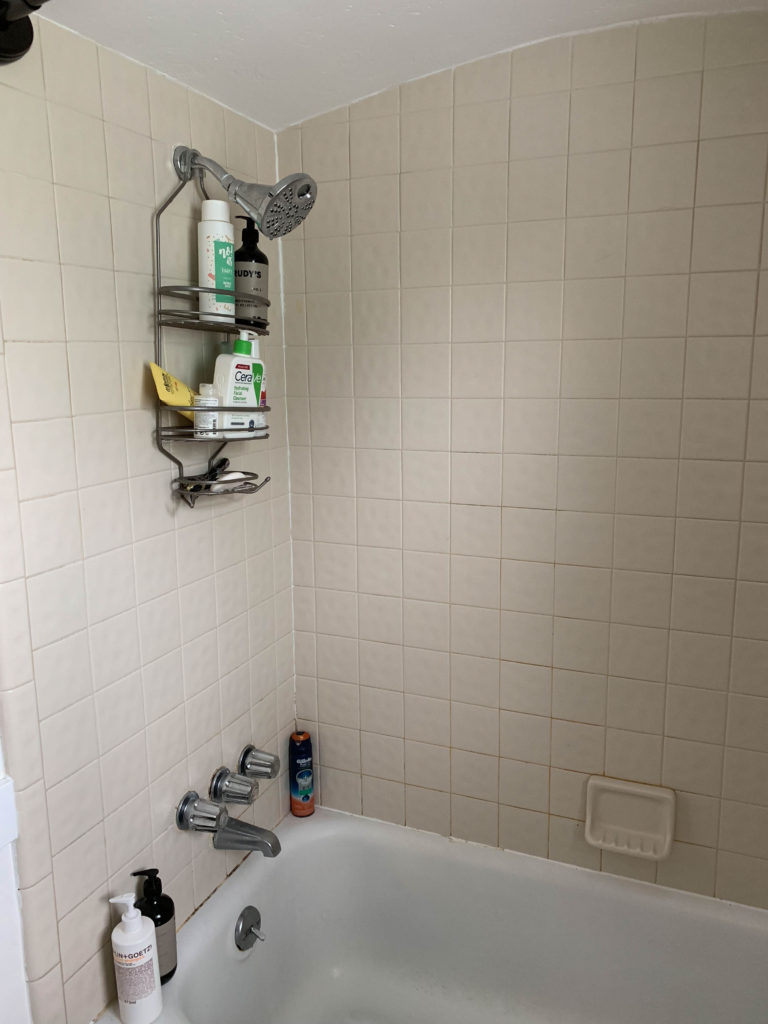
We started this project in September. Yes you just read that right. As in September of 2018. We decided to do this project simultaneously with our boys room and the Fall one room challenge. Then we ran into some issues within the walls…as with any renovation project you just don’t know what you’re going to find. We found all kinds of things. Oh and to add one more thing to the chaos, we both went full time on our business. Needless to say clients came before anything we did in our own home. Ones bathroom should never take 6 months to complete…I am serious ya’ll. We went 5 months without a toilet downstairs. So to say I am beyond ecstatic to share with you our finished product would be a complete understatement. If I could do a backflip, handspring roundoff thing I totally would.
So let’s get into it and all the design choices we made along the way.
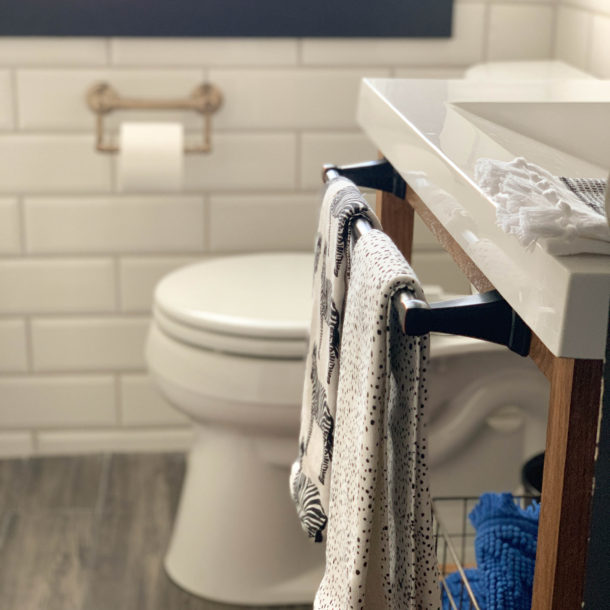
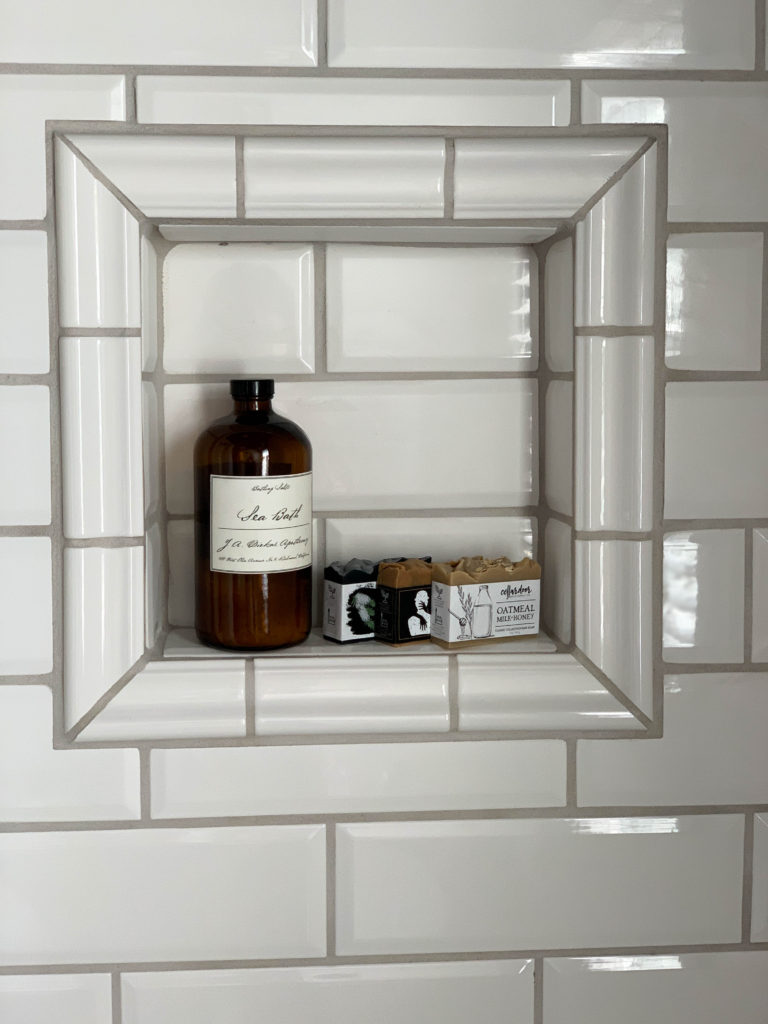
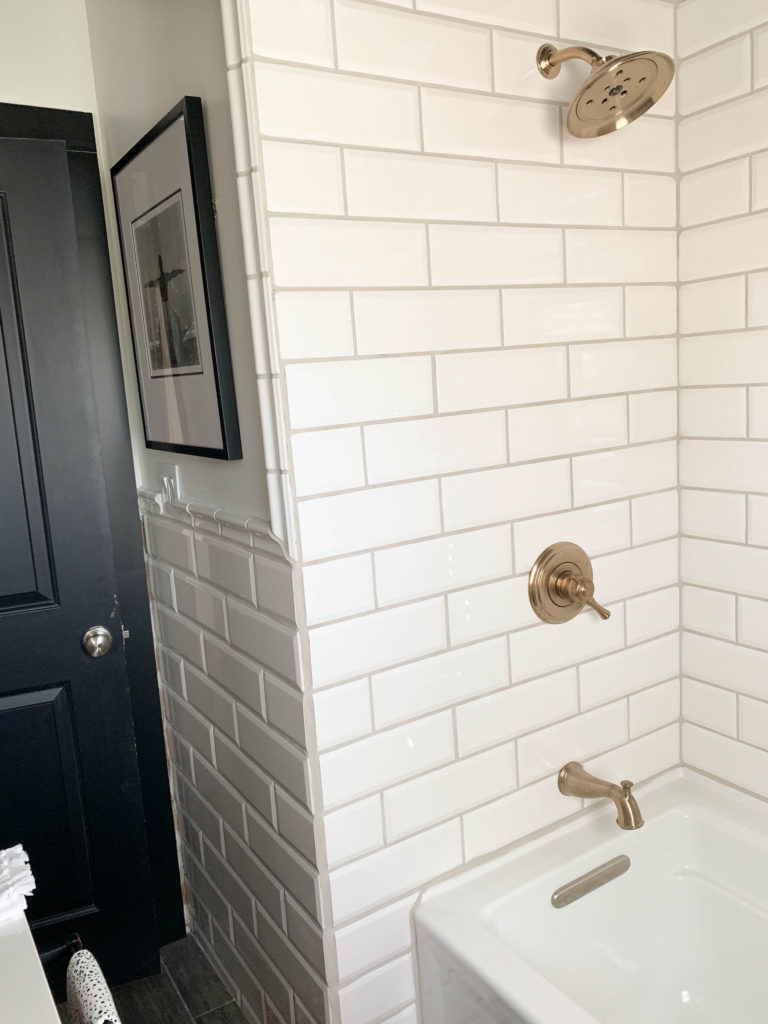
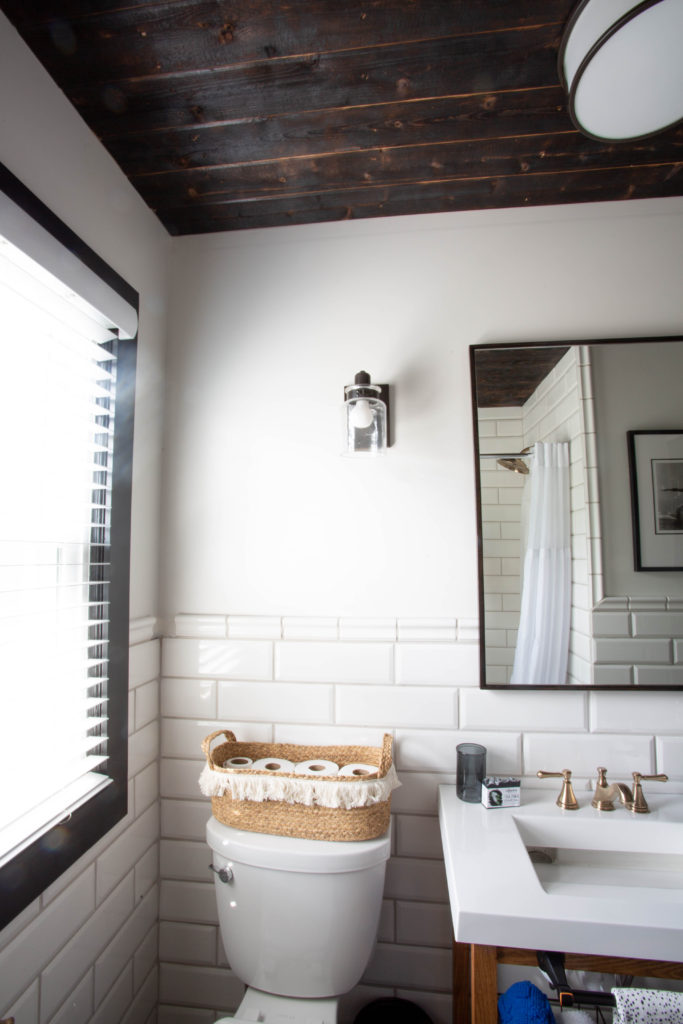
My very first design decision was subway tile. I know I’ve heard lots and lots of chatter on the internet about it being over used or out of style and I am here to proudly say subway tile is never going out of style. I believe this is a tile that last the tell fo time. I wanted to not only tile the bath/shower area but carry the tile throughout the entire space. To elevate the subway tile look we went with an elongated beveled tile. I wanted to make sure the tile didn’t feel like it was overpowering the room. To ensure this didn’t happen we paired it with a light warm gray grout. The last step with the tiling was the chair rail. We did this along the top of the tile as well as in our niche, and around the shower. I love how it polished off the space.
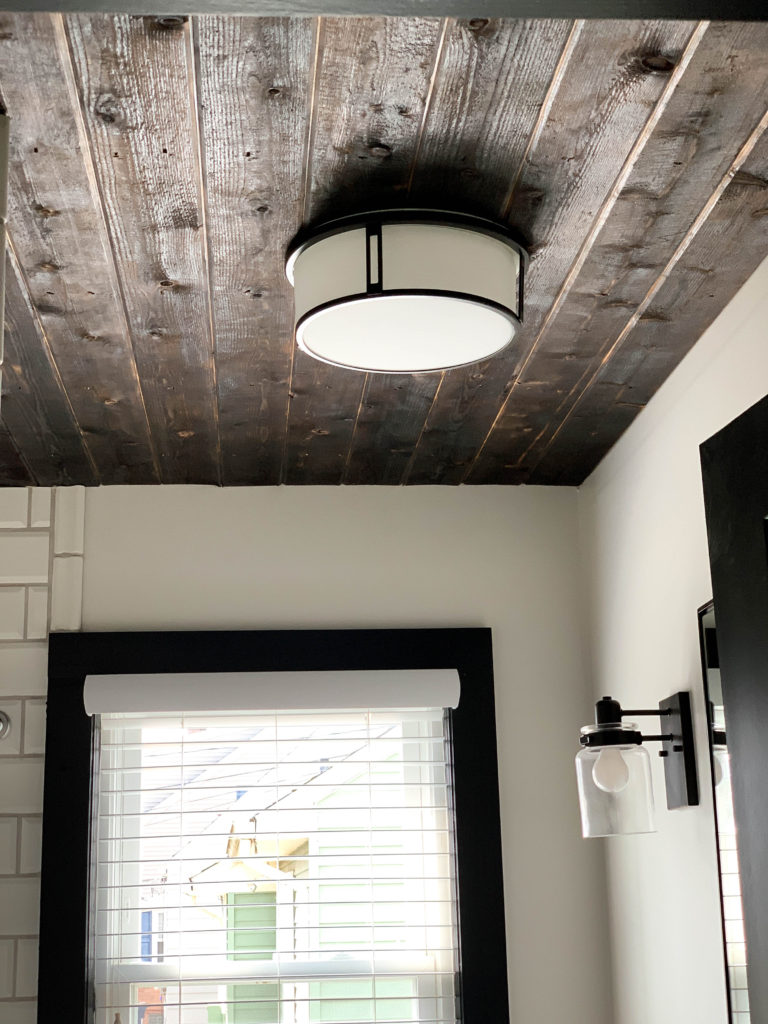
For the floor I wanted to carry the gray from our wood flooring into the bathroom. We fell in love with this tile. I honestly wanted to lay it herringbone style, but with the small space and vibrant rug the beautiful tile work would have been lost. We landed on laying it vertically to help elongate the small space. Michael desperately wanted to do some form of textured ceiling and it took me a while to get on board, but boy am I glad I decided to jump on. We live in a 1950 bungalow with a small first floor bath and every inch counts in here. By creating a dark celling it has made the entire space feel larger. I love how that happens. For our ceiling we burnt cedar prior to installing, of course. This adds a whole new level of dimension and texture to our space. We also decided to add a thicker 4in trim for our window casing and we painted it Sherwin Williams Tricorn Black for an extra bold statement. We continued the bold trim around the door as well.
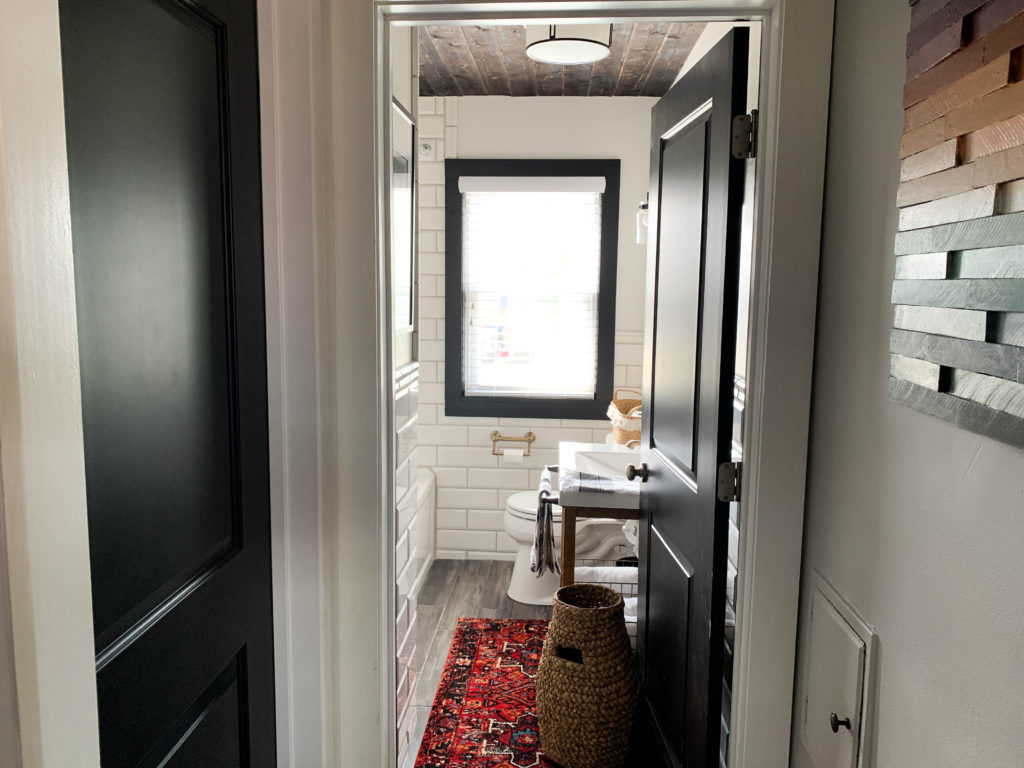
We mixed metals all over our bathroom, which I love. You can read more about my tips and tricks for that here. I wanted to add some color into our black, white and gray space and to do that we went with a bold rug. Since we have so much pretty tile in our small space I wanted the shower curtain to blend with our walls. On the walls we used Sherwin-Williams HGTV Origami White. We love how this color pairs with the subway tile so perfectly!
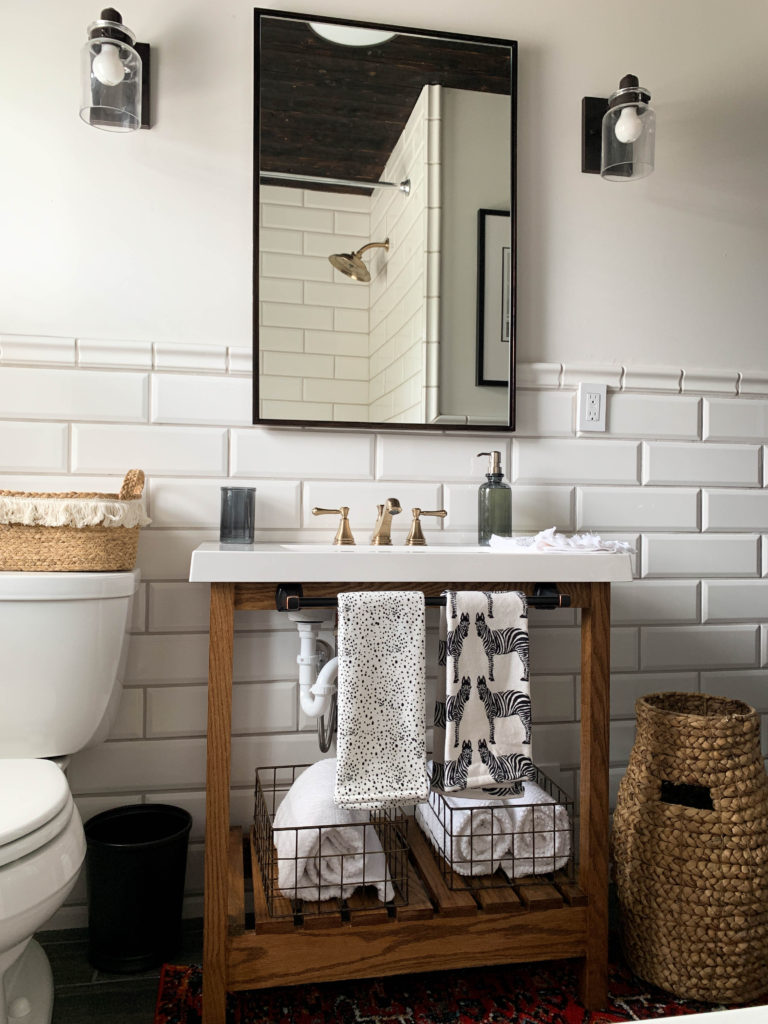
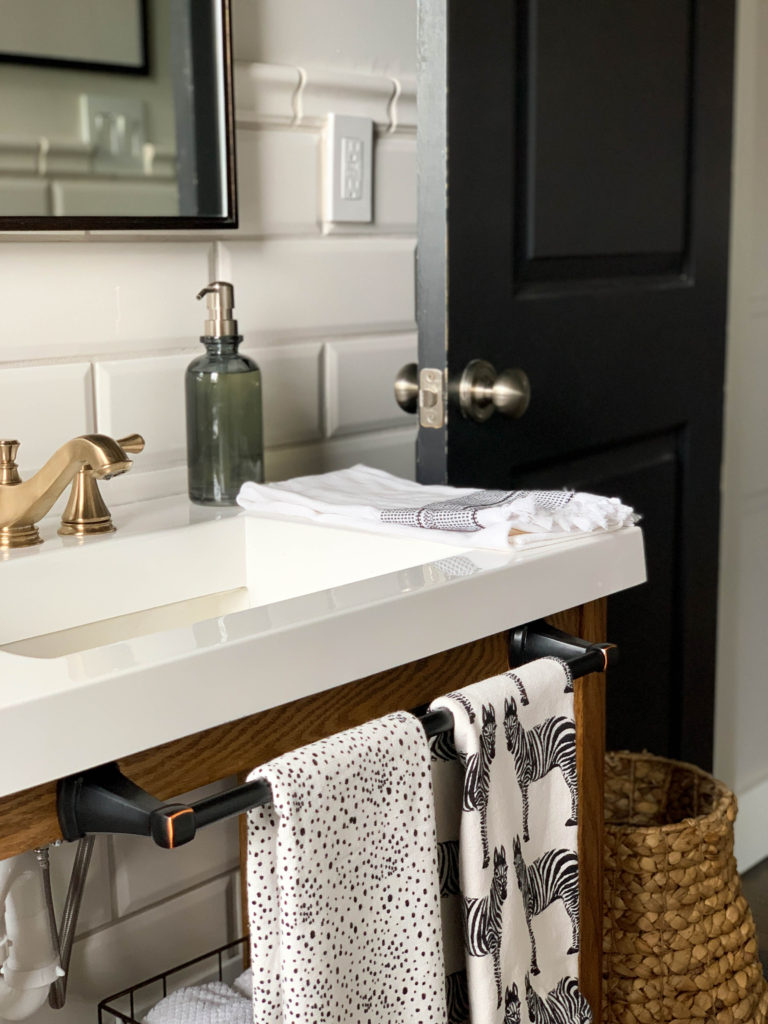
Our vanity was a whole ordeal. I wanted to make the most of the space and to do so Michael custom built our oak vanity. This allowed us to keep things light and airy with an open feeling while providing more sink and counter to the vanity. I paired it with two sconces and this oversized mirror. I love how the mirror hangs over the subway tile pulling everything back together. And as an added bonus, the boys can see themselves in the mirror – well Enzo can, at least – which seems to be a boost in confidence as he grows into a bigger little man.
We couldn’t be happier with our final product!

Clark + Aldine is fully licensed and insured.
© 2024 Clark + Aldine | Interior Design Websites by Formcode | Privacy Policy · Terms and Conditions