HOW TO UPDATE A DESK IN MINUTES
This is a sponsored post written by me on behalf of Plasti Dip. All opinions are 100% mine.
HOW TO UPDATE A DESK IN MINUTES
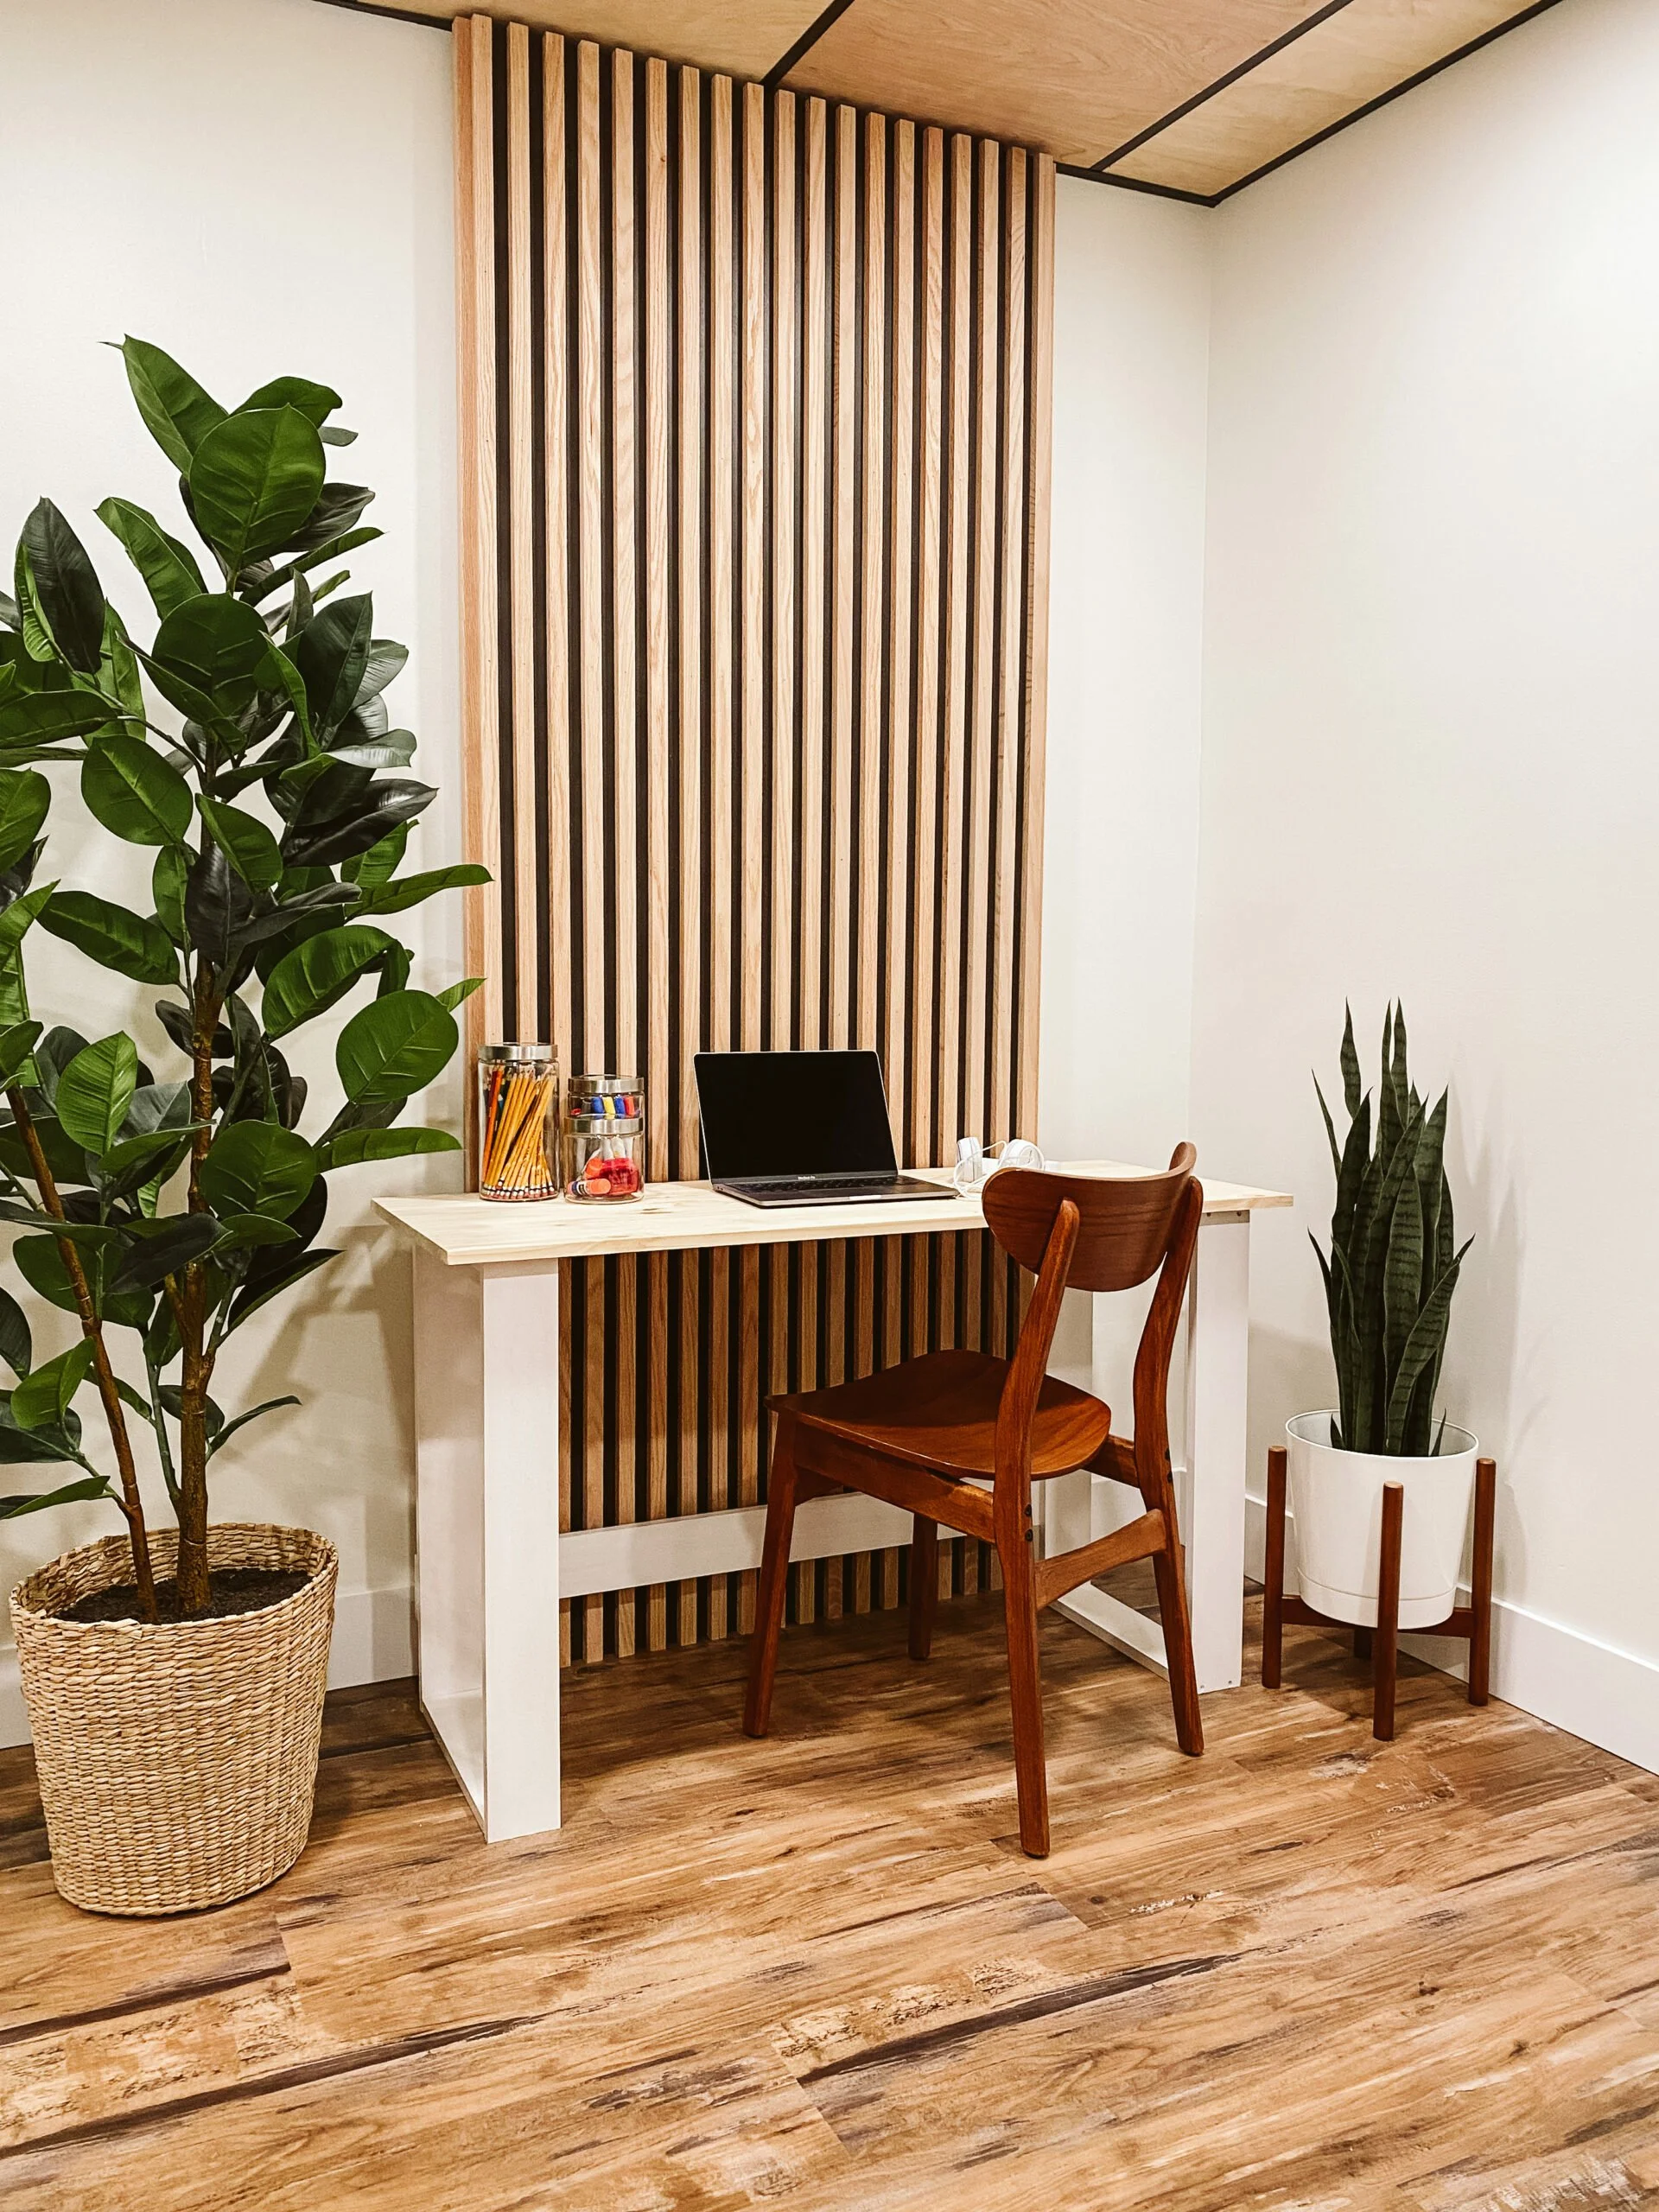
If 2020 has done anything for us it has made us appreciate how easy we had it before. Things like 1-click shopping with fast delivery and access to a plethora of options from hundreds if not thousands of sources is something we may have all taken for granted. But we can promise you this...we never will again!The pandemic has brought to life a whole new way of living. Many families like ours have had to restructure their everyday routines and lives to what is now the new normal...if we can even call it that. Live from home, work from home, educate from home. In case you didn’t catch it, that is a whole lot of time at home! With all this extra time around the house we’ve found ways to get creative and want to share our creativity with all of you! One way we did so is with Original Plasti Dip and Plasti Dip Craft!And the added bonus is that you get to add some creative element to something functional in your life. For us, this meant the 2 desks that our boys spend all of their time sitting at while in virtual school! Plasti Dip is an incredibly durable product resistant to cracking and chipping!
What You’ll Need
- Desk
- Throw cloths
- Mask
- Painters Tape
- Plasti Dip Craft (this project required 6 cans - 3 per desk) Shop now on Amazon
Directions
- Cover ground with drop cloths. We also recommend you cover anything in the area that you want to protect (for us, that meant a whole lot of our shop tools).
- You have two options with the legs of your desk: you can either remove them from the base or tape off the base to prevent over spray. Either is fine but if the desk allows we recommend removing the legs.

- Shake each of your cans of Plasti Dip Craft. Like, shake them really good. Read the directions provided thoroughly...you have to shake it right!
- Apply the first layer of Plasti Dip Craft over the entire surface of the legs. Make sure to create an even layer throughout.

- Wait at least 30 minutes for the first layer to dry before attempting to apply a second layer. We waited a couple hours, but only because we had a ton of other stuff happening in life.

- Repeat step 4 to apply a second, and even a third layer.
Pro Tip: Do not spray Plasti Dip Craft too close to legs otherwise the application will create runs, which are very difficult to hide.
 Plasti Dip has so many incredible color options for nearly any application you can think of that you can let your mind go wild with creativity. Our boys love their custom desks for at home virtual learning, and are requesting that we elevate some other items such as their dresser and their bikes with new, fun colors. Not quite sure we are ready to tackle any of those items just yet but we will be working on some fun projects soon. Get yours at Amazon
 Thank you to Plasti Dip for sponsoring this post.