Close
Here we have it. The final feature of our house makeover…our beloved mudroom. I know you’ve likely seen our office/mudroom reveal but now we’re going into a bit more detail on how we made it happen. So many of you have asked how we did it…or how Michael did it rather – and today he is here to talk about it.
It was a total team effort. By team effort I mean I showed Michael about 5 different things I liked from 5 different mudrooms and asked him if he could make those dreams come turn. And you guessed it, he made that magic happen. So what home post wouldn’t be complete without him chatting about how to build your own mudroom.
Hey everyone! I’m back again. And while this is the last home makeover feature (for the moment) I promise to stop by again from time to time.
As D said, she asked me to create something special where it did not exist. Bungalows have not traditionally included a mudroom space, but seeing as we renovated ours from top to bottom I just had to create one in the space we had. Adding one in the foyer (or lack thereof) wasn’t an option, and our side entrance is extremely tight…so another no go. However, the rear entry door is in our office which provided the perfect opportunity for a custom addition – and a custom addition I did.
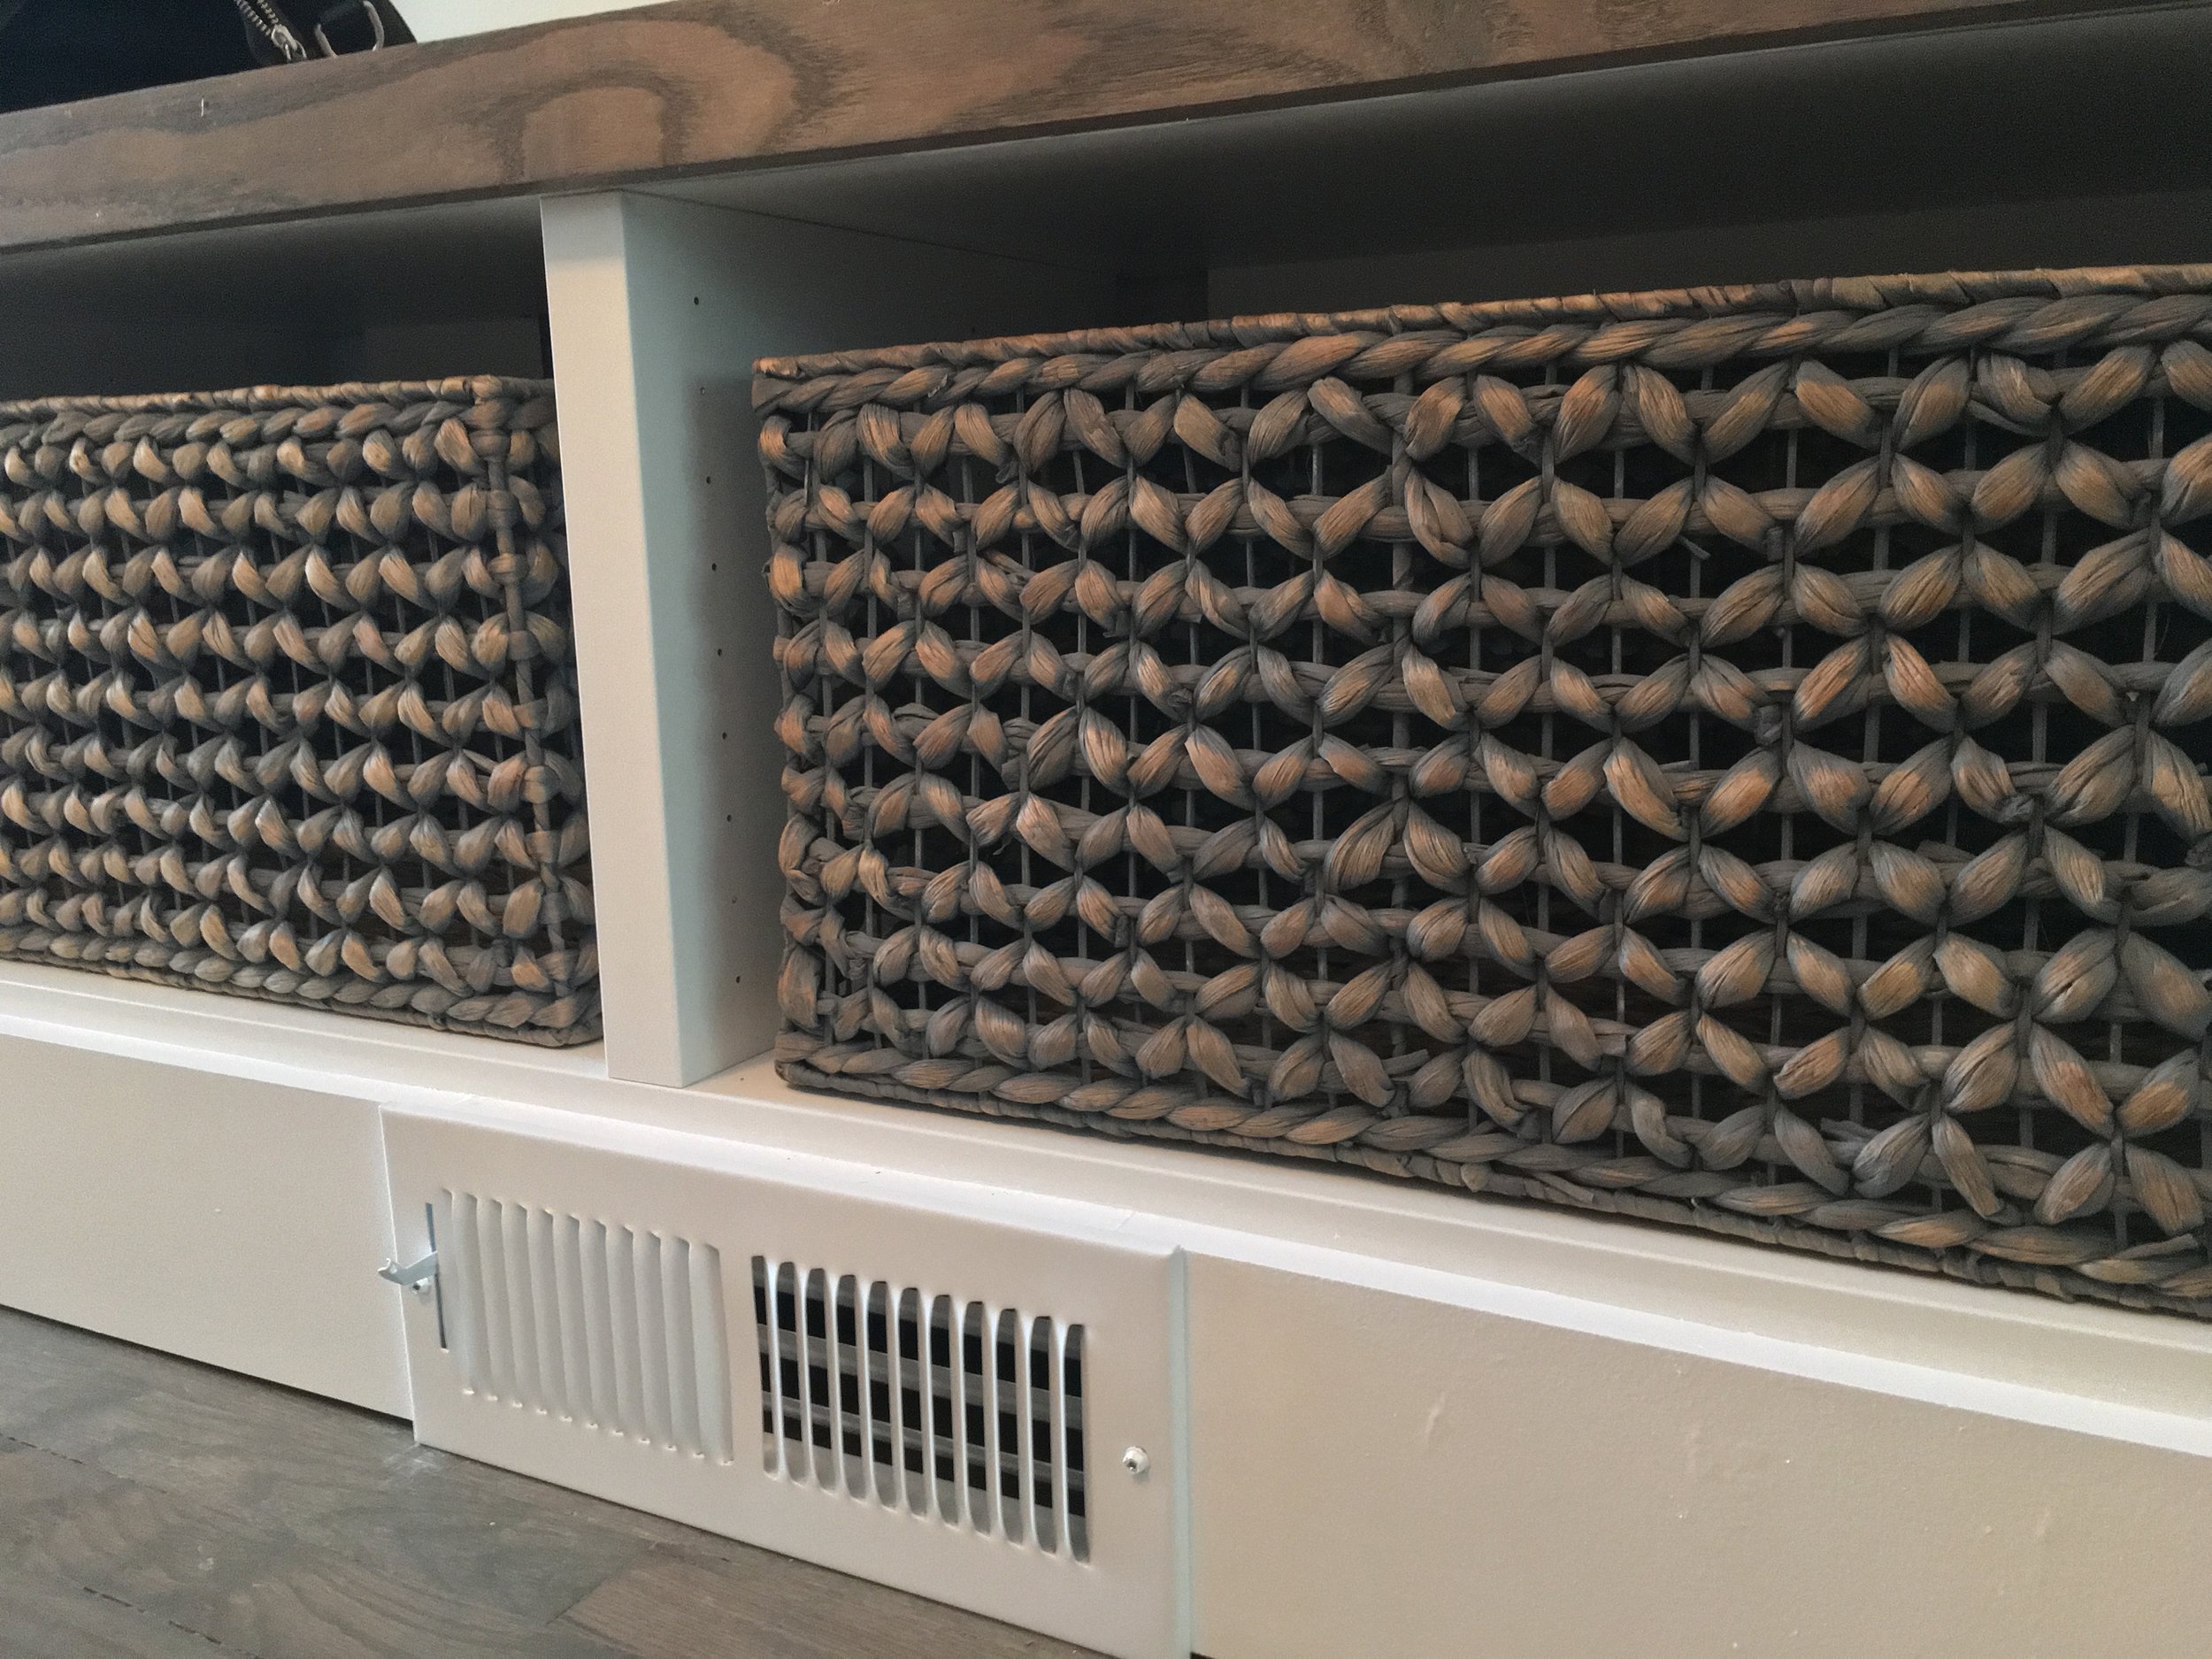
First, I measured the space to see exactly how large I could make it without disrupting the flow of the room. Second, we went to our local Ikea to find a piece that could serve as the base of the bench. A must have was storage (for us that meant 3 baskets we found at Home Goods after searching 20+ stores) for seasonal items. We chose this low profile TV unit from Ikea that includes 3 storage spaces. This unit was nowhere near the height we needed for a bench, so I made a base using 2X4’s. The trick here was to leave precisely enough space to add our 5in base board molding around, which created a true built-in. If memory serves me correctly, the base was 5in high.
The next hurdle with this project was adding some duct work to connect the vent on the wall to the new vent on the outside of the built-in. I simply measured the distance from the wall to the front of the unit, purchased enough duct work to make a custom extension and secured it with screws to the existing duct. Geez these seems like a lot of work, but I promise you this took all of 20 minutes.
Once the base was built, and the ductwork was in place, I pushed the unit tightly against the wall, and measured and cut my 5in base pieces. I attached to the unit and custom base using my brad nailer.

Then it was time for the base! For this I purchased solid oak 5in planks, and a couple pieces of 3in oak to create a crown. I laid the 5in base planks first (using my brand nailer) attaching directly to the unit. I think had to make a custom cut on the crown to ensure that the pieces left enough room for us to slide baskets in and out. Once these were installed, I added a 2in piece of MDF trim to the sides of each unit enclosing the gap between the unit and the wall.
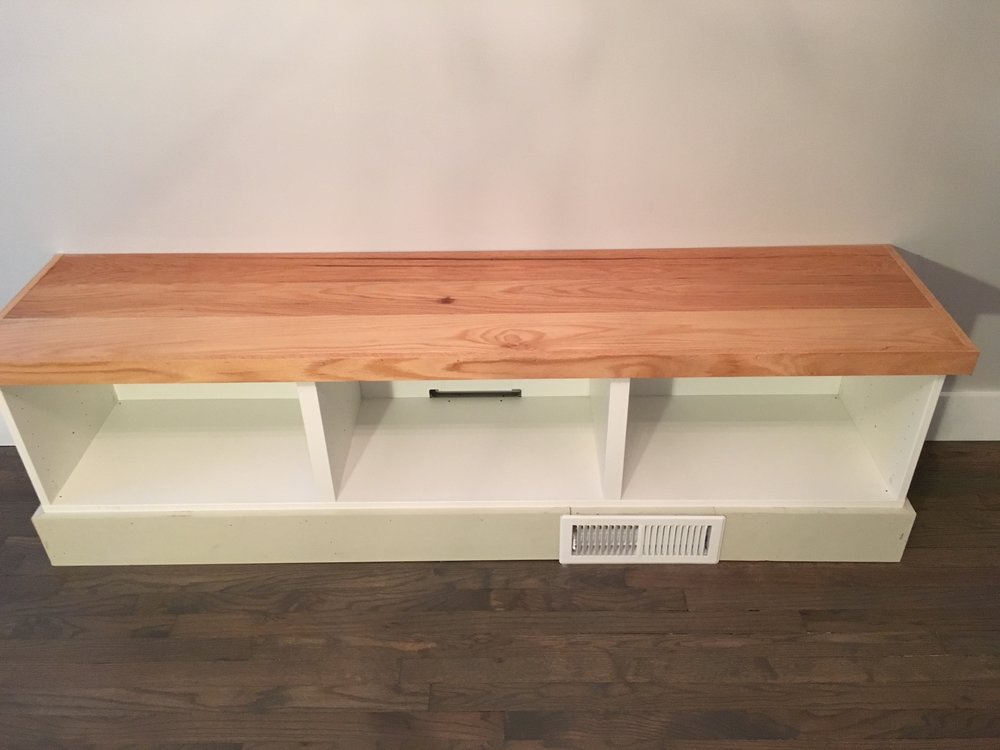
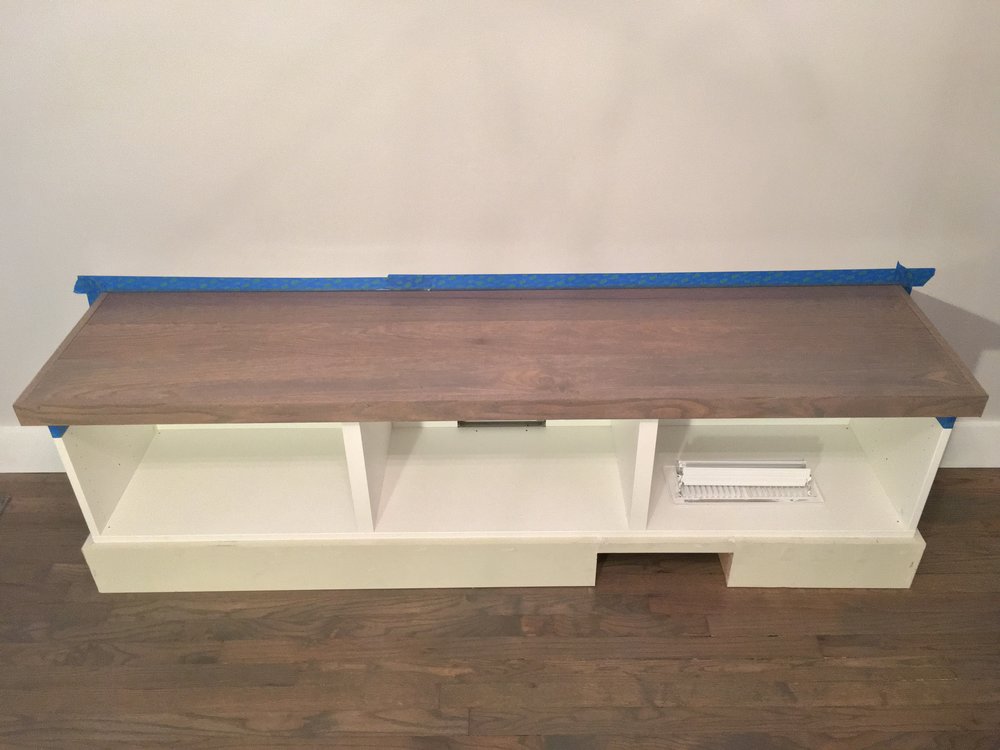
As with any oak you want to ensure you prep the surface accordingly. I sanded all of the oak with a final sand paper, water popped with a wet towel, and applied 1 coat of cool gray stain to match our floors. 2 more coats of triple thick polyurethane and viola…a smooth and shiny oak base is in place.
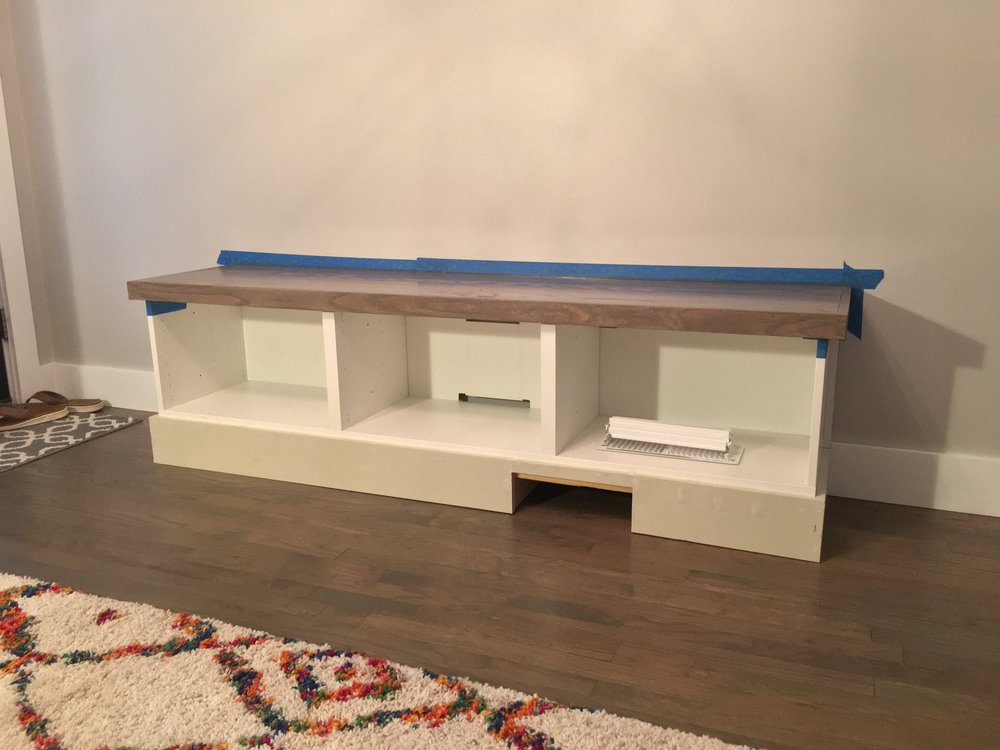
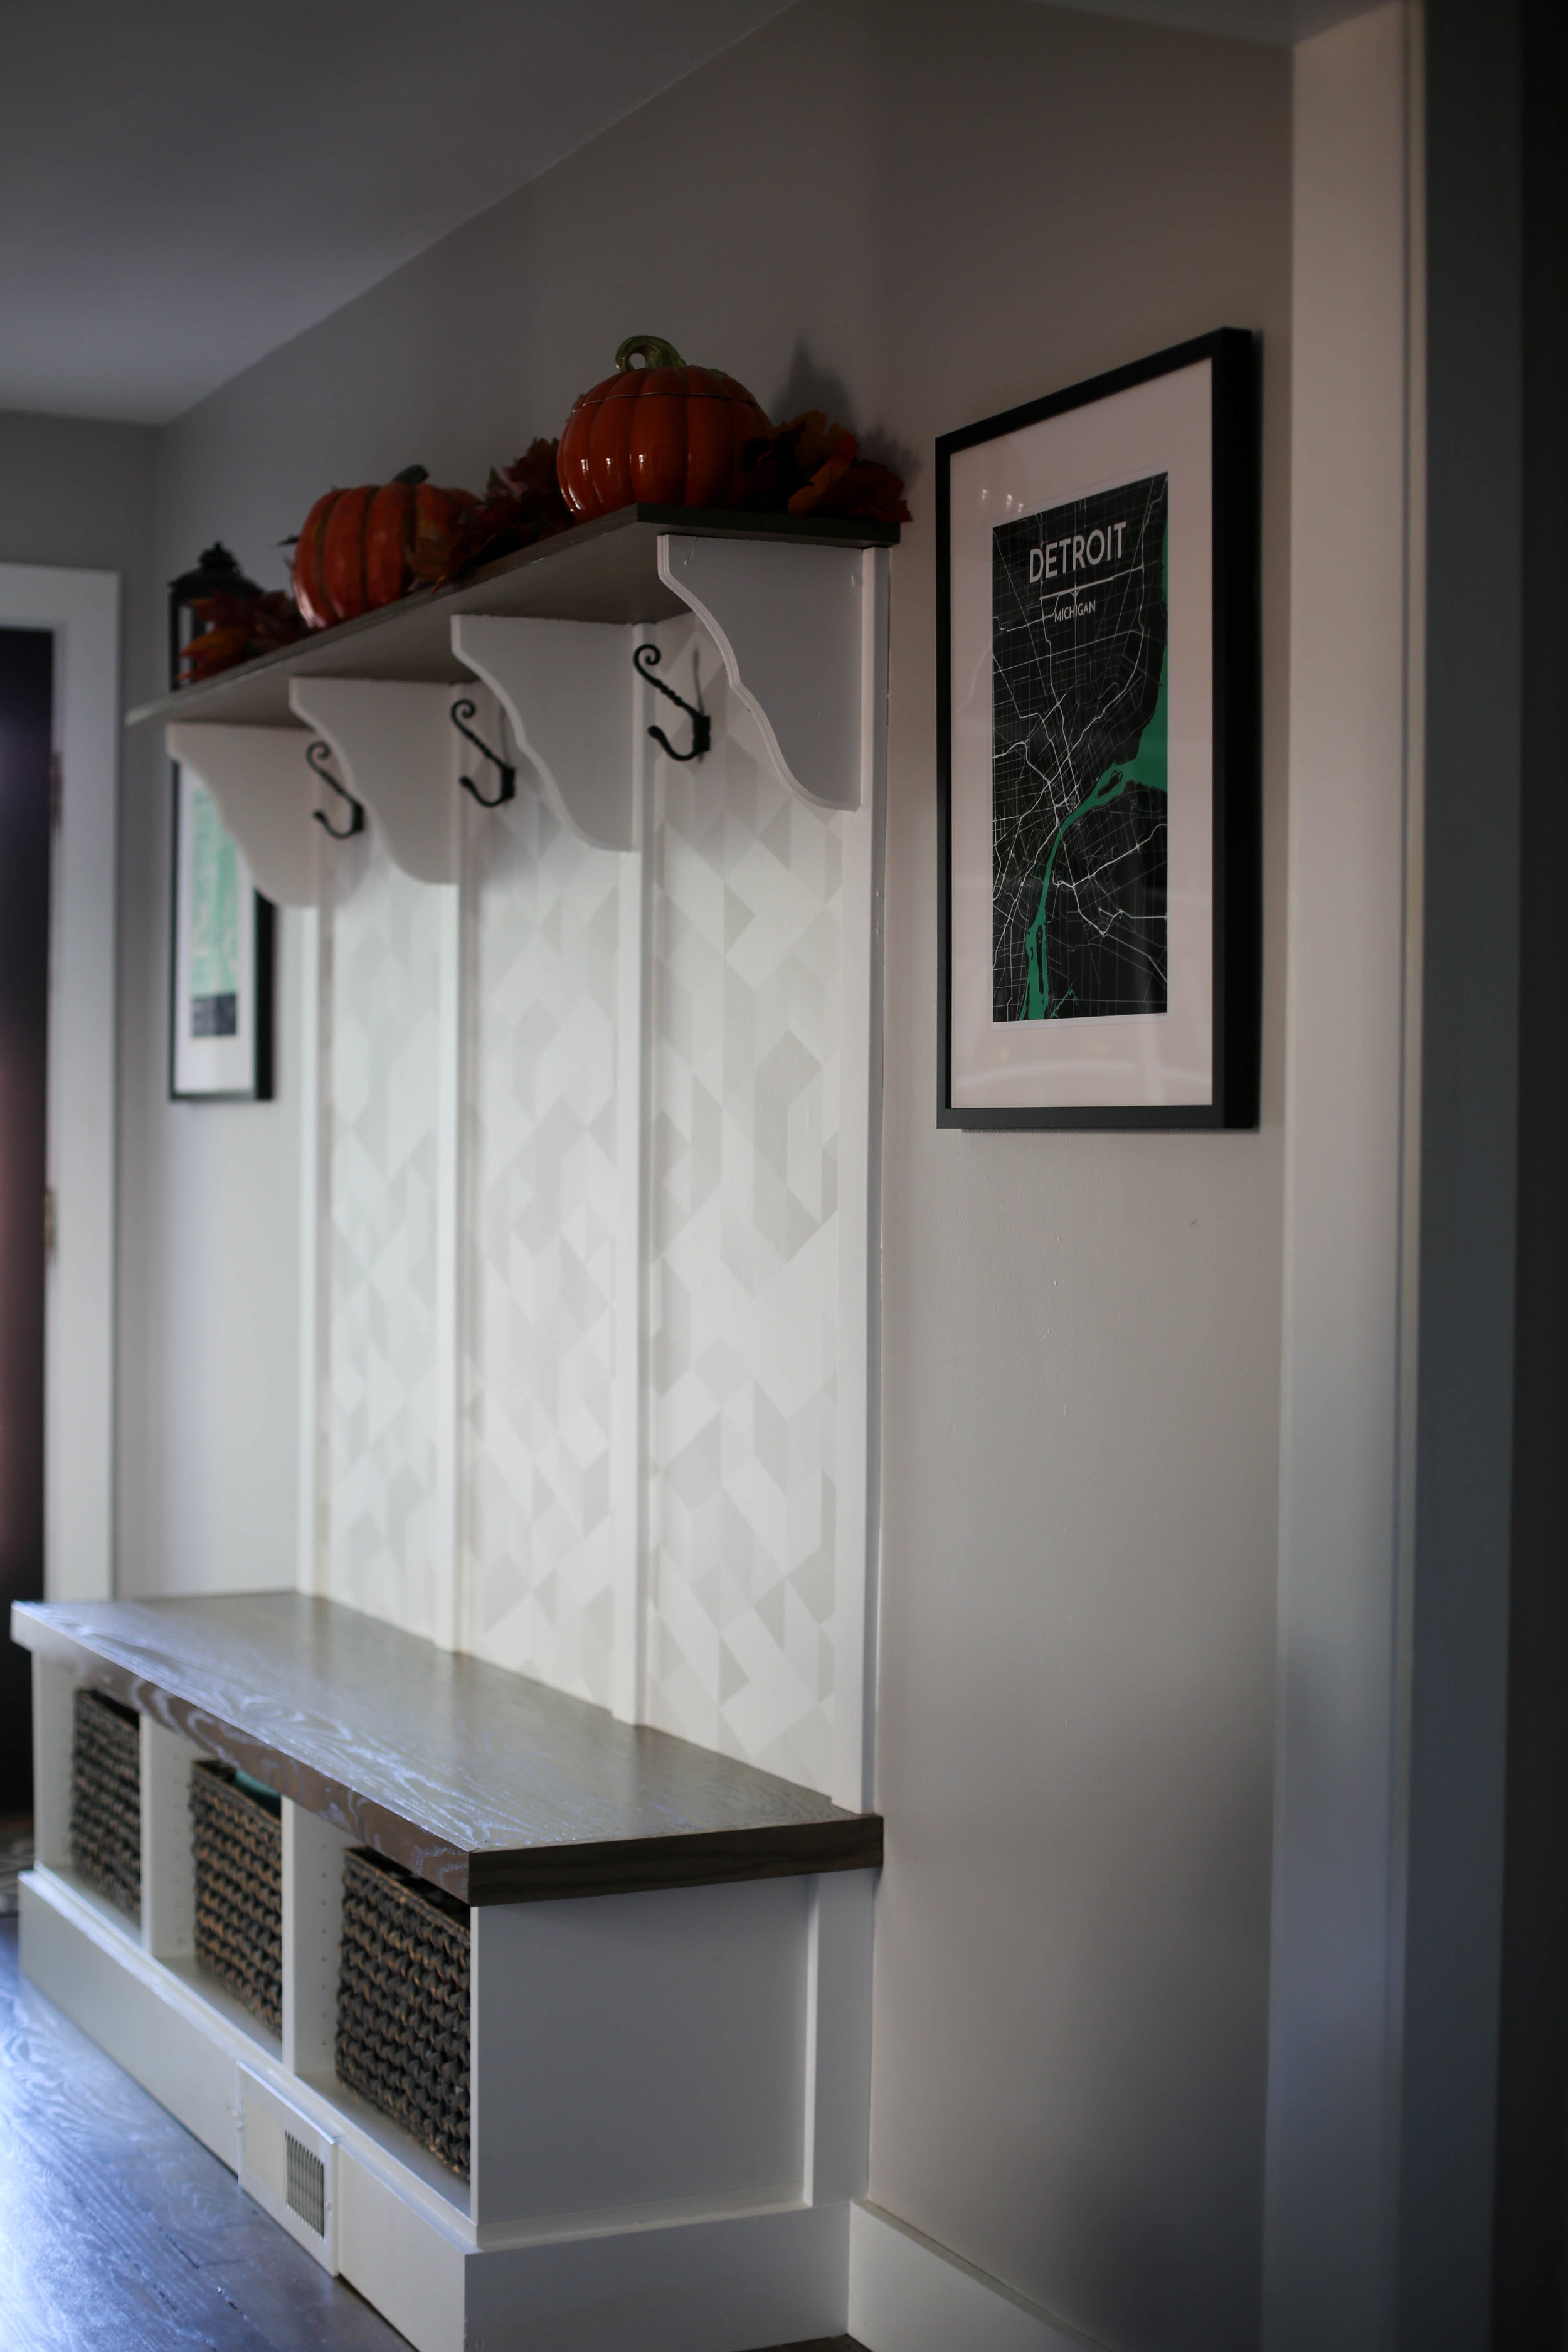
Once the oak base was installed it was time for the vertical 2in MDF boards to be installed – these would serve as the decorative support beams for our top shelf and the corbels for the shelf to sit. I marked my top line where the shelf would sit and measured each of the 4 boards to size – no matter the year of the home you will always find discrepancies in measurement. Each of the 4 were installed using my brad nailer, and the a corbel was added to the top center of each vertical board. I then caulked ALL of my newly installed MDF boards, including the base boards, and corbels and filled all of the brad nail holes.
While the caulk and hole fillers was drying I took a piece of 8in oak shelving and cut to the exact width of the base. Once cut, I placed on the top of each corbel to ensure proper placement, marked the wall, then prepped the oak (same procedure as the base) prior to adding stain and poly. Once dried, I set aside while I painted all of the MDF boards and corbels.
Once all of the paint was dry I placed the top shelf in place and secured to the corbels with wood glue and a couple brad nails – be very careful and precise when you nail down.
That’s it. Seems like a lot, and it certainly is time consuming, but I had this completed in about 8 hours (4 of which is required dry time). As always, please comment with any questions and we will help in anyway possible!
enjoy!
much love-
danielle (and michael)
xoxo

Clark + Aldine is fully licensed and insured.
© 2024 Clark + Aldine | Interior Design Websites by Formcode | Privacy Policy · Terms and Conditions