Close
Hello ☀ We are half way through? the one room challenge! Woo hoo! Welcome to week number 3. In case you’ve missed what’s going on over here I’ve linked our first two weeks to get you all caught up before reading on…you know it just won’t be as magical without the background knowledge ?
So here we are in week 3 of this crazy challenge that we’ve decided to take on with two little dudes coming along for the ride. And yes, in case you’ve missed out we did rip out all of the carpet on our entire second floor…I know we’re wild over here ? Let’s talk about some of the setbacks we’ve had so far: flooring, hardware, our built-in & did I mention flooring? because you know one setback just wouldn’t be enough over here. Originally we were planning to show you all how we installed our hardwood flooring but that clearly didn’t happen.
https://www.youtube.com/watch?v=GpDqcp-PMw8&t=4s
Let’s start from the beginning – once we tore out all of the carpet we discovered our sub-flooring in our master bedroom was a mess. There was a 3/8 inch difference in height from the hallway into our master ?…it may not seem like a lot, but trust me it makes a major difference. And since this room was an addition to the original home there were pieces of the original attic sub-floor mixed in with what the builder had added. It was a mess, a hot hot mess! So Michael cut out all the original sub-flooring and added 2x4s to reinforce the flooring. He then added new sub-floor on top so all of our flooring would be even! ? You know what, I’ll just have him tell you more about what he really did…since I am a little lost over here!
Well D was spot on regarding what was wrong with our subfloor. And she pretty much nailed what I had to do to fix it. Our main concern with the subfloor was safety, and I can now say that our floor is 100% stable, secure and has not a single squeak! Pop quiz for you all – do you know what makes a floor squeak? If you guessed the wood, you are wrong. It is actually the nails. When you step on a certain area of flooring and hear a squeak that is the sound of the wood moving up and down on a nail. Screws are best to reinforce flooring, but in older homes screws did not yet exist. Dropping some common knowledge on y’all.
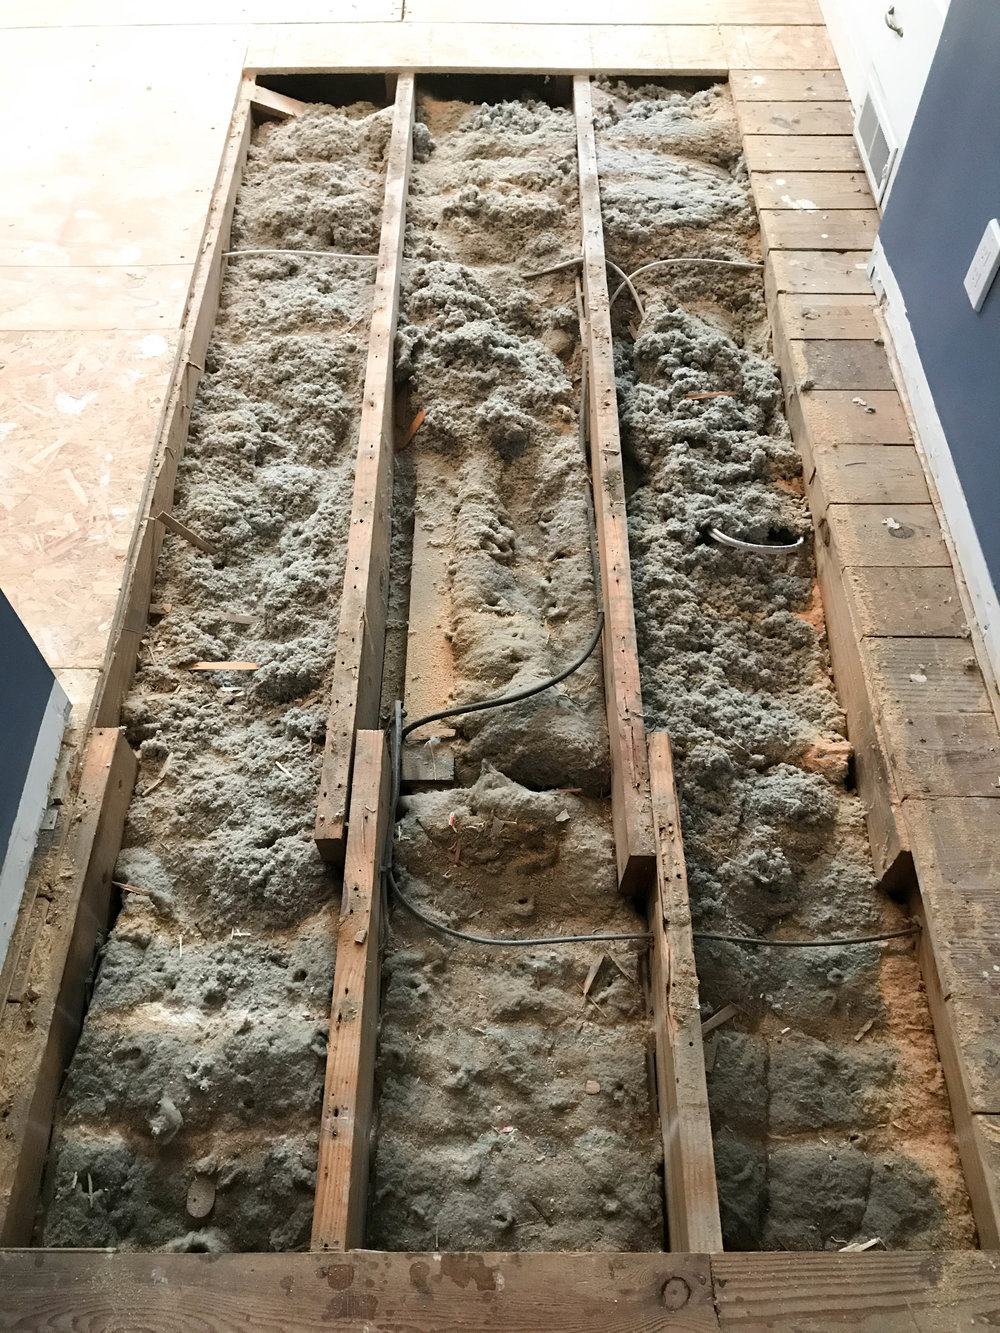
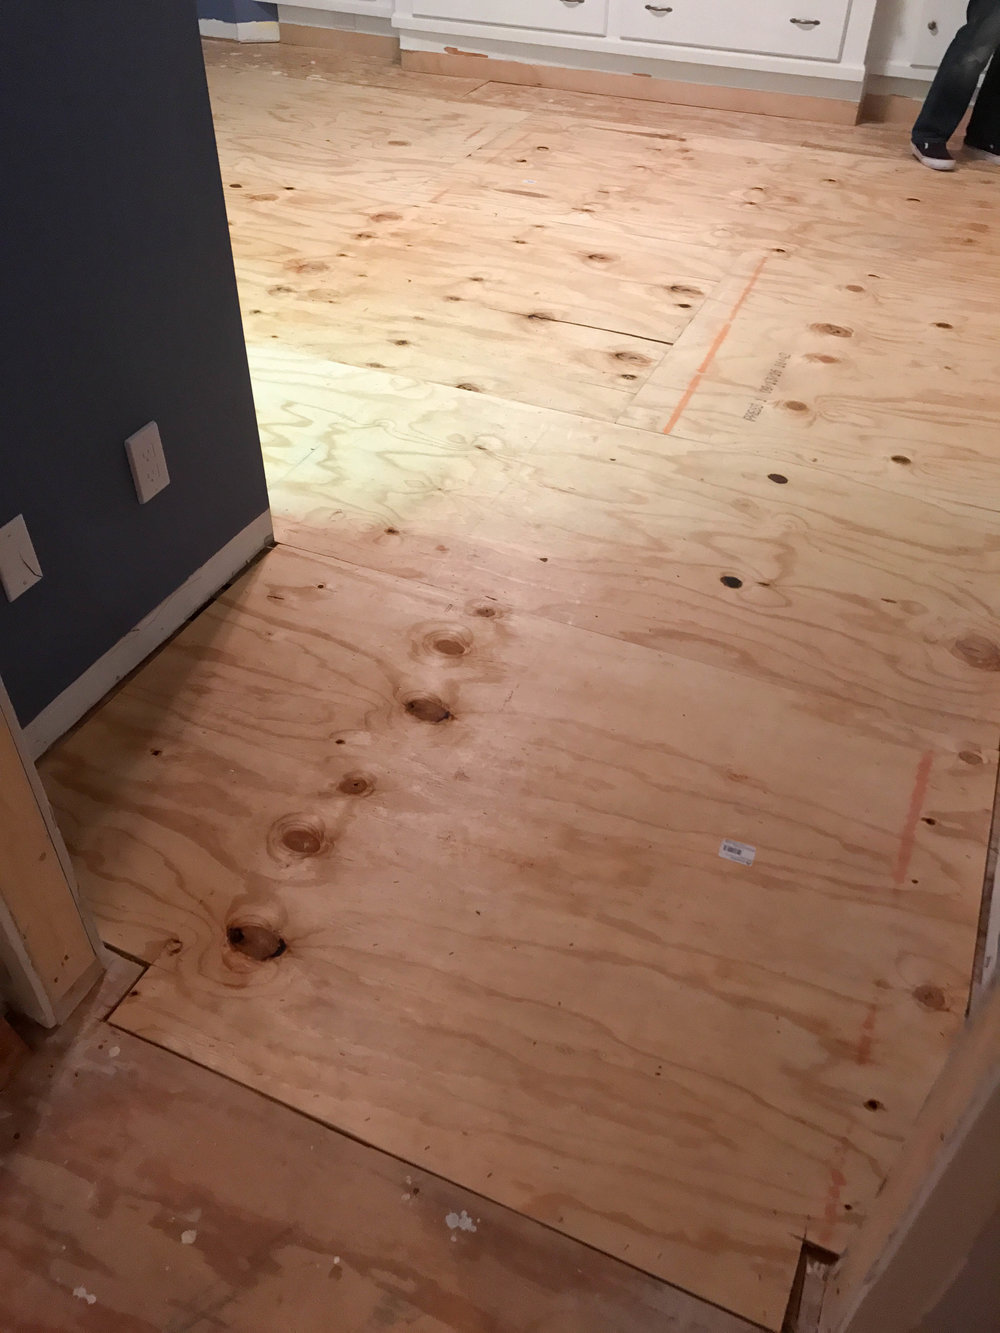
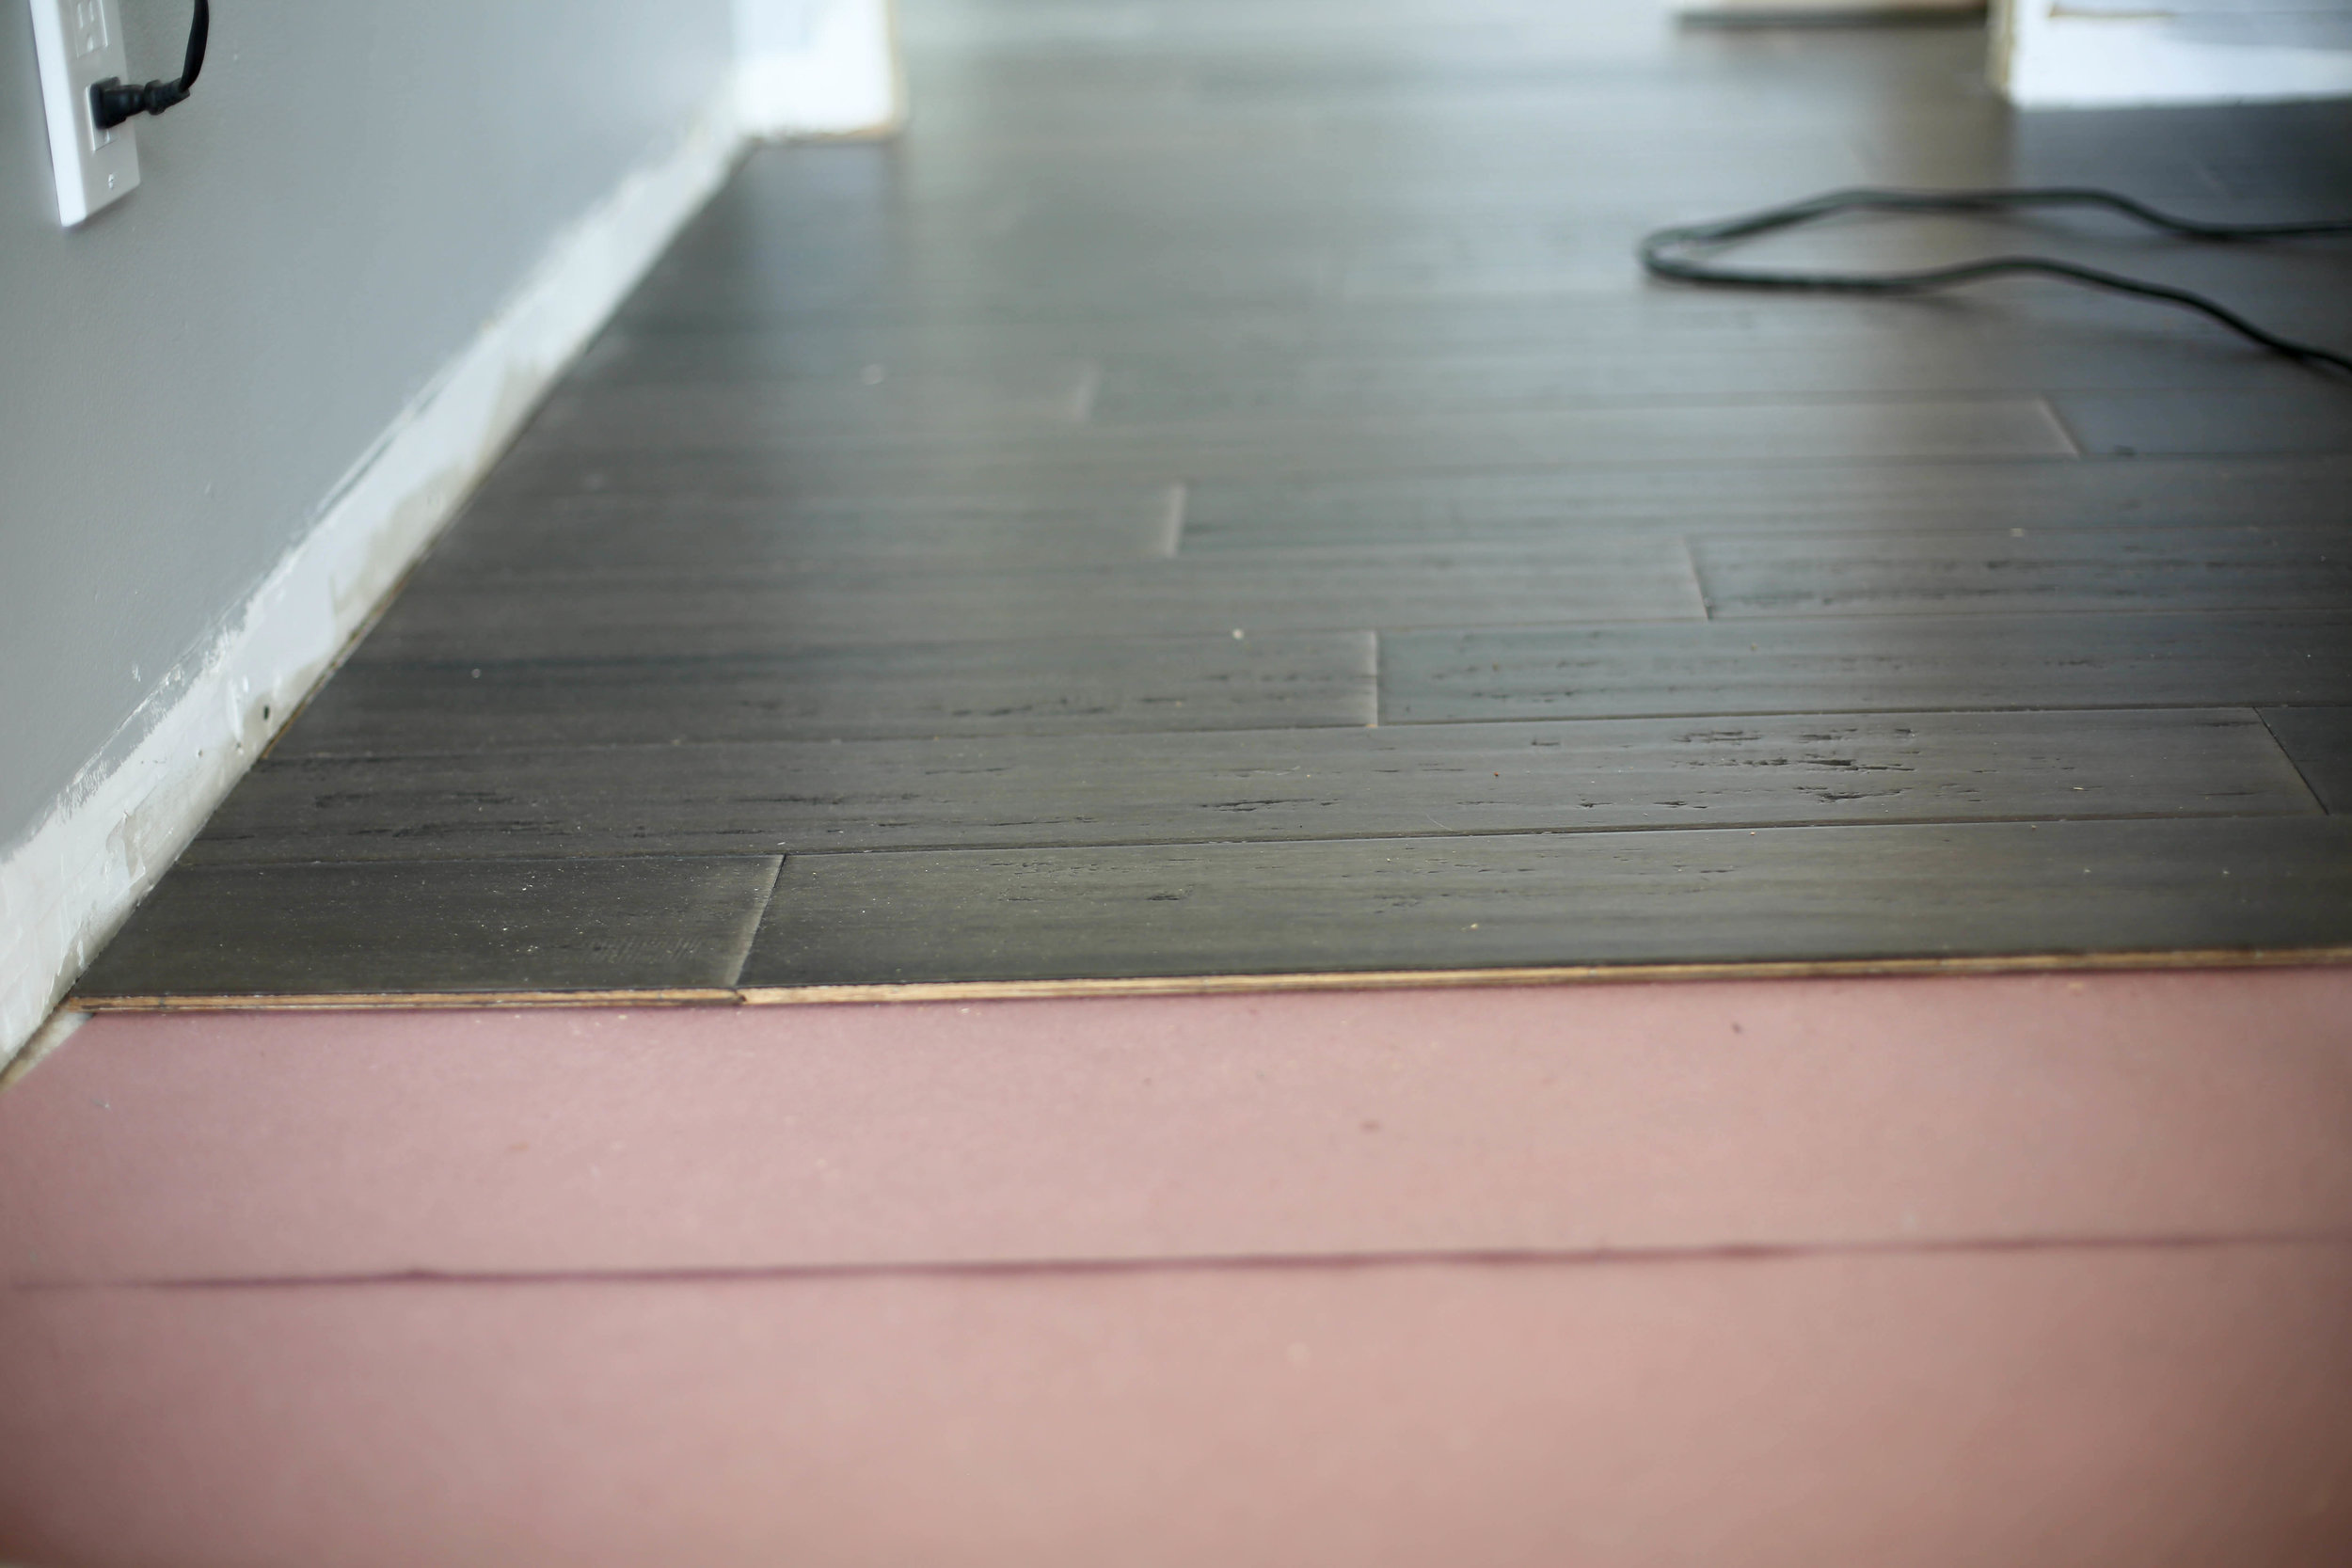
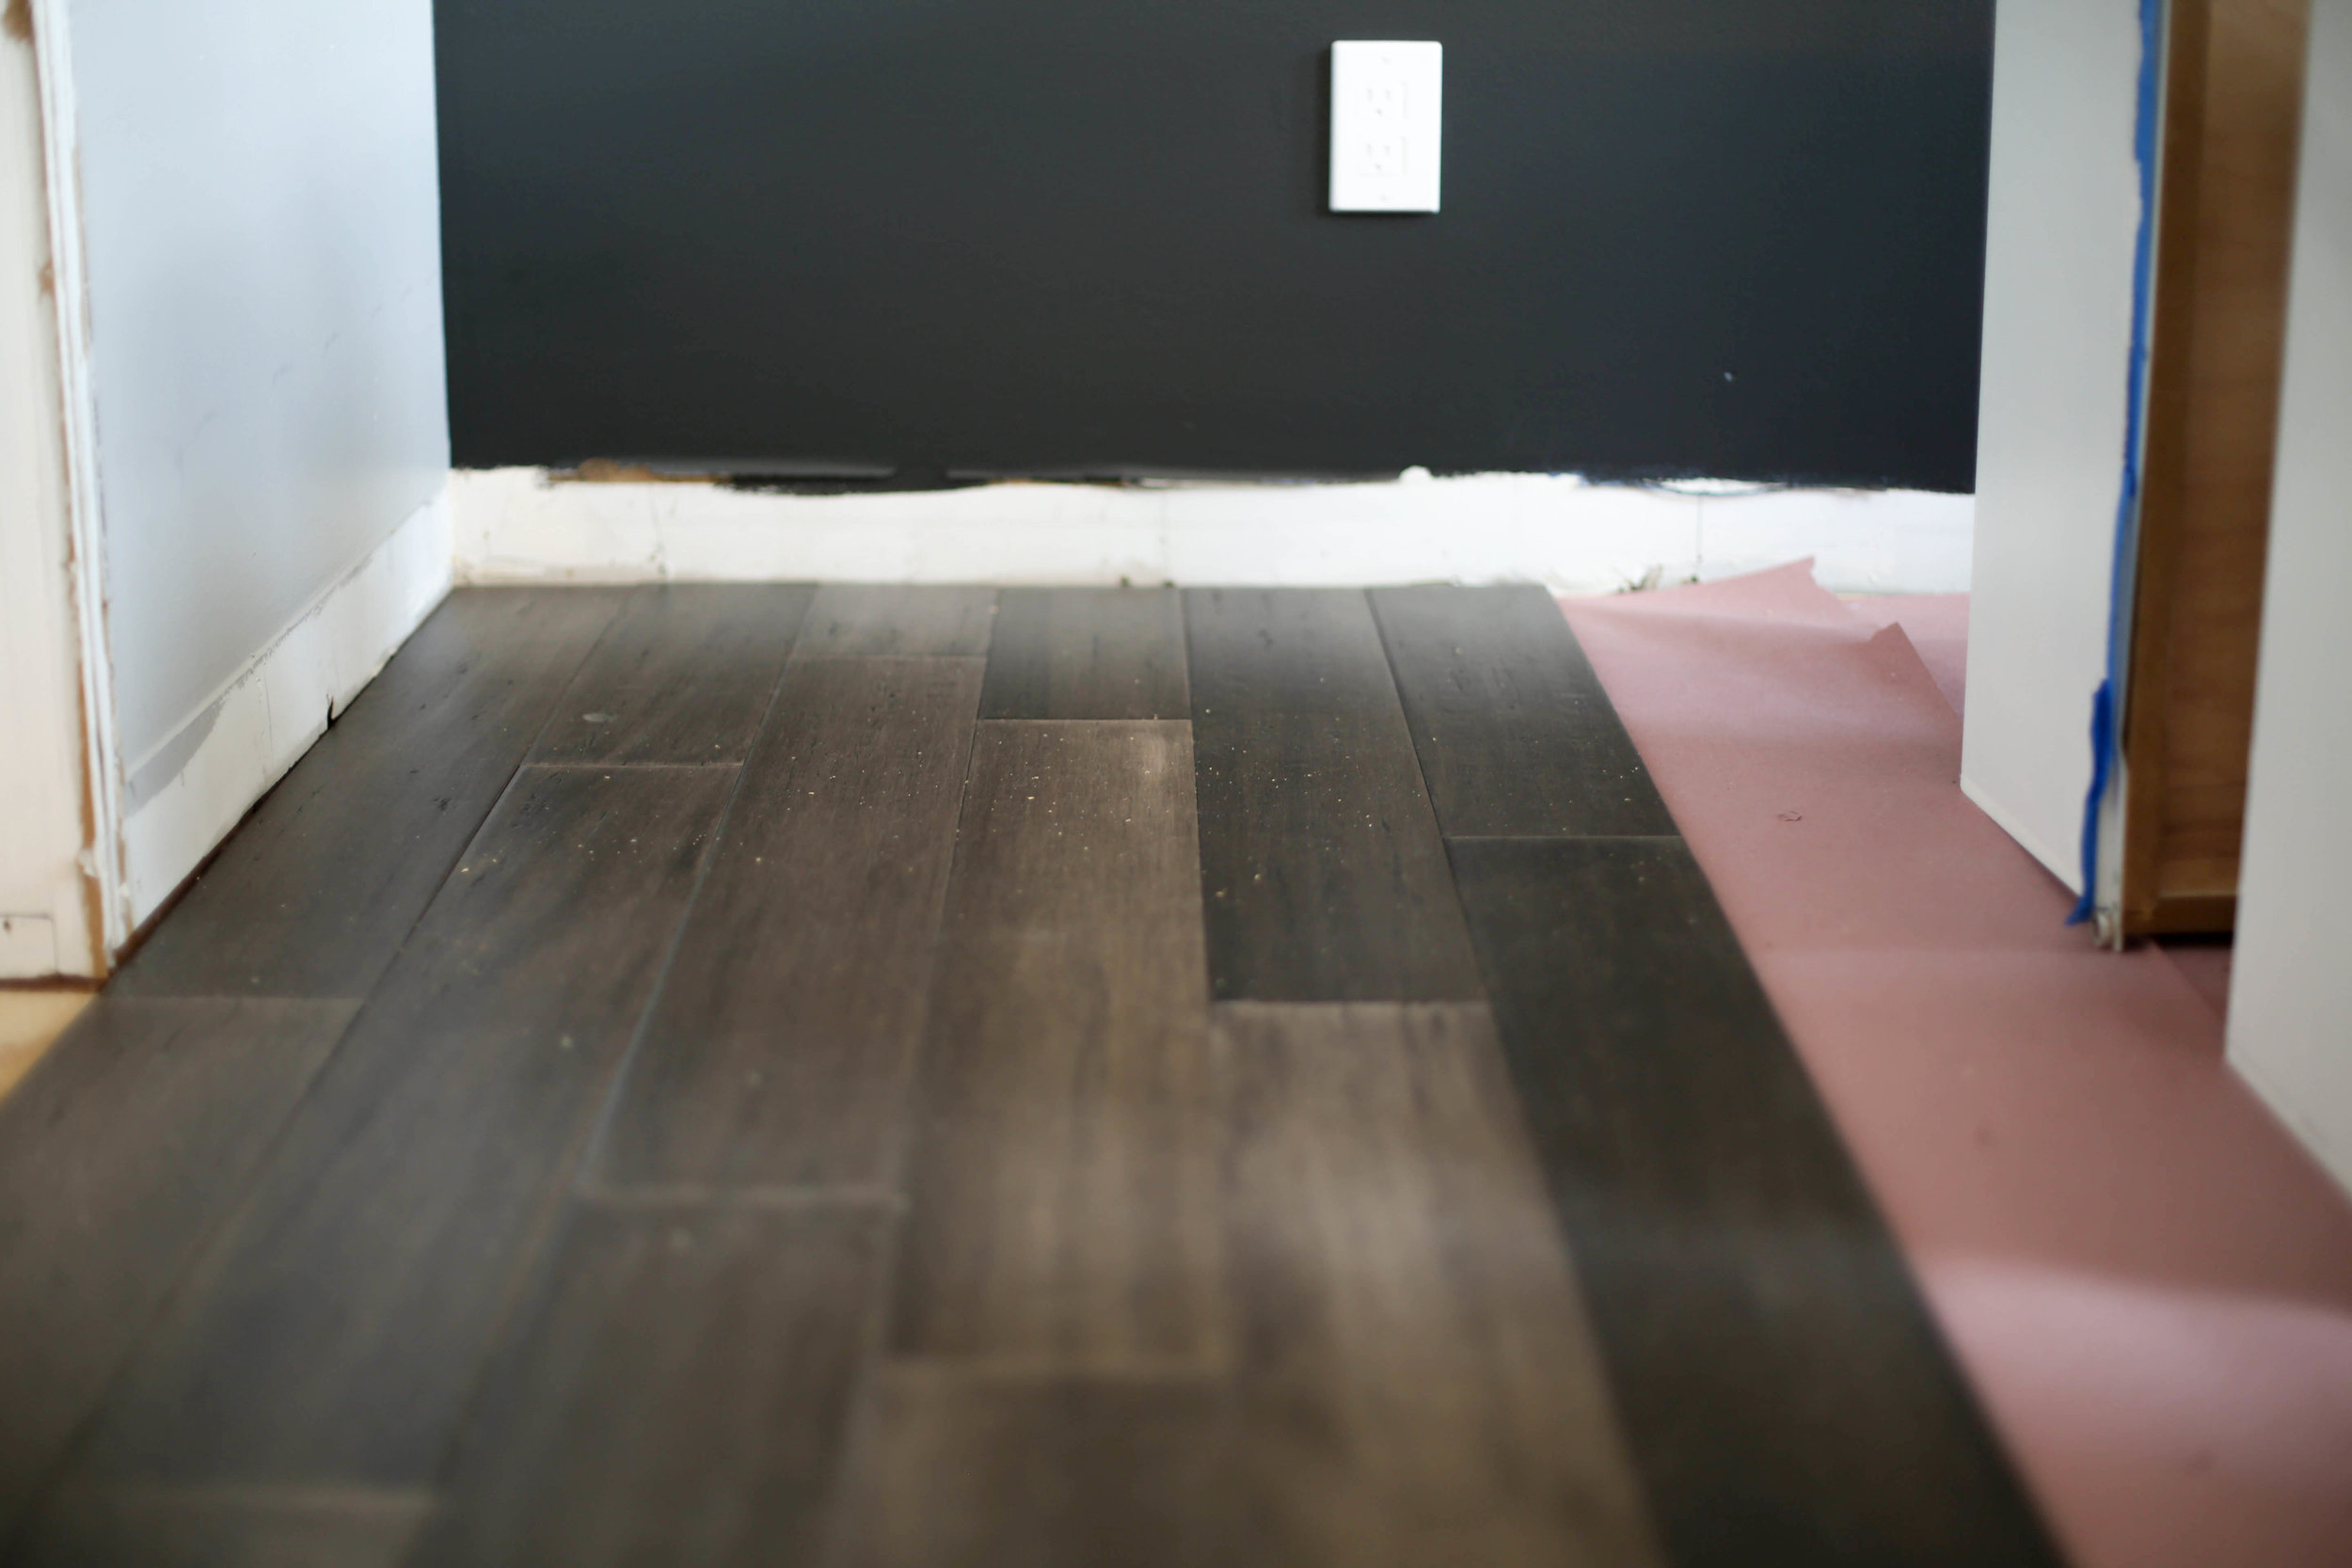
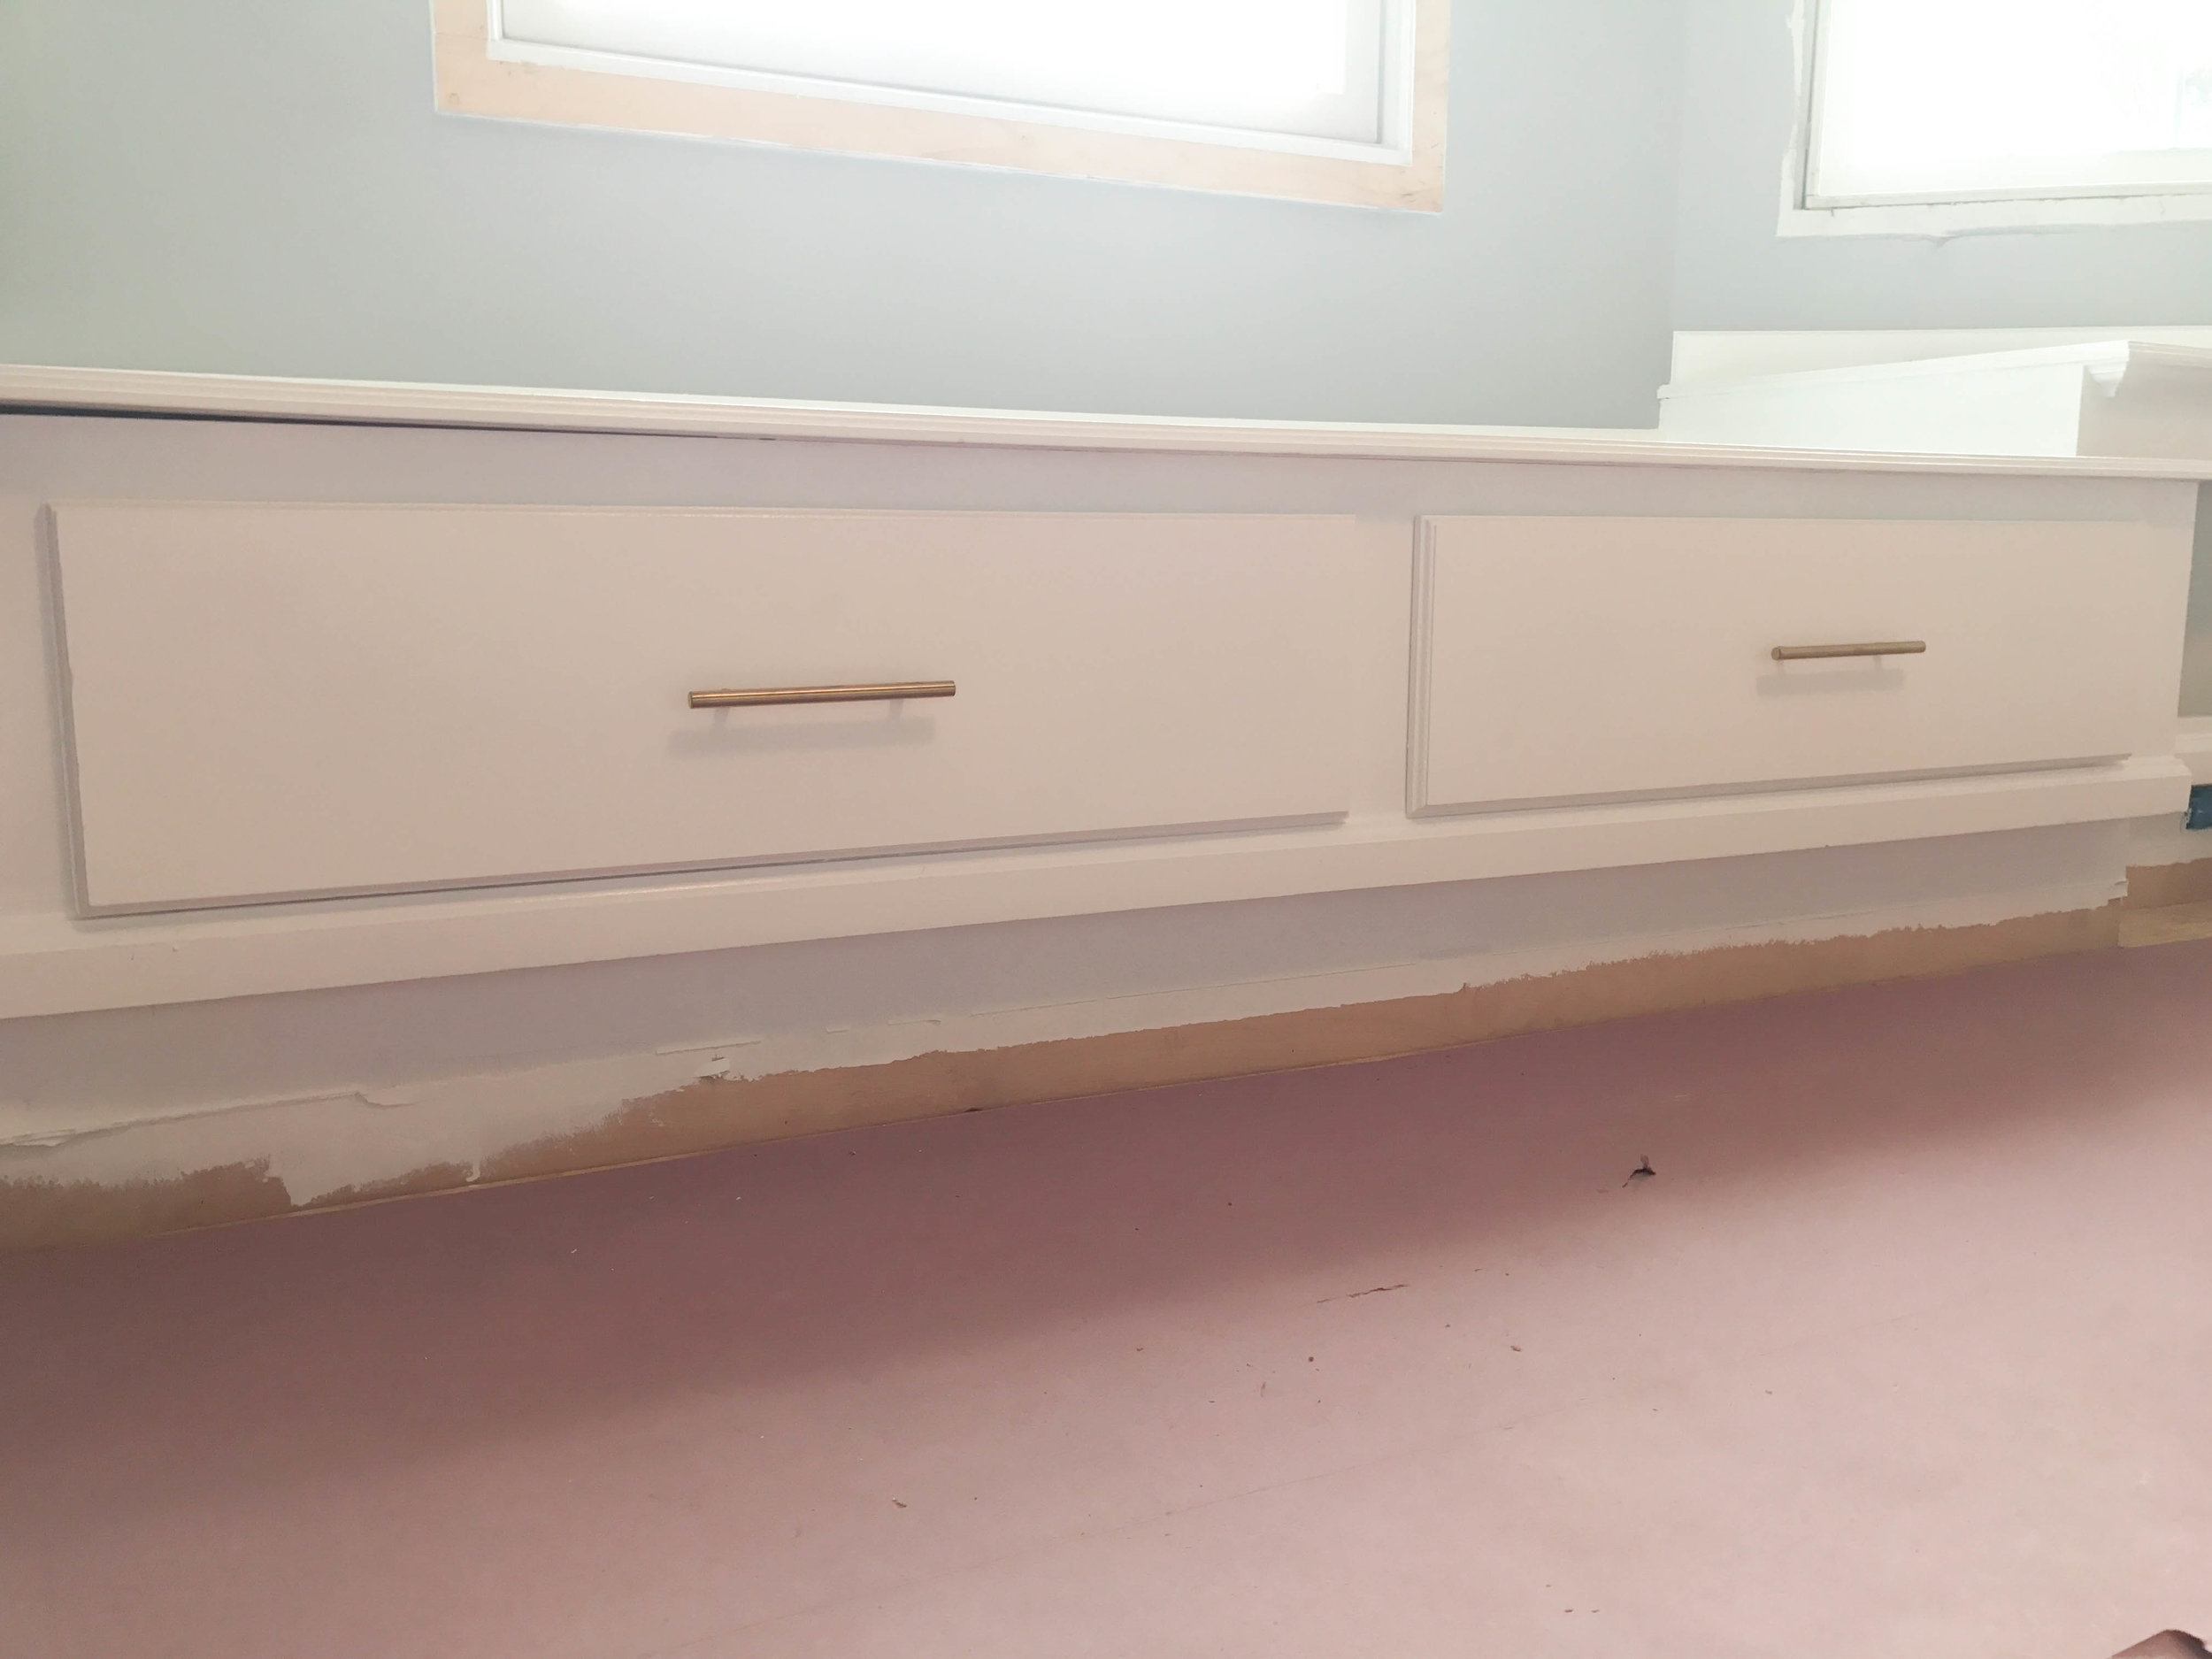
Once all the sub-flooring was installed we ran into a new problem – only 6 of our 26 boxes of hardwood flooring came in ?. Our flooring was now behind by 2 weeks!!! We had to take a pause on the flooring and move on to the built-in. We both love the look of our built-in but the functionality was just not there. Every time you open one drawer you would have to open another drawer or push the drawer to the side with your hip and some drawers had to have two or three drawers open part way to even get into there. Not to mention it was a serious workout every time you wanted to open a drawer at all. It just wasn’t constructed well at all…but Michael was handling all of that.
Last week we talked about how we prepped all the drawers and painted them. This week we added our new hardware and began the process of putting everything back together. However this didn’t come without its own set of obstacles. All of our hardware is metric and we couldn’t find screws long enough to fit through our drawers! Michael to the rescue with both the hardware and the start of reinstalling the drawers!

Oh the metric system. Or rather, oh America by operating on a completely different system than the rest of the world. It could be worse I suppose. Anyway, Danielle made a run to Home Depot for longer screws and instead found a solution that we thought would work well – and partially did work well. She brought me back a tap set that allowed me to increase the size of the hardware openings to the size of the new screws. It looks easy, but is a very precise process. Then the ?went off…why not counter sink the screws into the drawers and use the screws that were supplied with our hardware?!? So that is exactly what I did. I pre-drilled all of the new holes in the front of the drawer with a 3/8 bit, then on the inside took a 7/16 bit to drill a larger hole – the size of the screw head. And it turned out really nice!
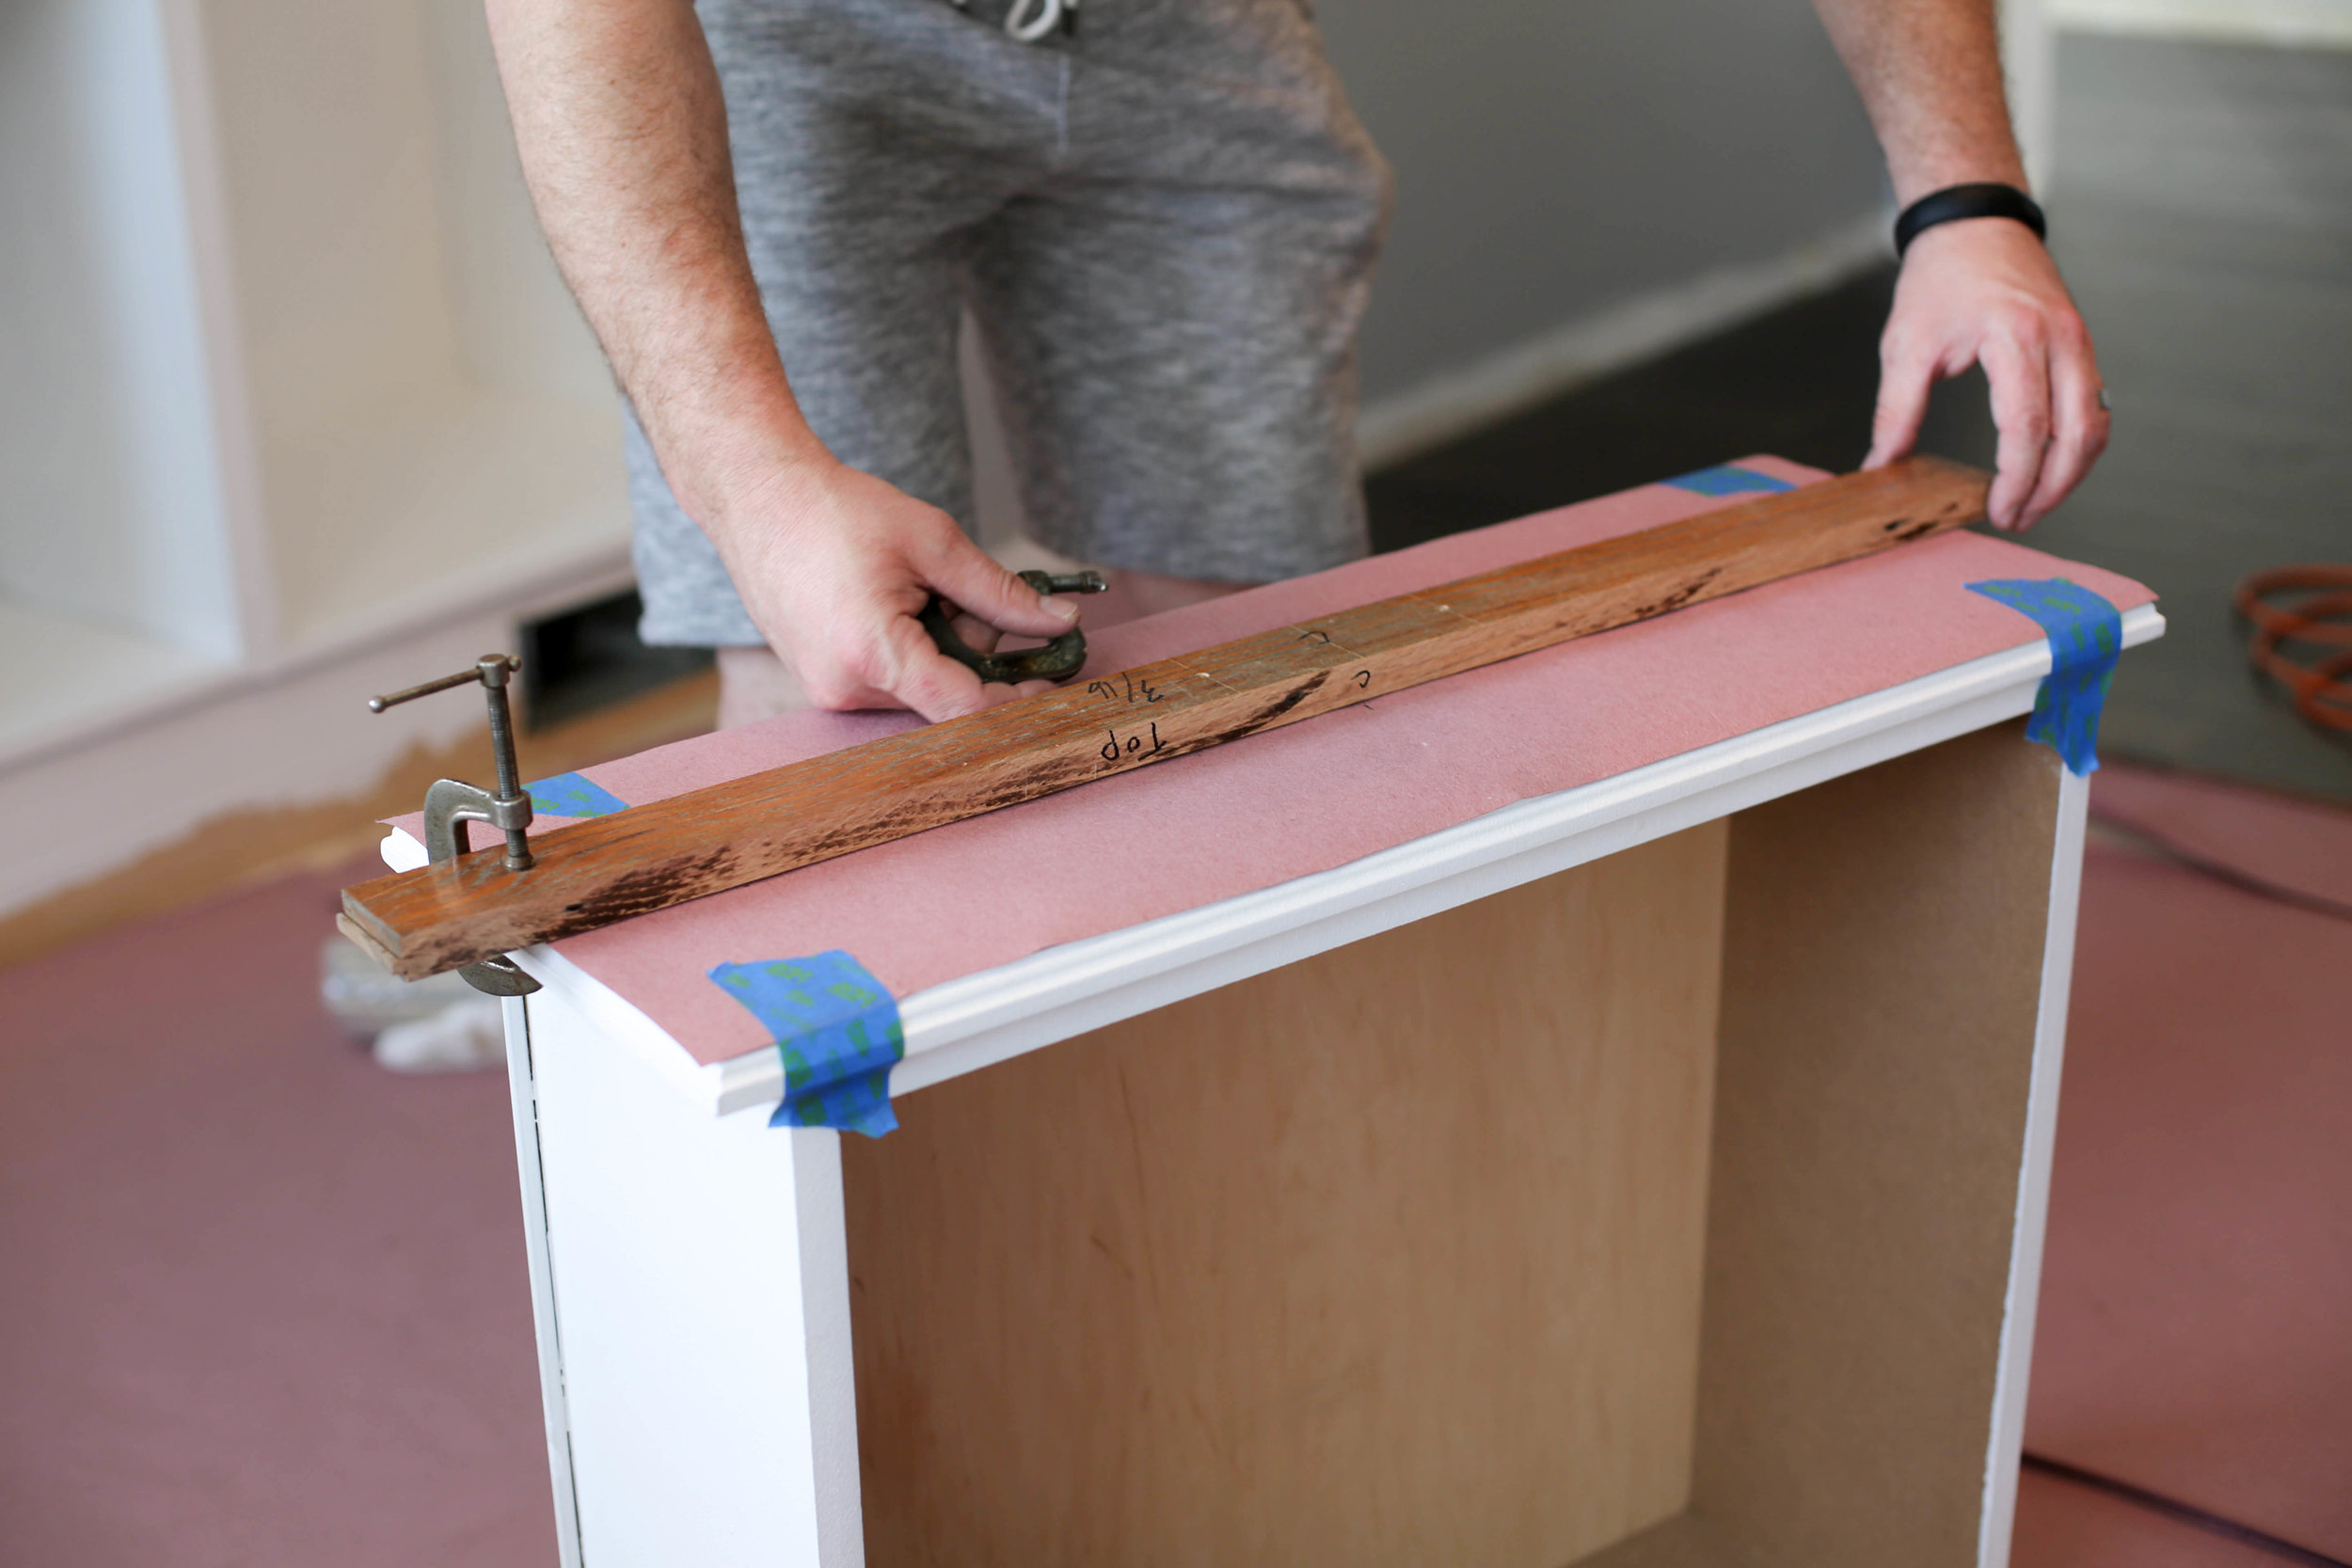
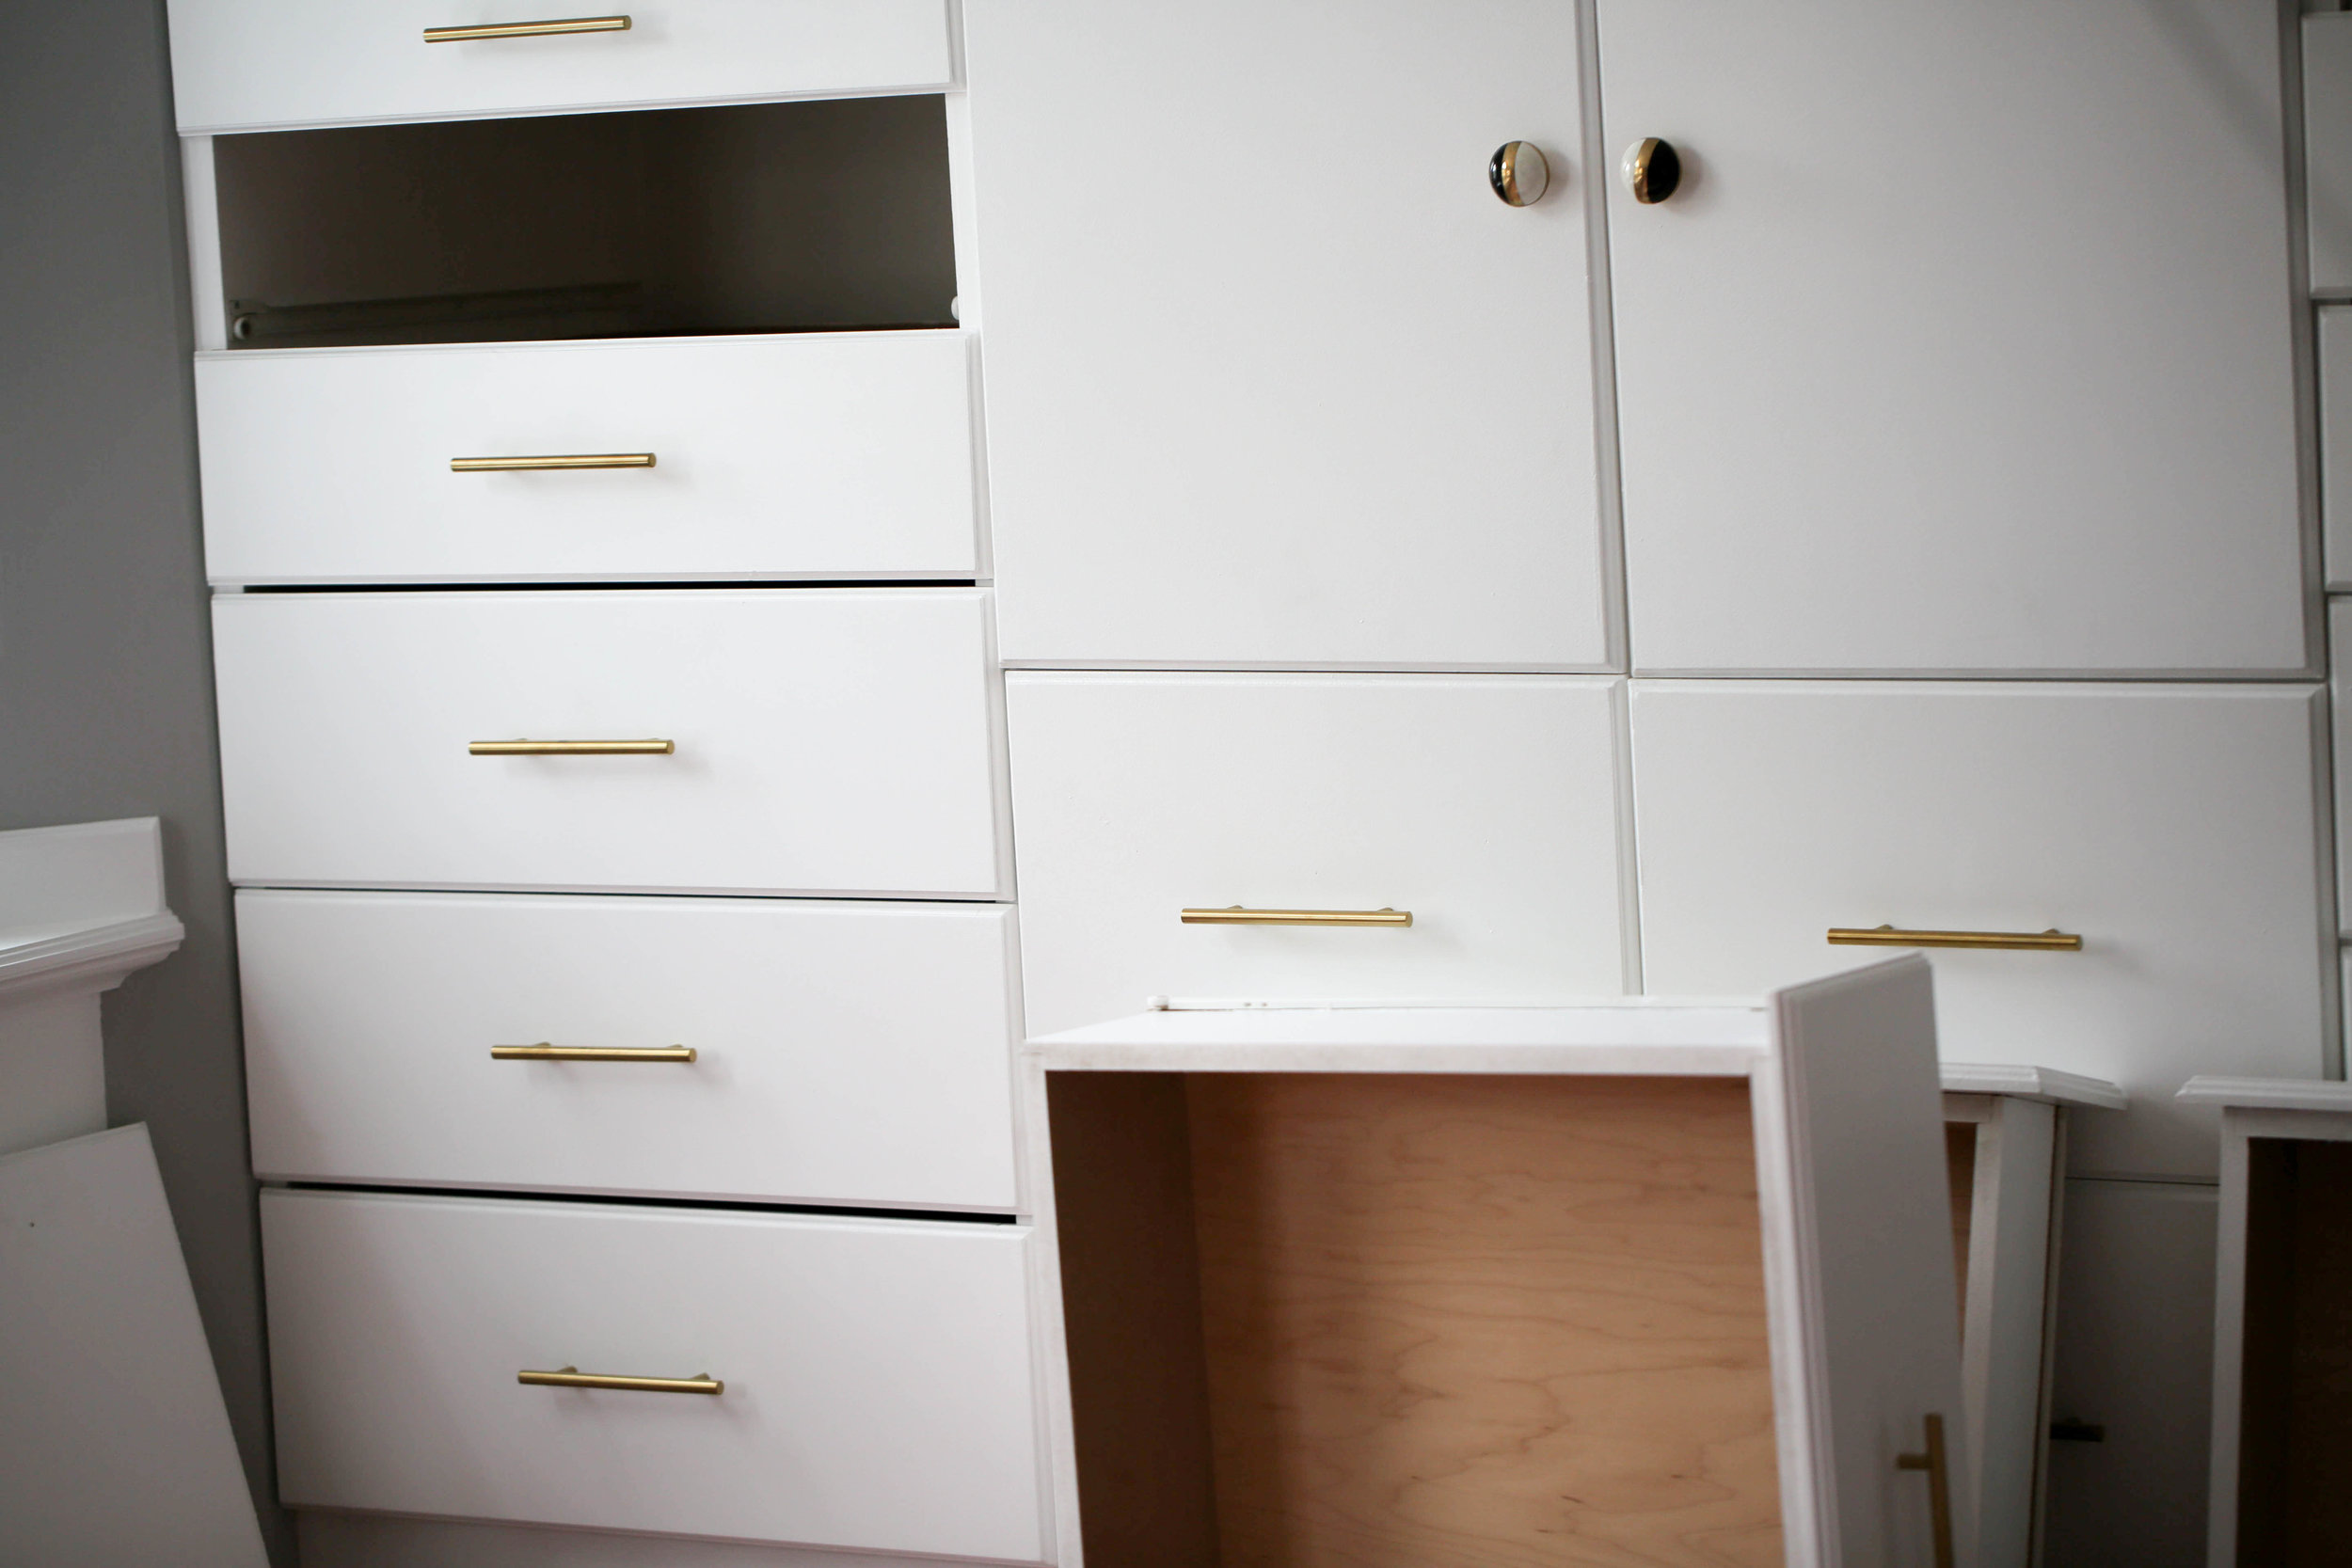
With all the tedious work this week we also managed to start of our nightstand makeover. We are looking just give these a face lift for something new and fun! Stay tuned next week for more on this one. As always thank you for stopping by! I’m looking forward to showing you more of what we have in store. Make sure to follow along on Instagram and Facebook to see more live updates of this wild one room makeover!
much love-
danielle
xoxo

Clark + Aldine is fully licensed and insured.
© 2024 Clark + Aldine | Interior Design Websites by Formcode | Privacy Policy · Terms and Conditions