Categories
- Design Tips (1)
- Design Tutorials (1)
- Uncategorized (349)
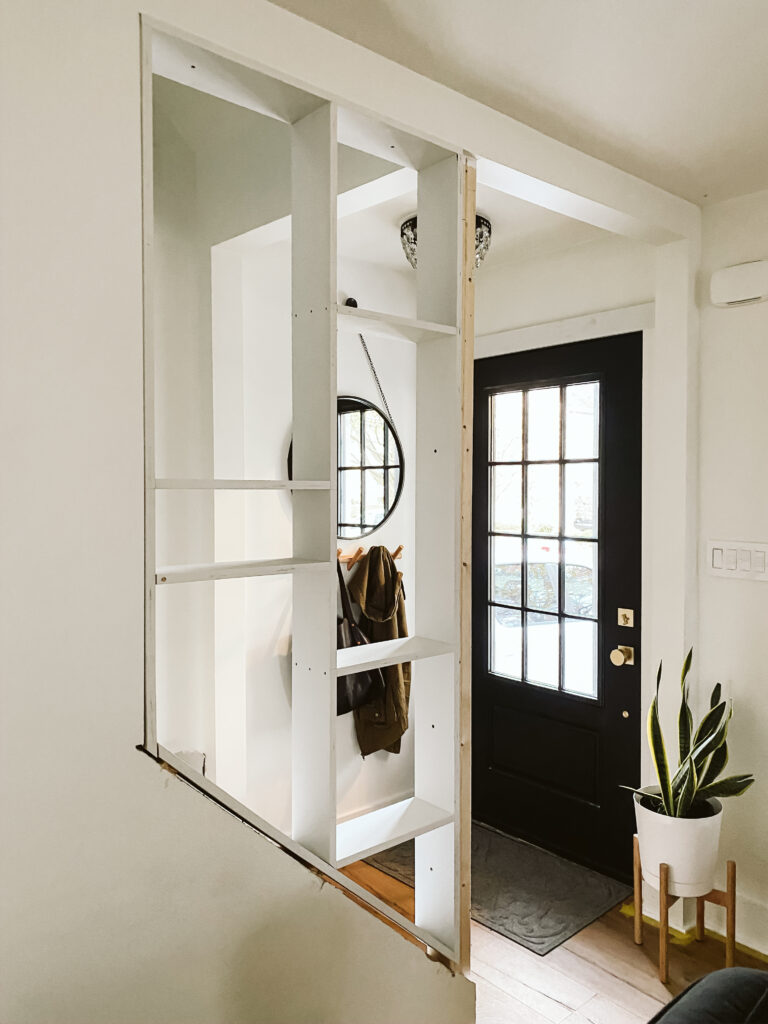
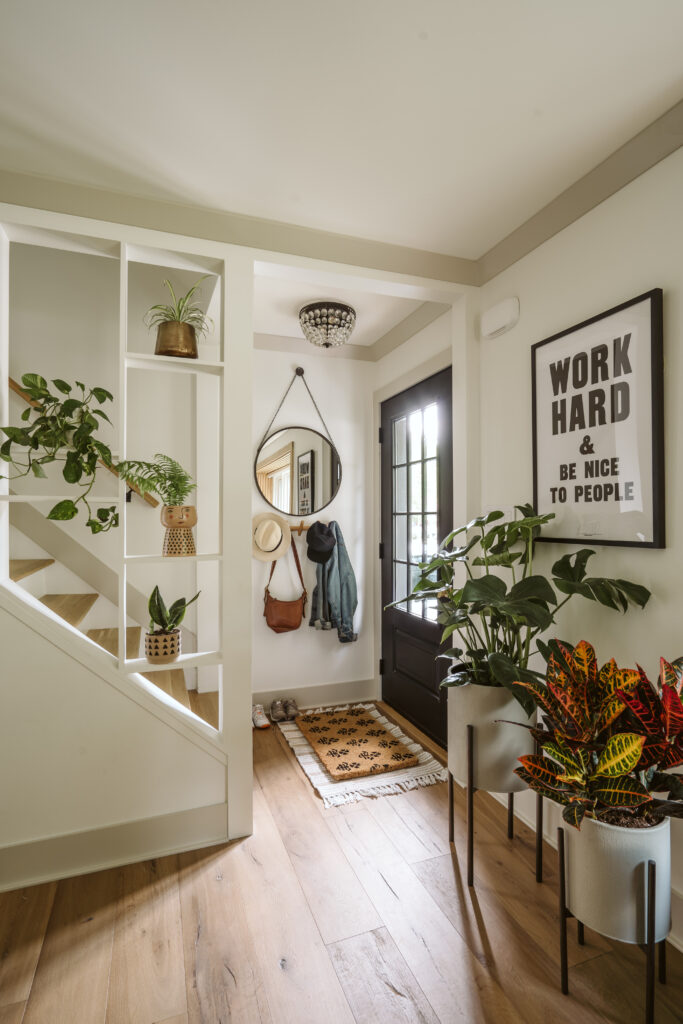
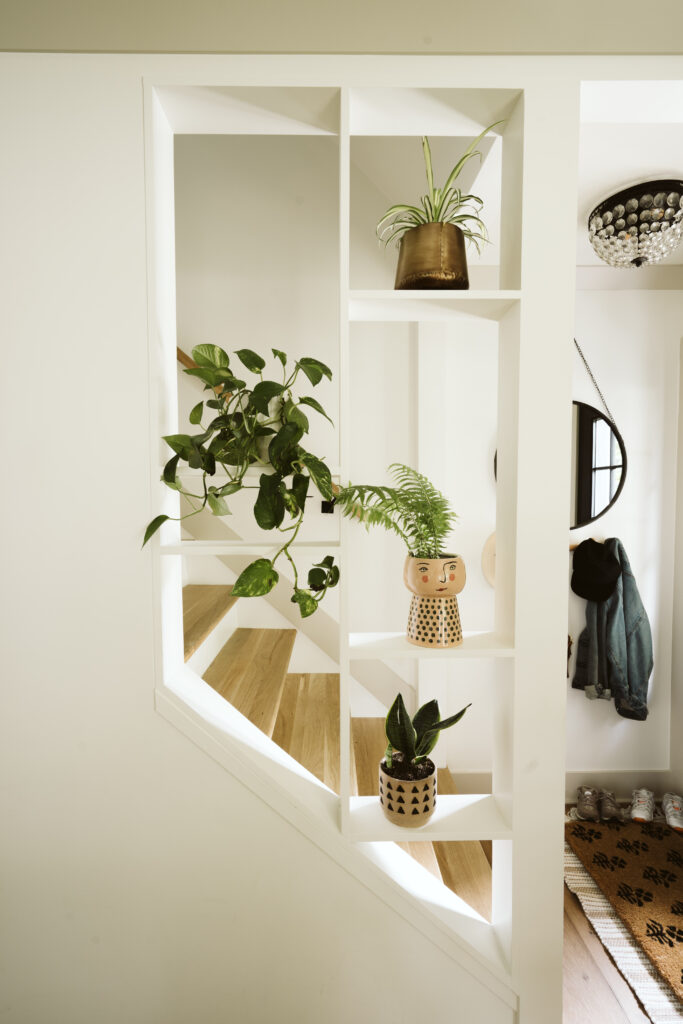
Since we moved into our home we hated the tiny entryway. It felt dark, and claustrophobic, and just didn’t vibe with us. When we decided to completely remodel our Kitchen/Dining Room/Living Room space for the Spring 2020 One Room Challenge we went ahead and tackled the entry way too. This might be our new favorite space in the house because it lets in soooo much natural light and opens up the 1950 bungalow staircase leading upstairs…it is a long overdue update. But we didn’t just open it up and install a knee wall or railing with modern balusters. Nope, we created a completely custom piece. And today we are going to show you how to build a mid-century modern shelving unit.
After we completed the demo in the space we framed up the area where this shelving unit now resides. We really wanted it to be fully open, but due to the floor joists above we needed to leave a post in place near the end of the staircase – it was a blessing in disguise as, once drywalled, was the perfect width to tie our shelving unit in.
Here’s how we did it.
Measure the space where you want to build your shelves. You will need the total width and height on all sides to ensure your unit is a perfect fit.
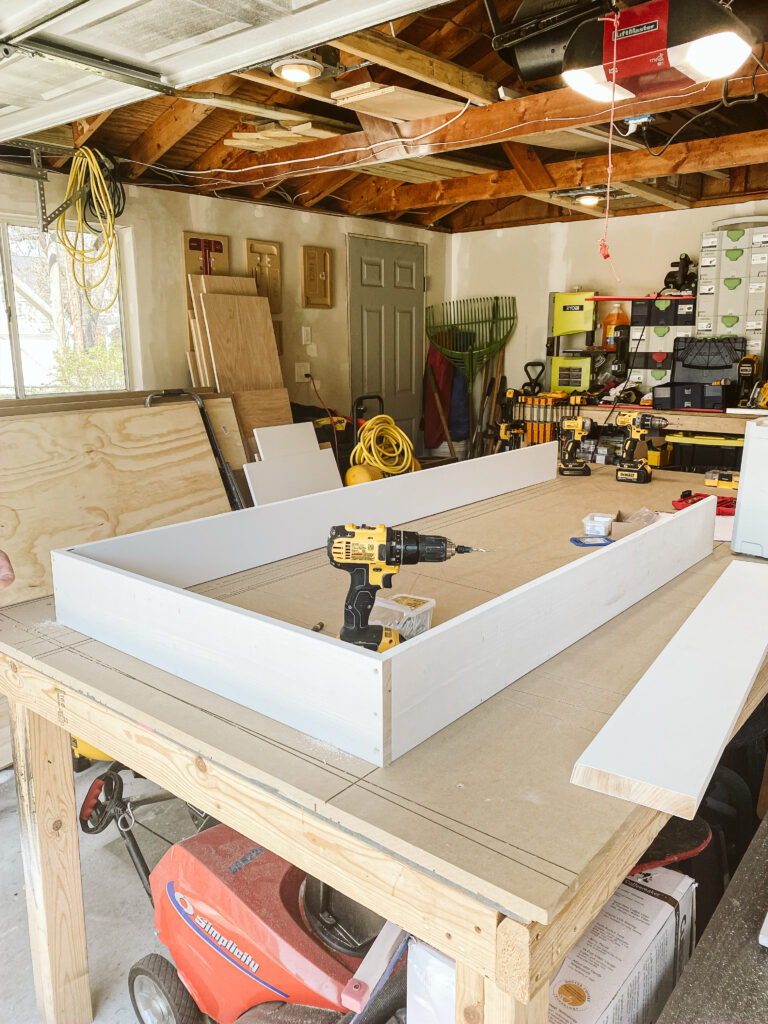
Begin by cutting all of your shelving unit top, followed by the 2 vertical side pieces.
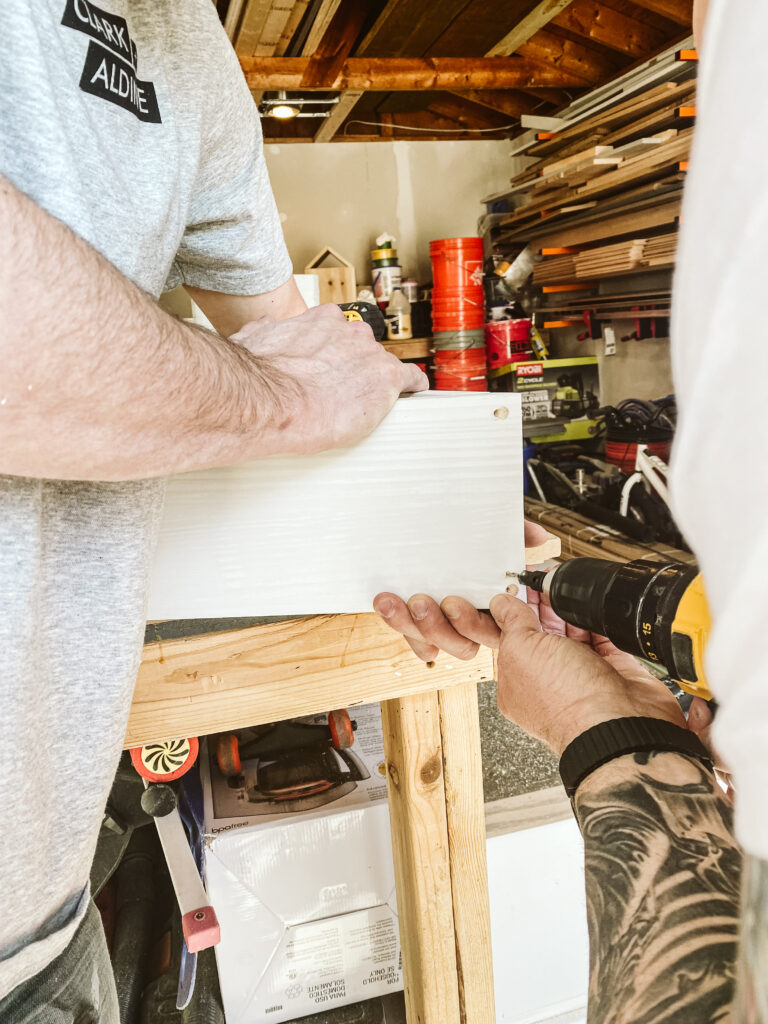
Once you have those 3 pieces cut you can marry them together. Start by holding the first vertical side board flush with the underside of the top board and pre-drill 2 screw holes using your drill and countersinking bits.
Next, attach your two vertical side boards with the GRK white trim head screws. You will notice that the heads sink in, which is great for spaces that may be exposed once you install the unit.
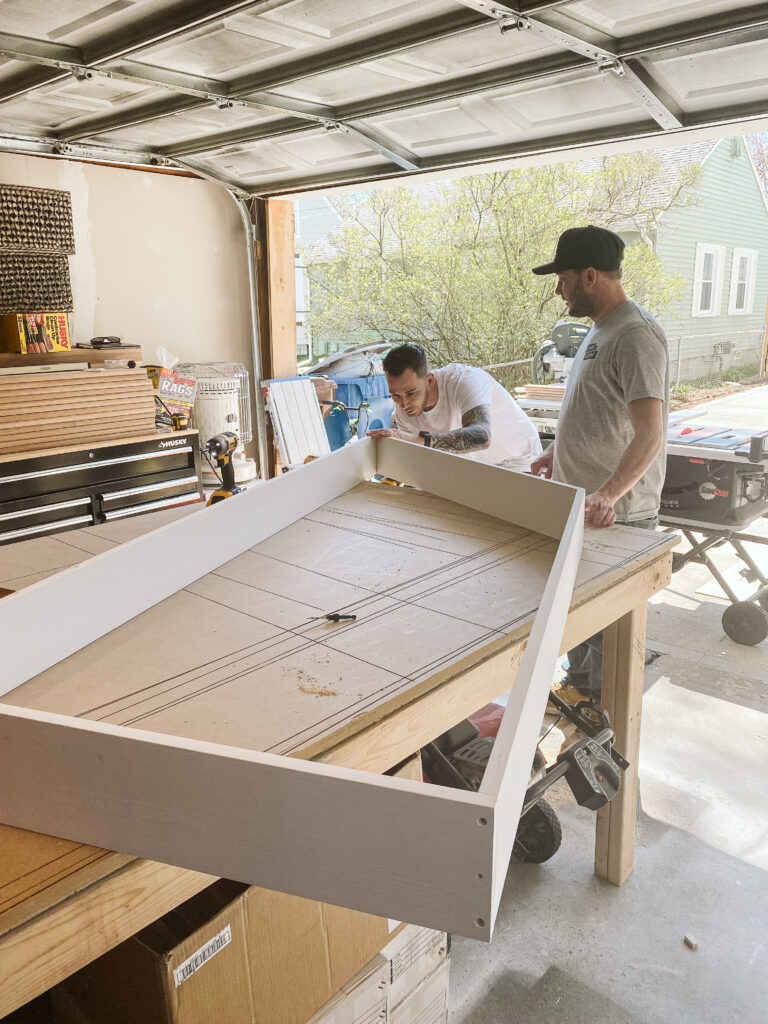
Now it is time for the bottom horizontal piece to be cut and installed. For us, we needed to cut a board that sat at a 42.5° angle and was connected to each of the vertical side boards with a 45° cut. That is a lot of measuring and precise cuts, but perhaps your’s is simpler.
Once you have your bottom board cut, install just as you did the other boards.
If you want any additional vertical boards inside of the shell you just assembled, now would be the time to cut and install those.
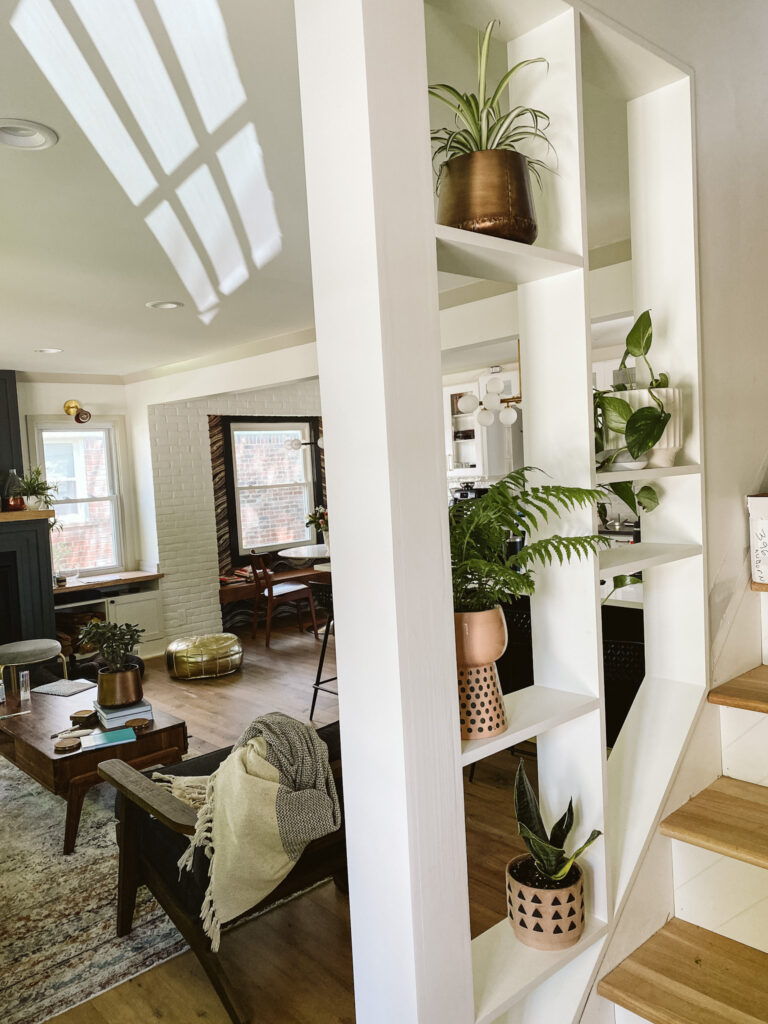
Once complete you can begin cutting and installing your shelves. We staggered ours for that more mid-century modern look and to allow for various sized items, like planters. So decide what works best for you and begin placing those boards.
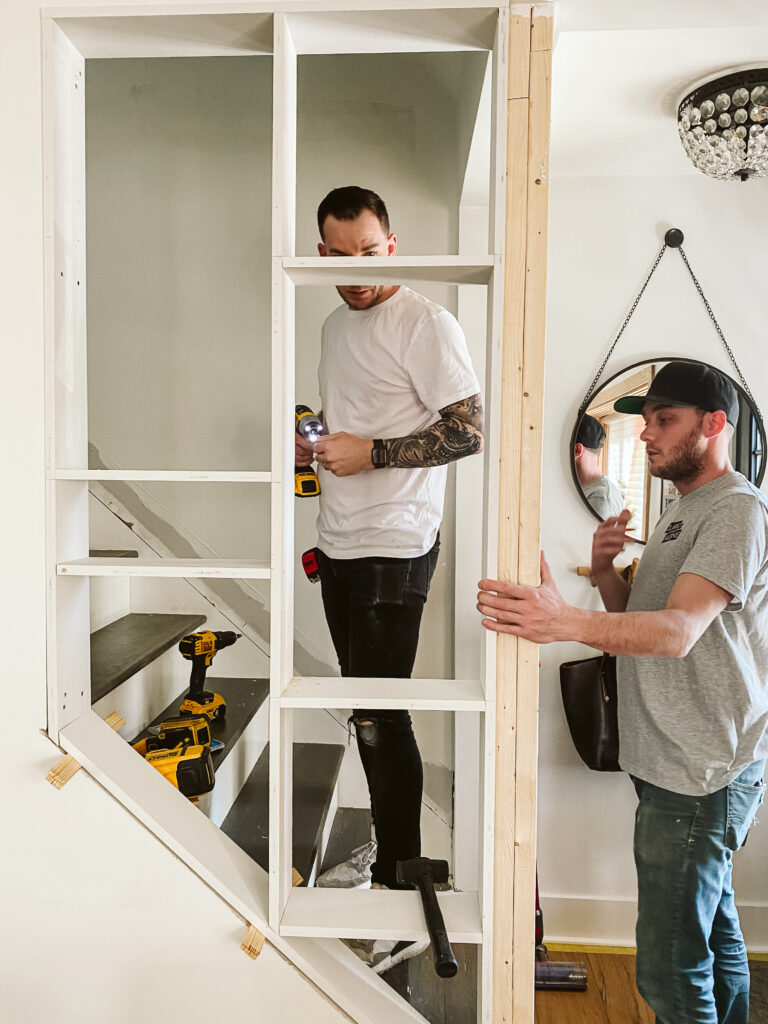
Once you pre-drill the holes on one side of the shelf, fasten with the screws. Next you will take your speed square and square up the shelf to the other side you will be attaching to. Once square, hold in place while you pre-drill your holes. Repeat for each shelf.
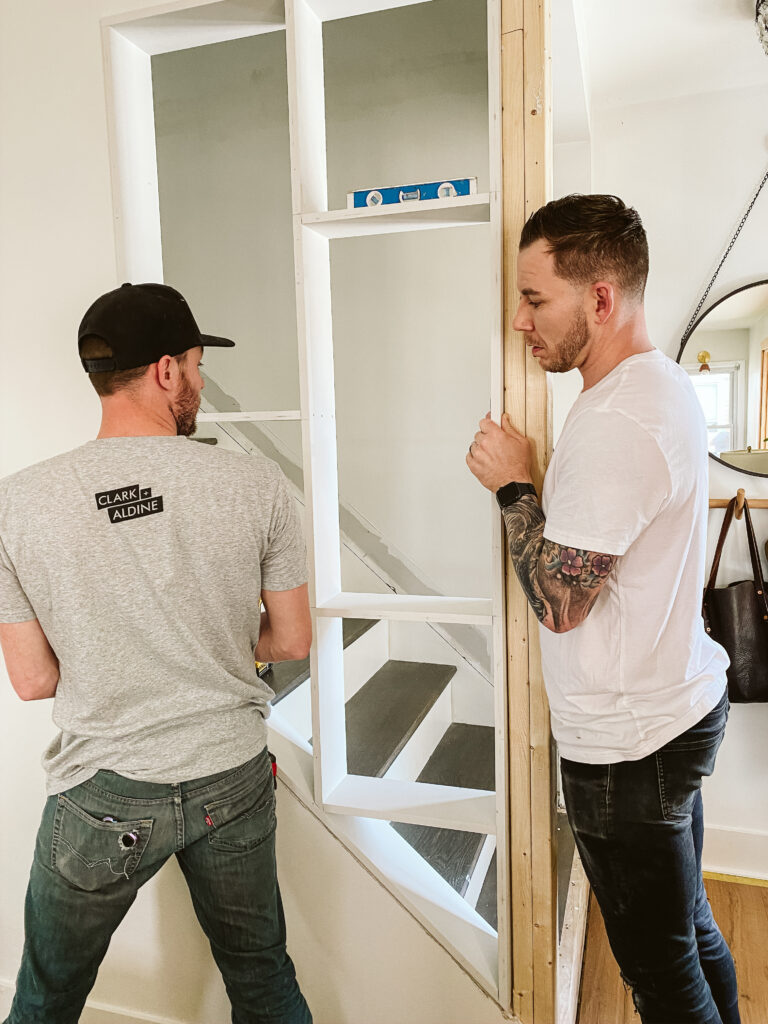
Now your shelf should be fully assembled and ready for installation. With another set of hands, preferably, carry the shelf into your space and carefully slide it in. If it is a little tight that is ok, just tap it in with a rubber hammer if you have one.
Once you get it in take a level to the sides and make sure it is level. If it is not, grab some shims and shim it level on the bottom or one of the sides.
When you have the unit level, fasten in place using your construction screws. 2 per side, top and bottom will be more than enough to hold it in place.
Fill your holes using your wood filler, and caulk around any gaps between the unit and walls, posts and shelves.
Once dry, sand everything smooth and you’re ready for primer.
If you used primed molding boards all you have to primer is the filler from your holes. If you used solid wood, primer the entire unit.
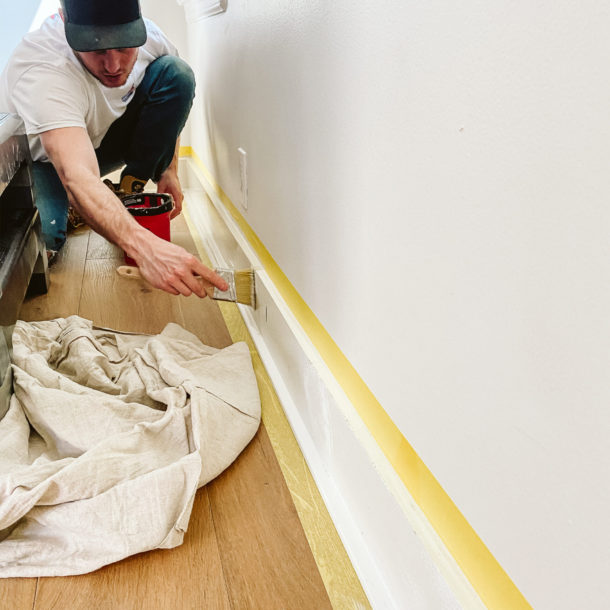
Once your primer is dry it is time to paint. We always brush our moldings for a smooth finish. Rollers will show tiny bumps caused by bubbles in the paint, which does not show well on a shelf such as this. 2 coats should do it.
Allow time to dry (24 – 36 hours for shelving is our recommendation) before styling!
And there you have it. As always, please let us know if you have any questions in the comments section below. And if you decide to build a set of mid-century modern floating shelves in your home, send us pictures and tag us! We want to see how you did it in your space.
-much love
Clark + Aldine is fully licensed and insured.
© 2024 Clark + Aldine | Interior Design Websites by Formcode | Site Map · Privacy Policy · Terms and Conditions