Close
Here we are in week two of our Tuesday Transformations. This week you get a two for one as we are sharing the two rooms that our boys occupy the most: their shared bedroom and playroom. The boys room went from the previous owner’s double girls shared space to their own and our playroom started as an office space that we quickly transformed into a creative getaway for our boys. In both rooms we added some simple touches to give them additional character and uniqueness to the space.
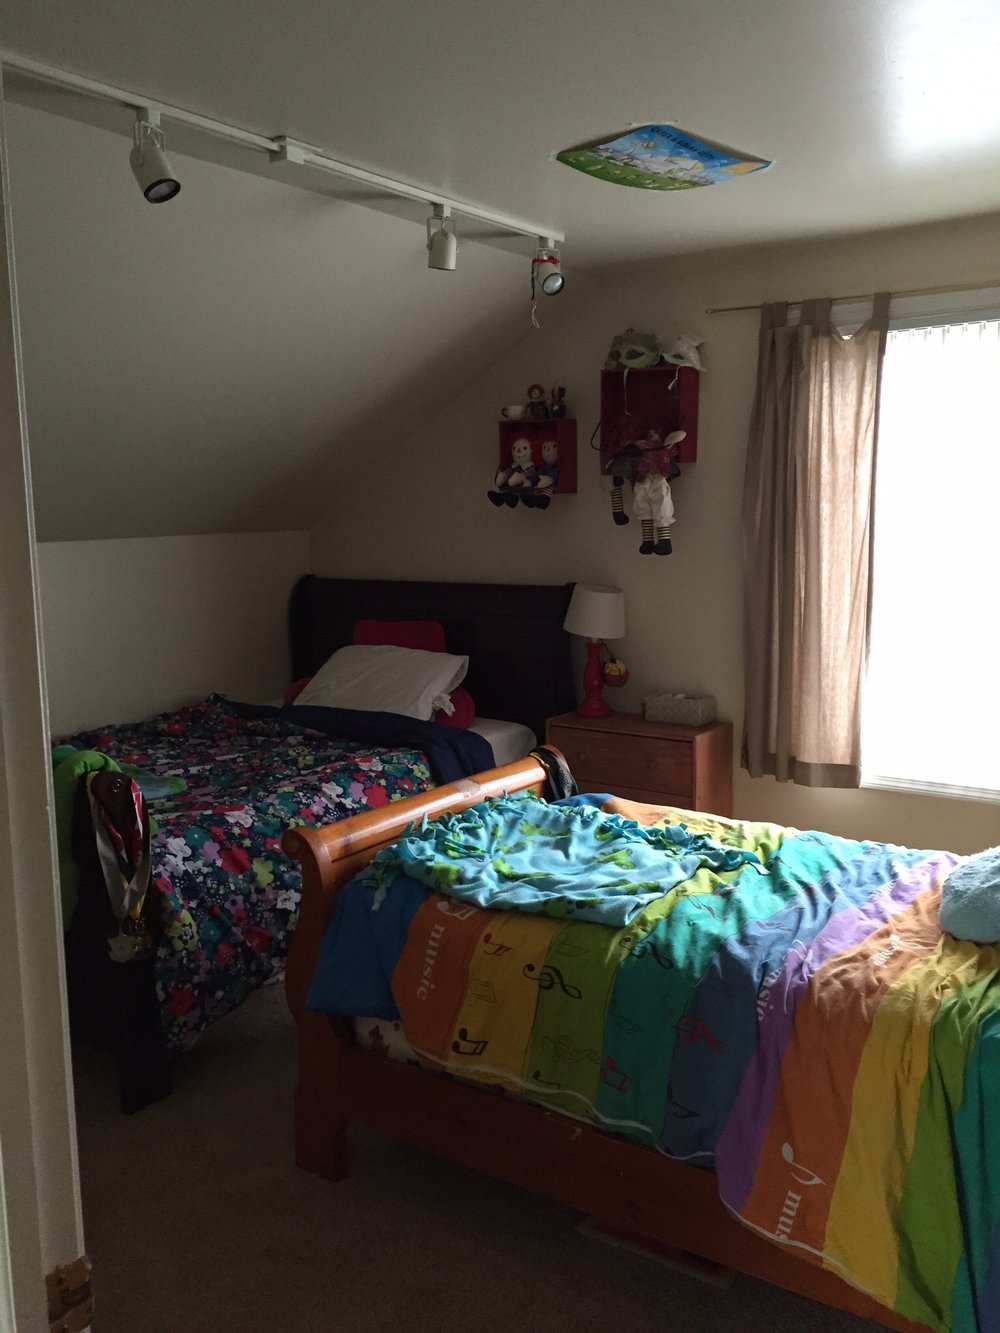
Boys Bedroom (before)
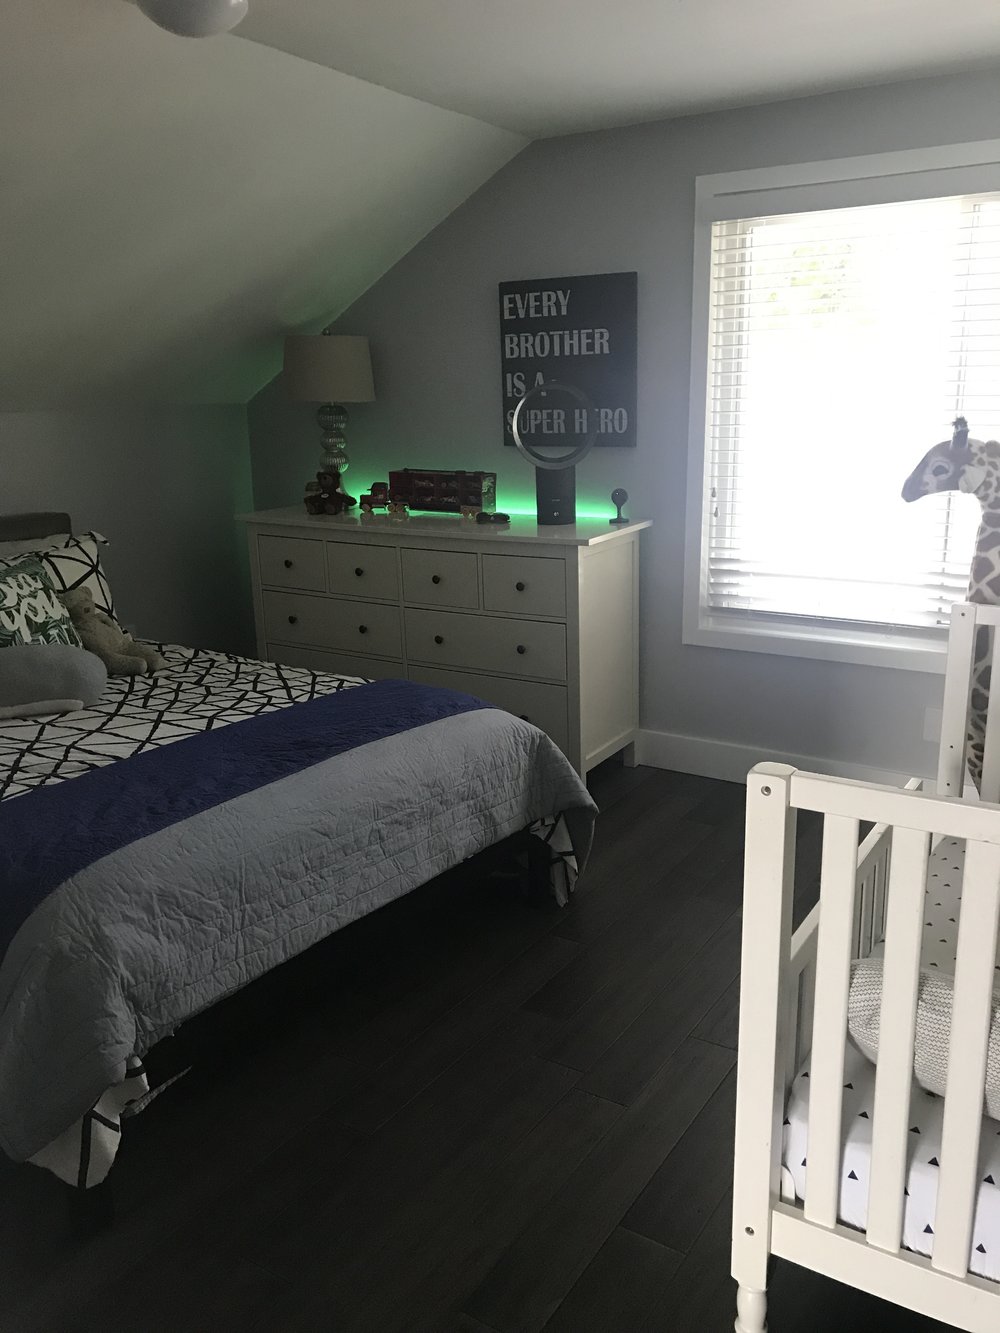
Boy’s Bedroom (after)
PAINT – As you might have guessed we started this adventure with paint to add calmer vibes to each room. In the boys bedroom we went with a gray that has a slight shade of blue, whereas in the playroom we stuck with a gray that is slightly brighter.
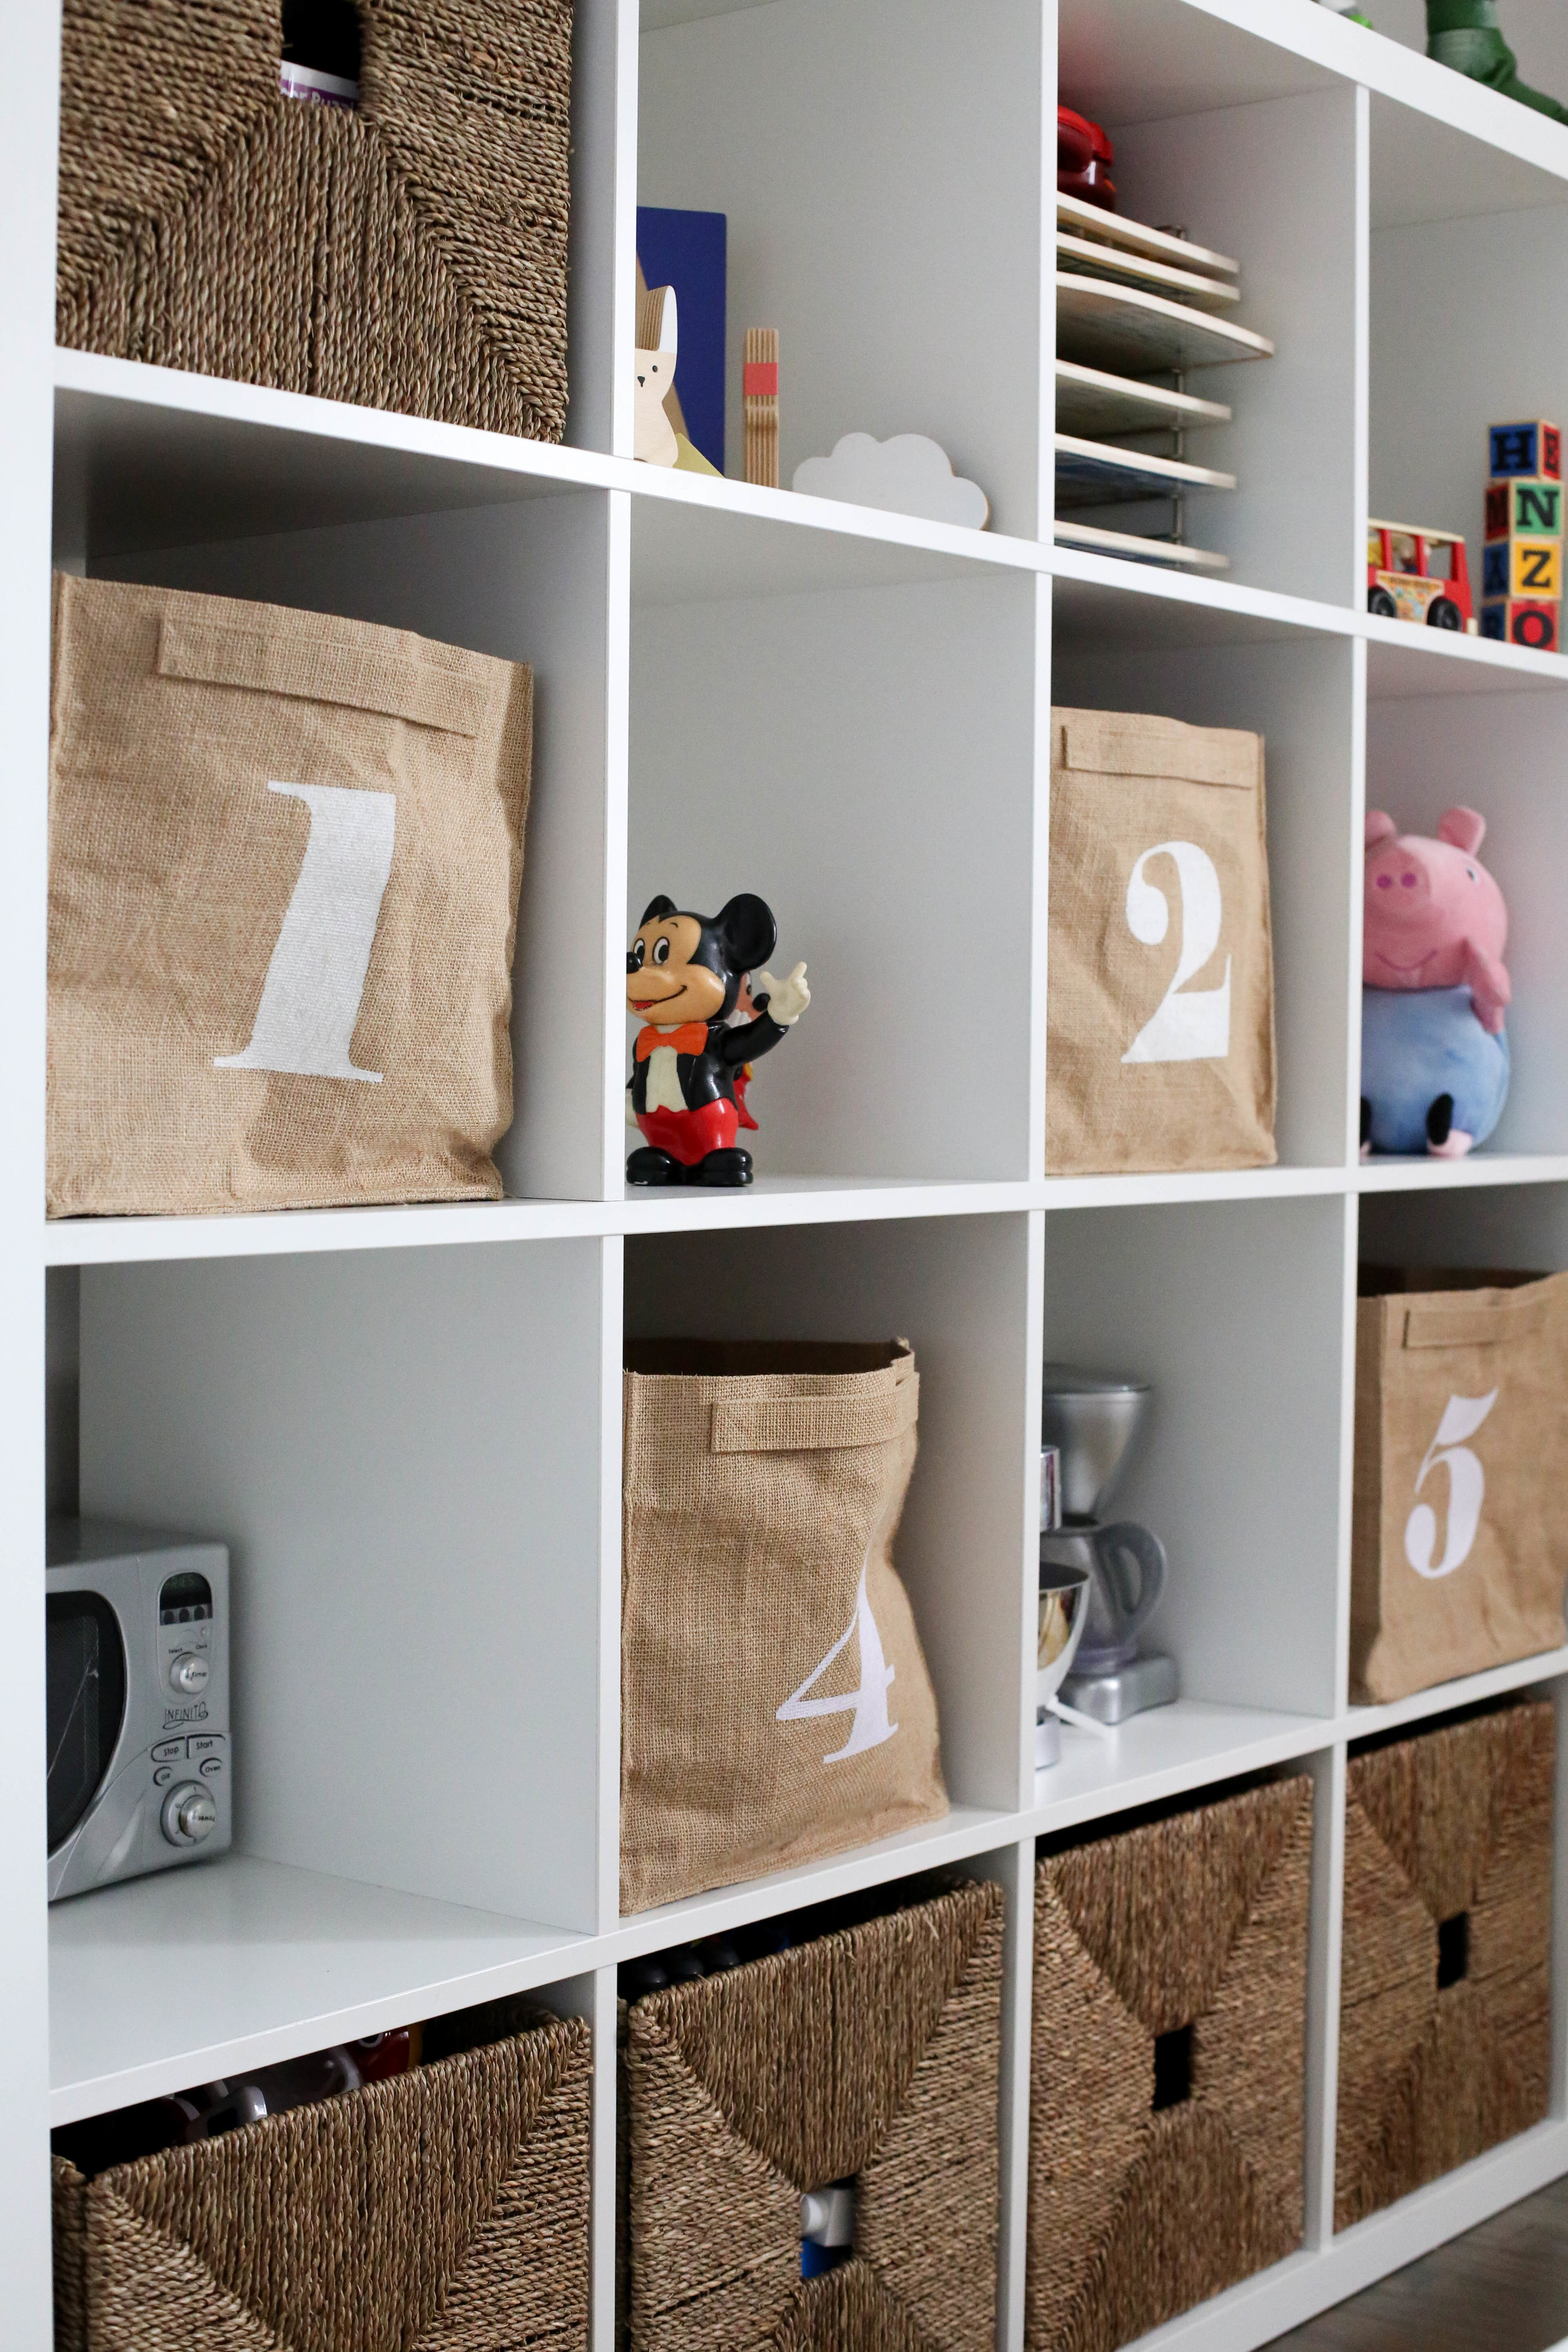
STORAGE – both spaces needed places to keep things (toys, books, stuffed animals…you get the idea). With the boys bedroom we went with fun baskets and built-ins inside their closet space. One set of baskets allowed for us to keep all their favorite stuffed animals that make it in and out of their beds and pretend play while another set of baskets we set up to store books that we constantly rotate. In the playroom we went with lots of built in storage. We used Ikea shelving and Land of Nod baskets to help keep all toys organized. You can read all about our playroom makeover here!
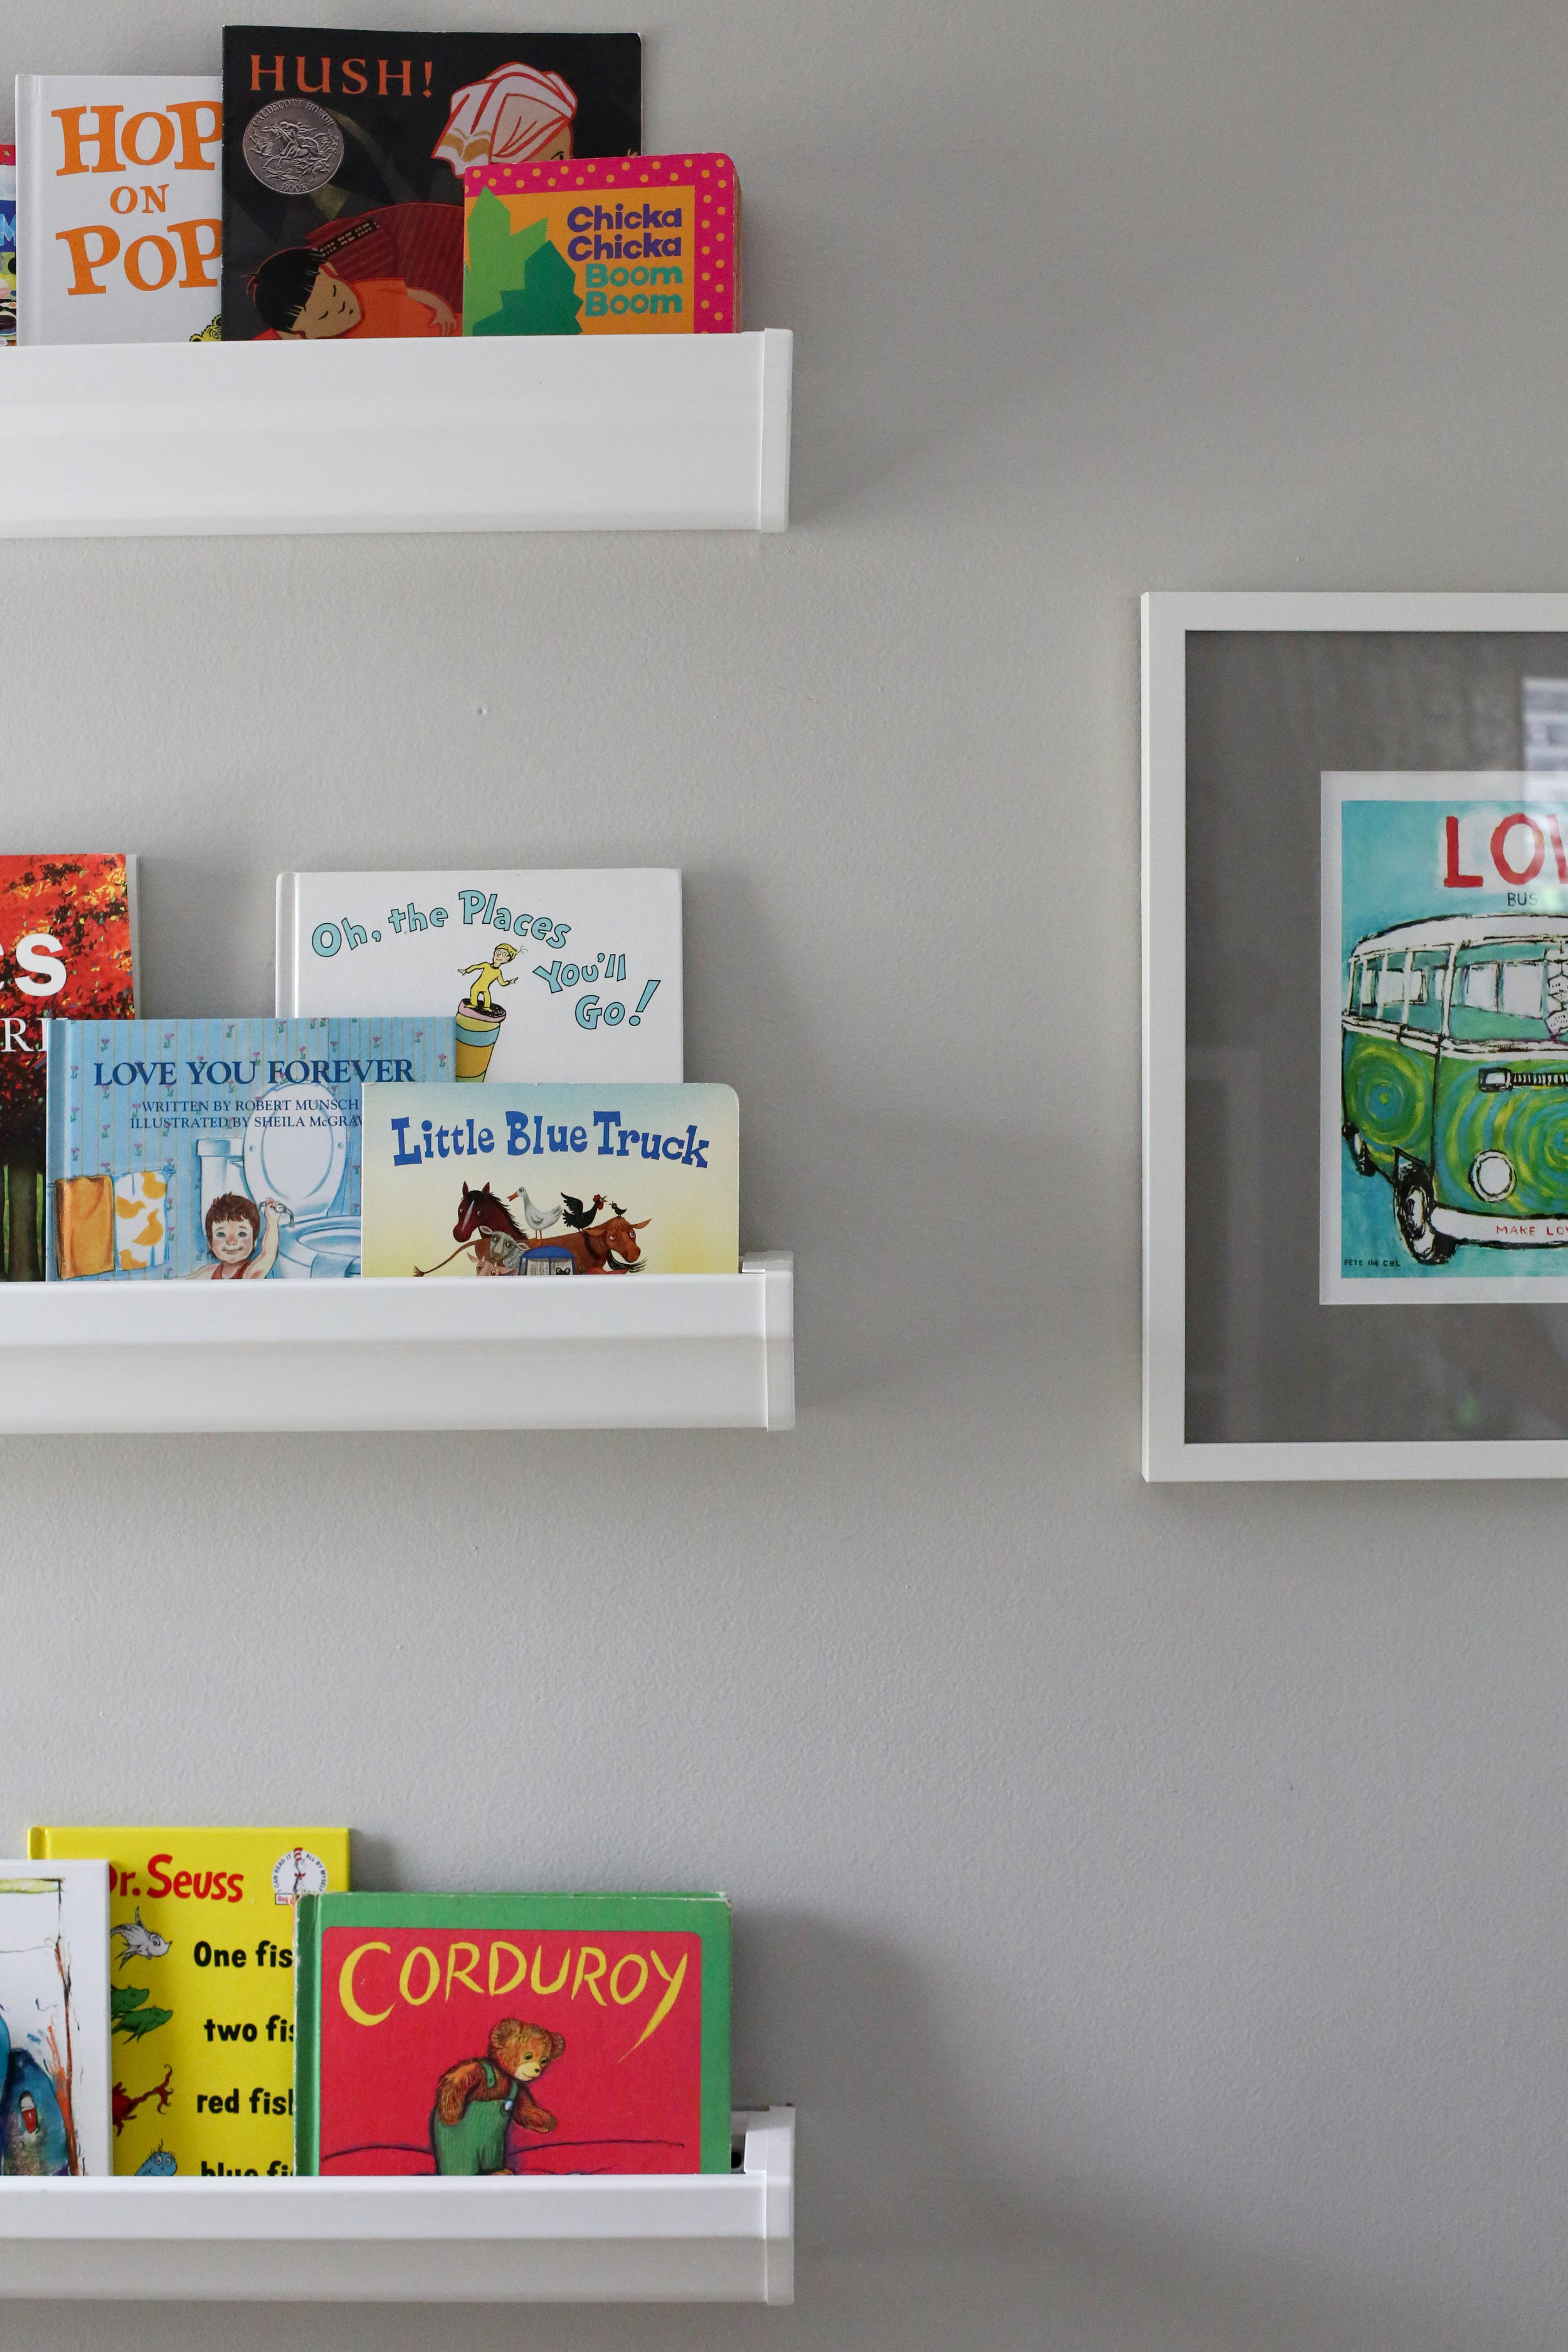
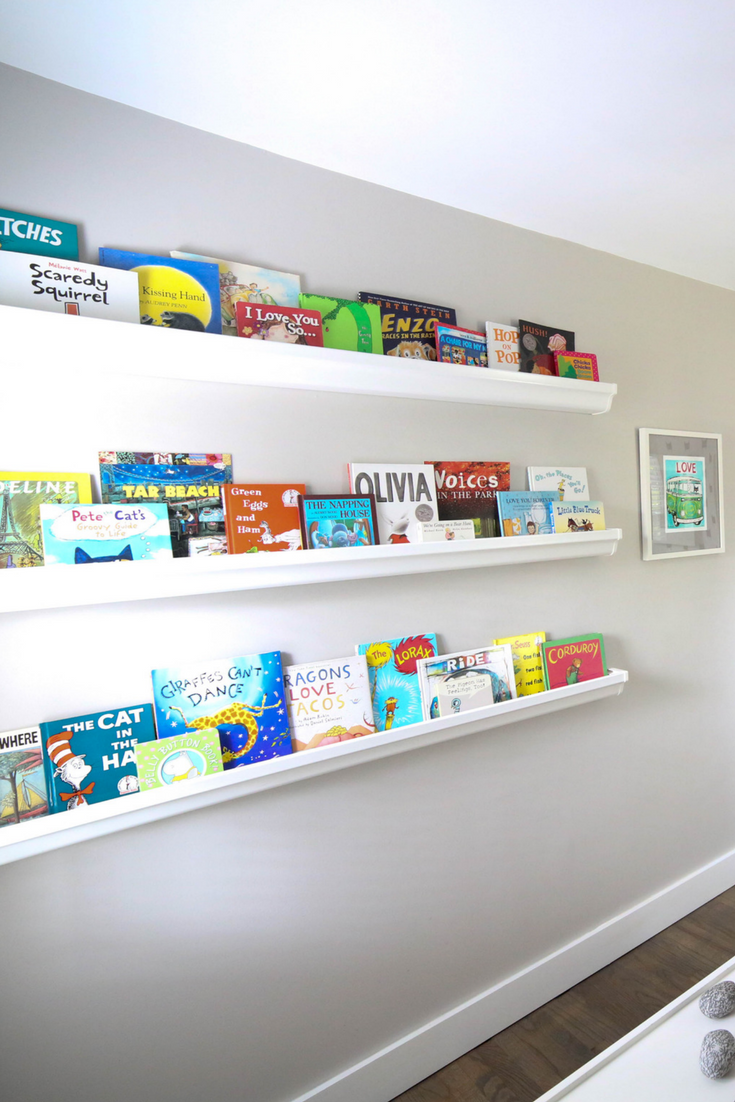
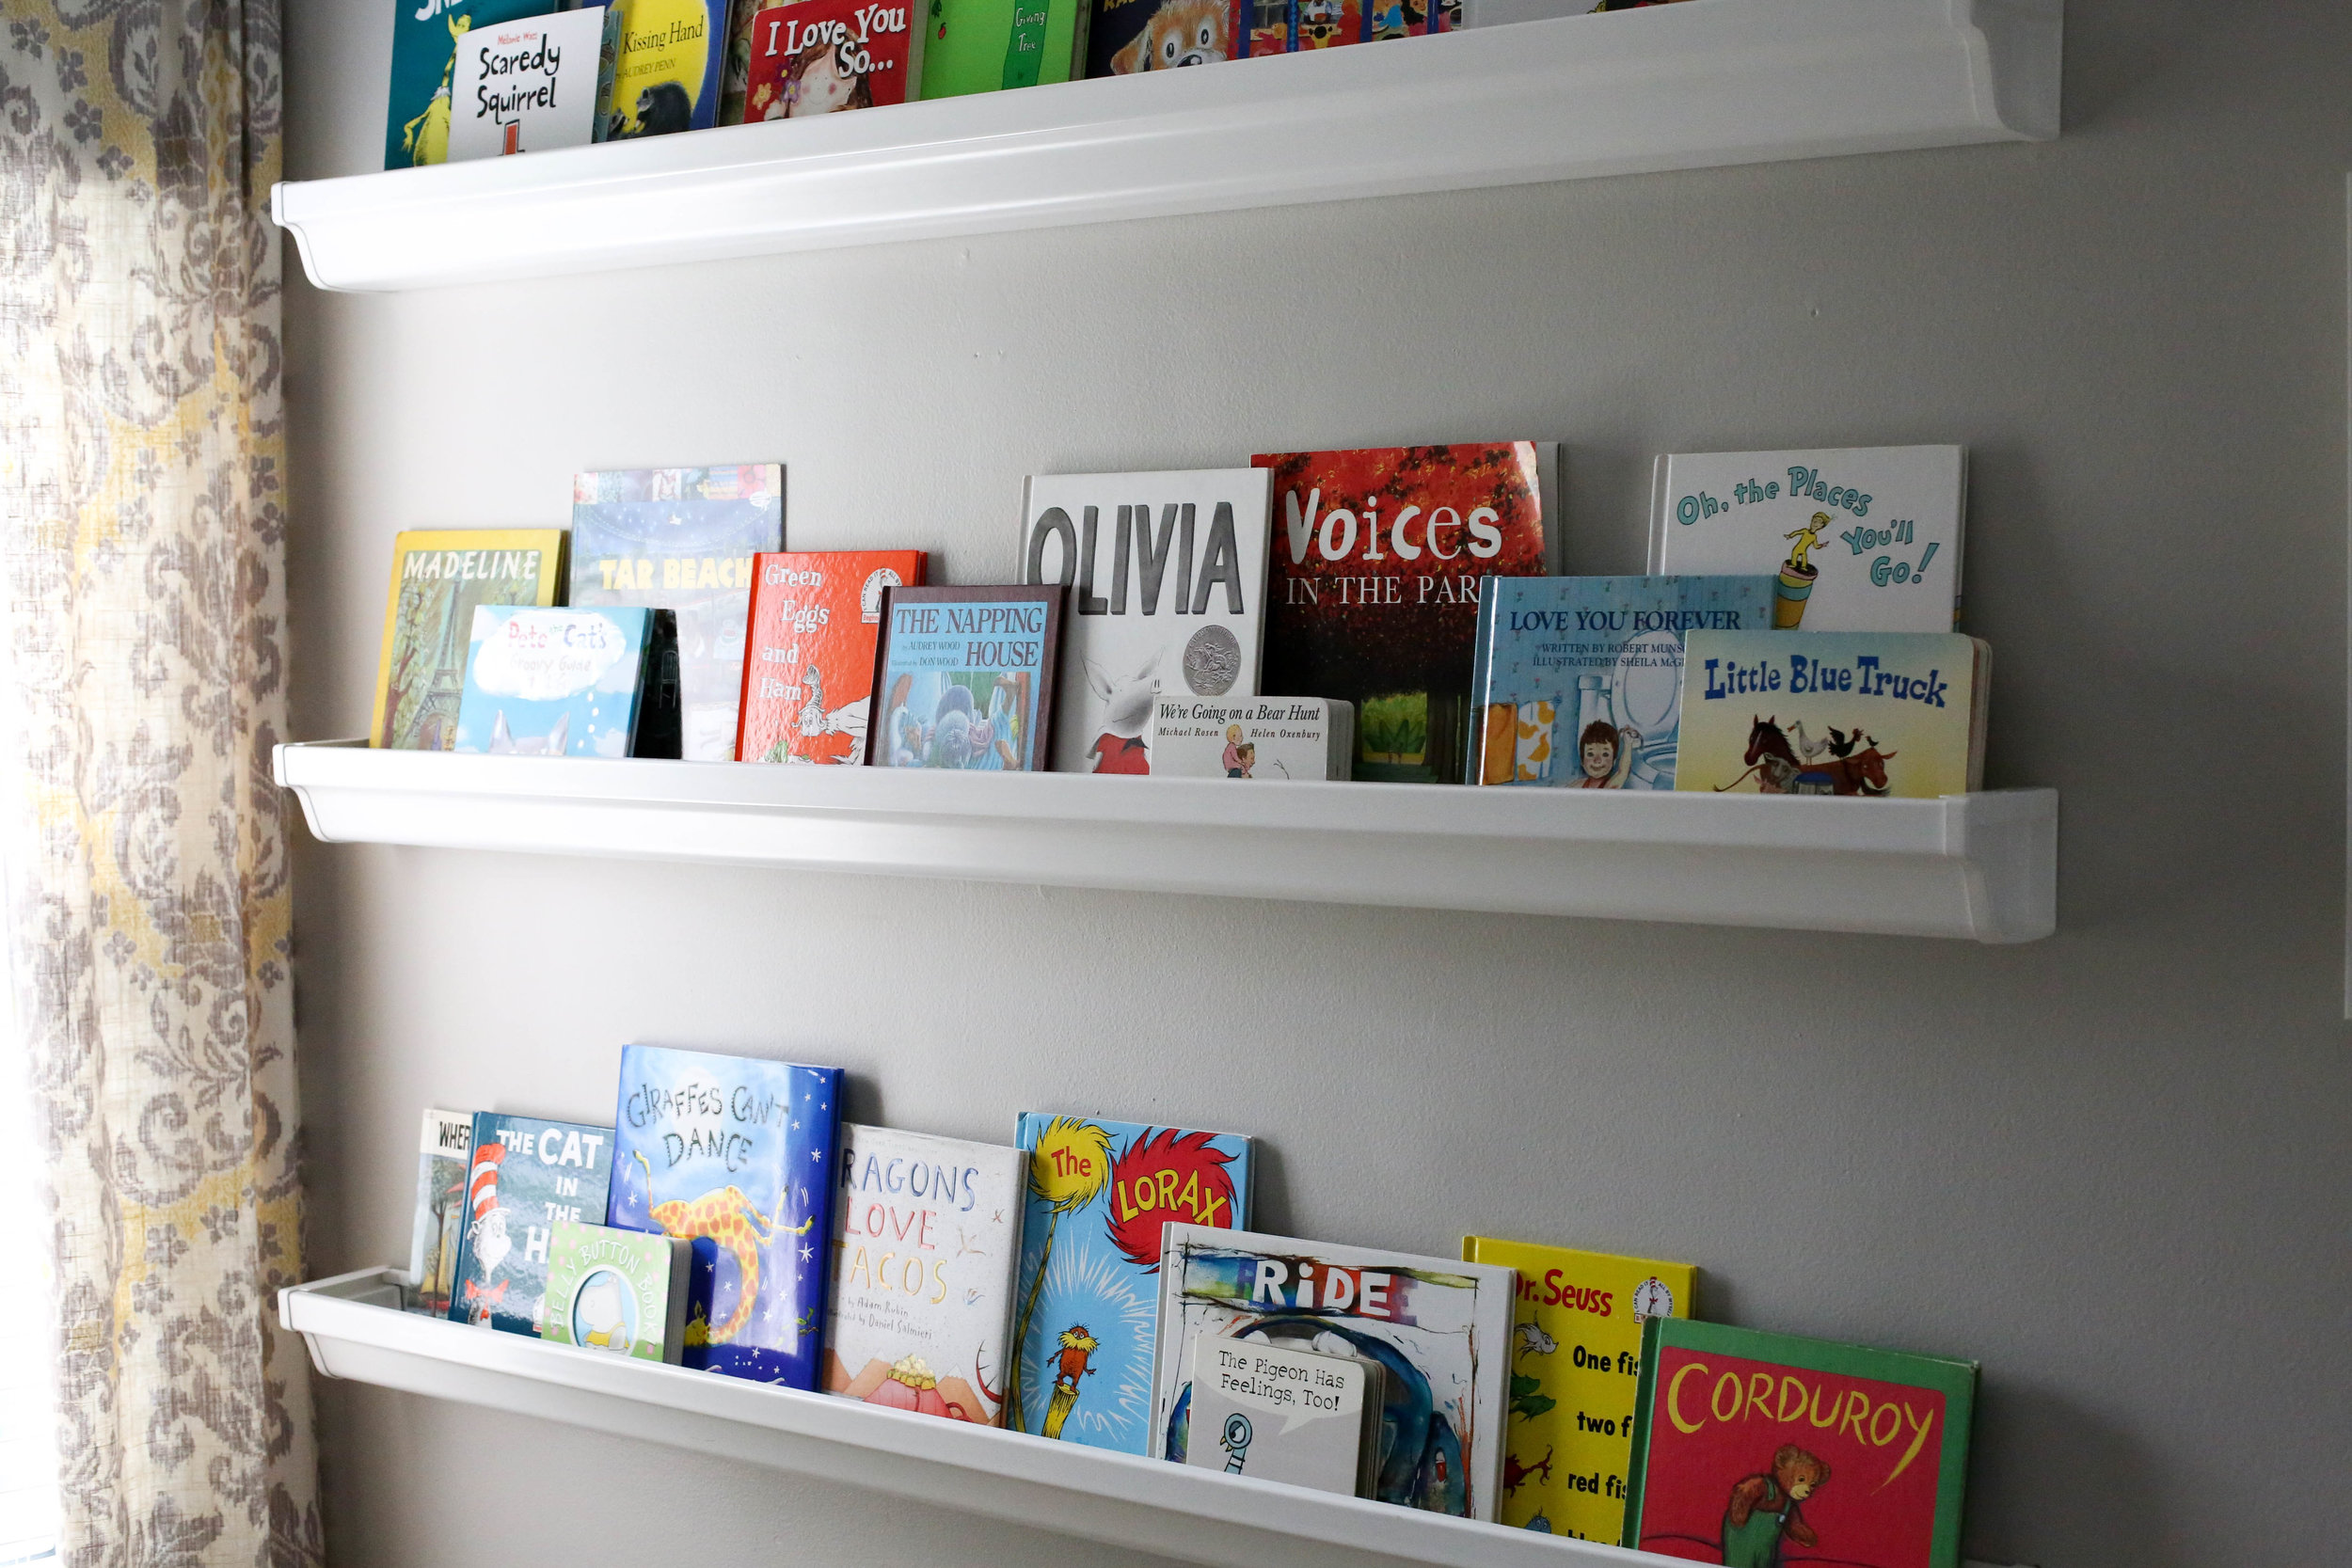
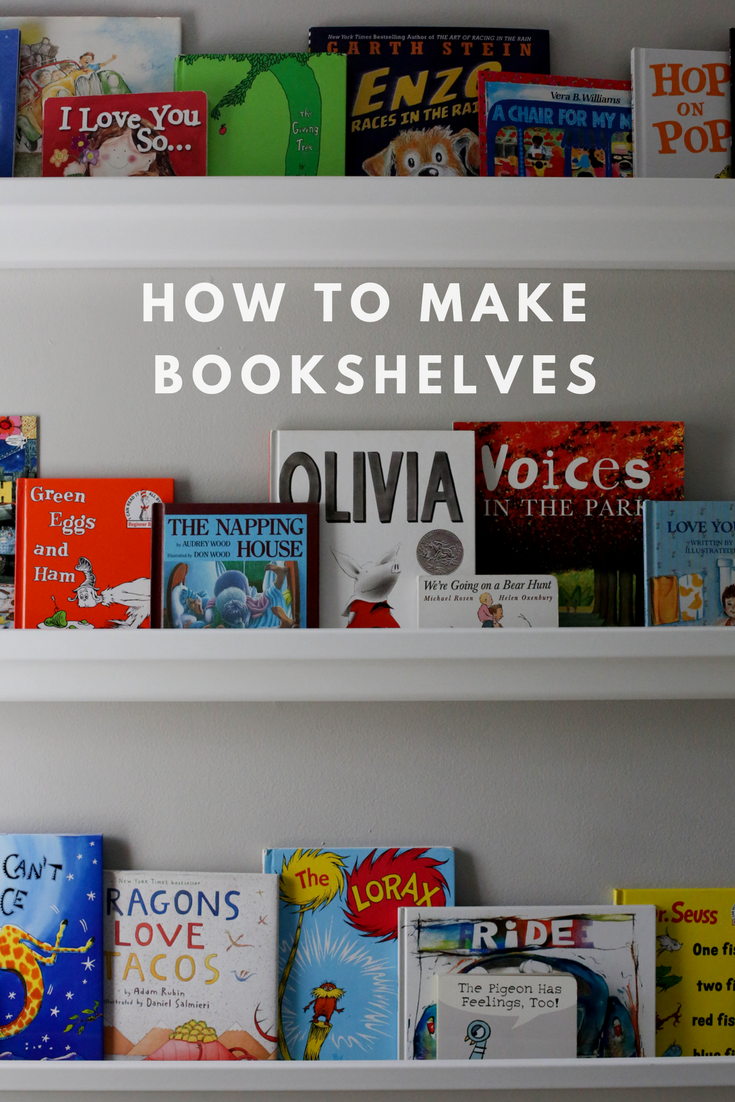
Another storage idea we implemented was our bookshelves. This is a super easy how-to that Michael whipped up for me when we first had Enzo. I’ll let him share with you how to get your very own gutter bookshelves too!
Ok, so it’s really simple (I can’t take credit for being a genius with this one). We purchased 8ft vinyl gutters and 3 sets of gutter end caps from Home Depot. Once we unloaded into the garage, I measured the wall in which these gutters would be installed – for us, the length we chose was 5ft to allow for curtains on the opposite wall and a piece of artwork next to the shelving.
Note: You want to make anything you hang on walls feel as if they truly belong – and anything that belongs needs space to breathe. So always allow some room!
I then measured the first gutter and cut using my mitre saw. It made a bit of a mess, so be prepared to sweep up some vinyl shreds. And wear a mask! Repeat for each shelf.
Using a large level I marked my top lines for each shelf with a pencil.
Another note: you can erase these lines using a Mr. Clean magic eraser…it truly is magical.
Next step, I took my stud finder and marked all studs that fell within the width of the shelves. With the help of my assistant I pre-drilled holes on each end of the shelves and attached with 2.5in drywall screws and washers. Repeat that step to attach to each stud you’ve located…then repeat for each shelf. And once attached, place the end caps, vacuum/wipe down the inside and outside of each shelf and place books.
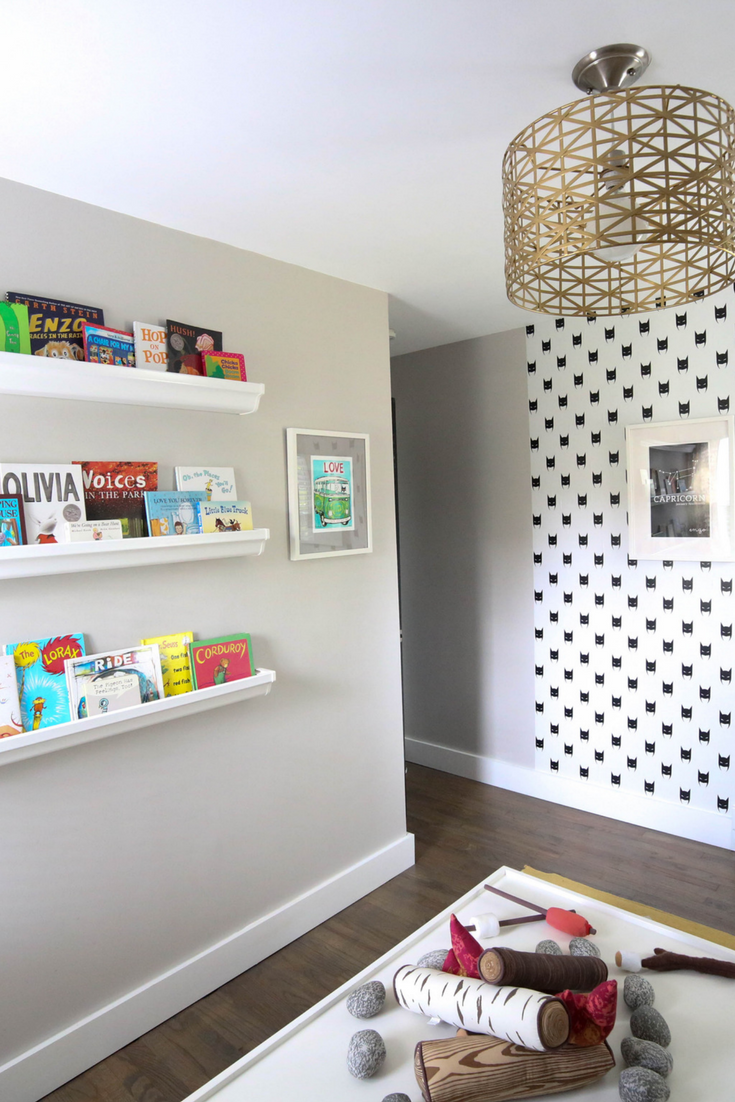
WALL MURALS – ok I know the sound of this can feel daunting or even like a major commitment but I’ve found the perfect solution: Pixers! All their wall murals are self-adhesive! So if you change your mind about your space or want to redesign it talk about easy removal! Both spaces have fun murals to add character to the space – our personal favorite is this one from the boys bedroom!

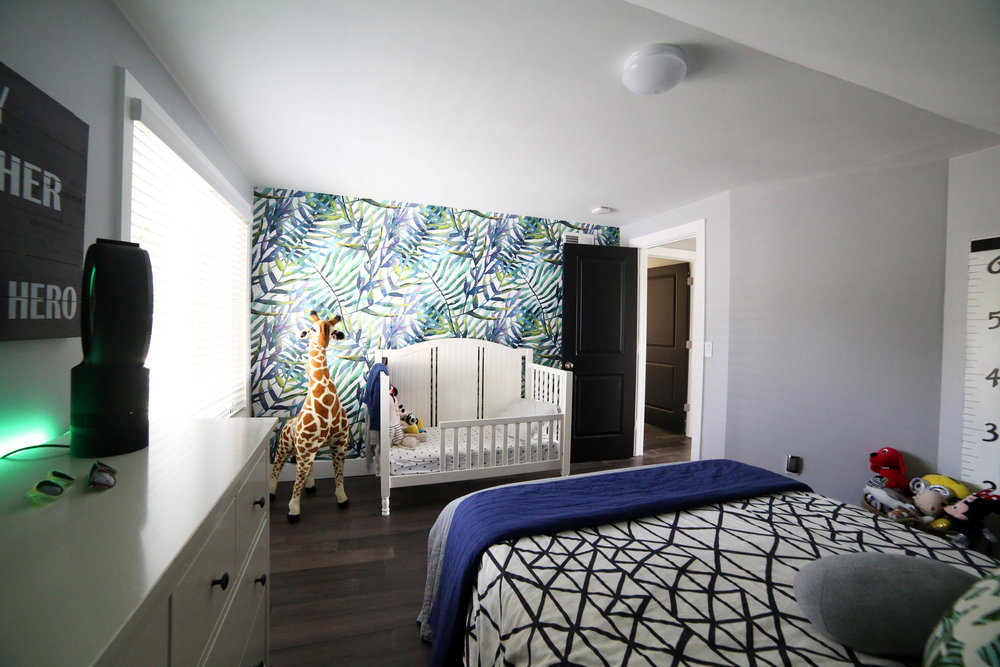
ARTWORK – No room can ever feel complete without some kind of art! At least that’s how I feel. In the boys room we found a fun sign that talks about brotherhood and a ruler to measure their sizes throughout the years. And in the playroom we have artwork tied to story books and their zodiac signs!
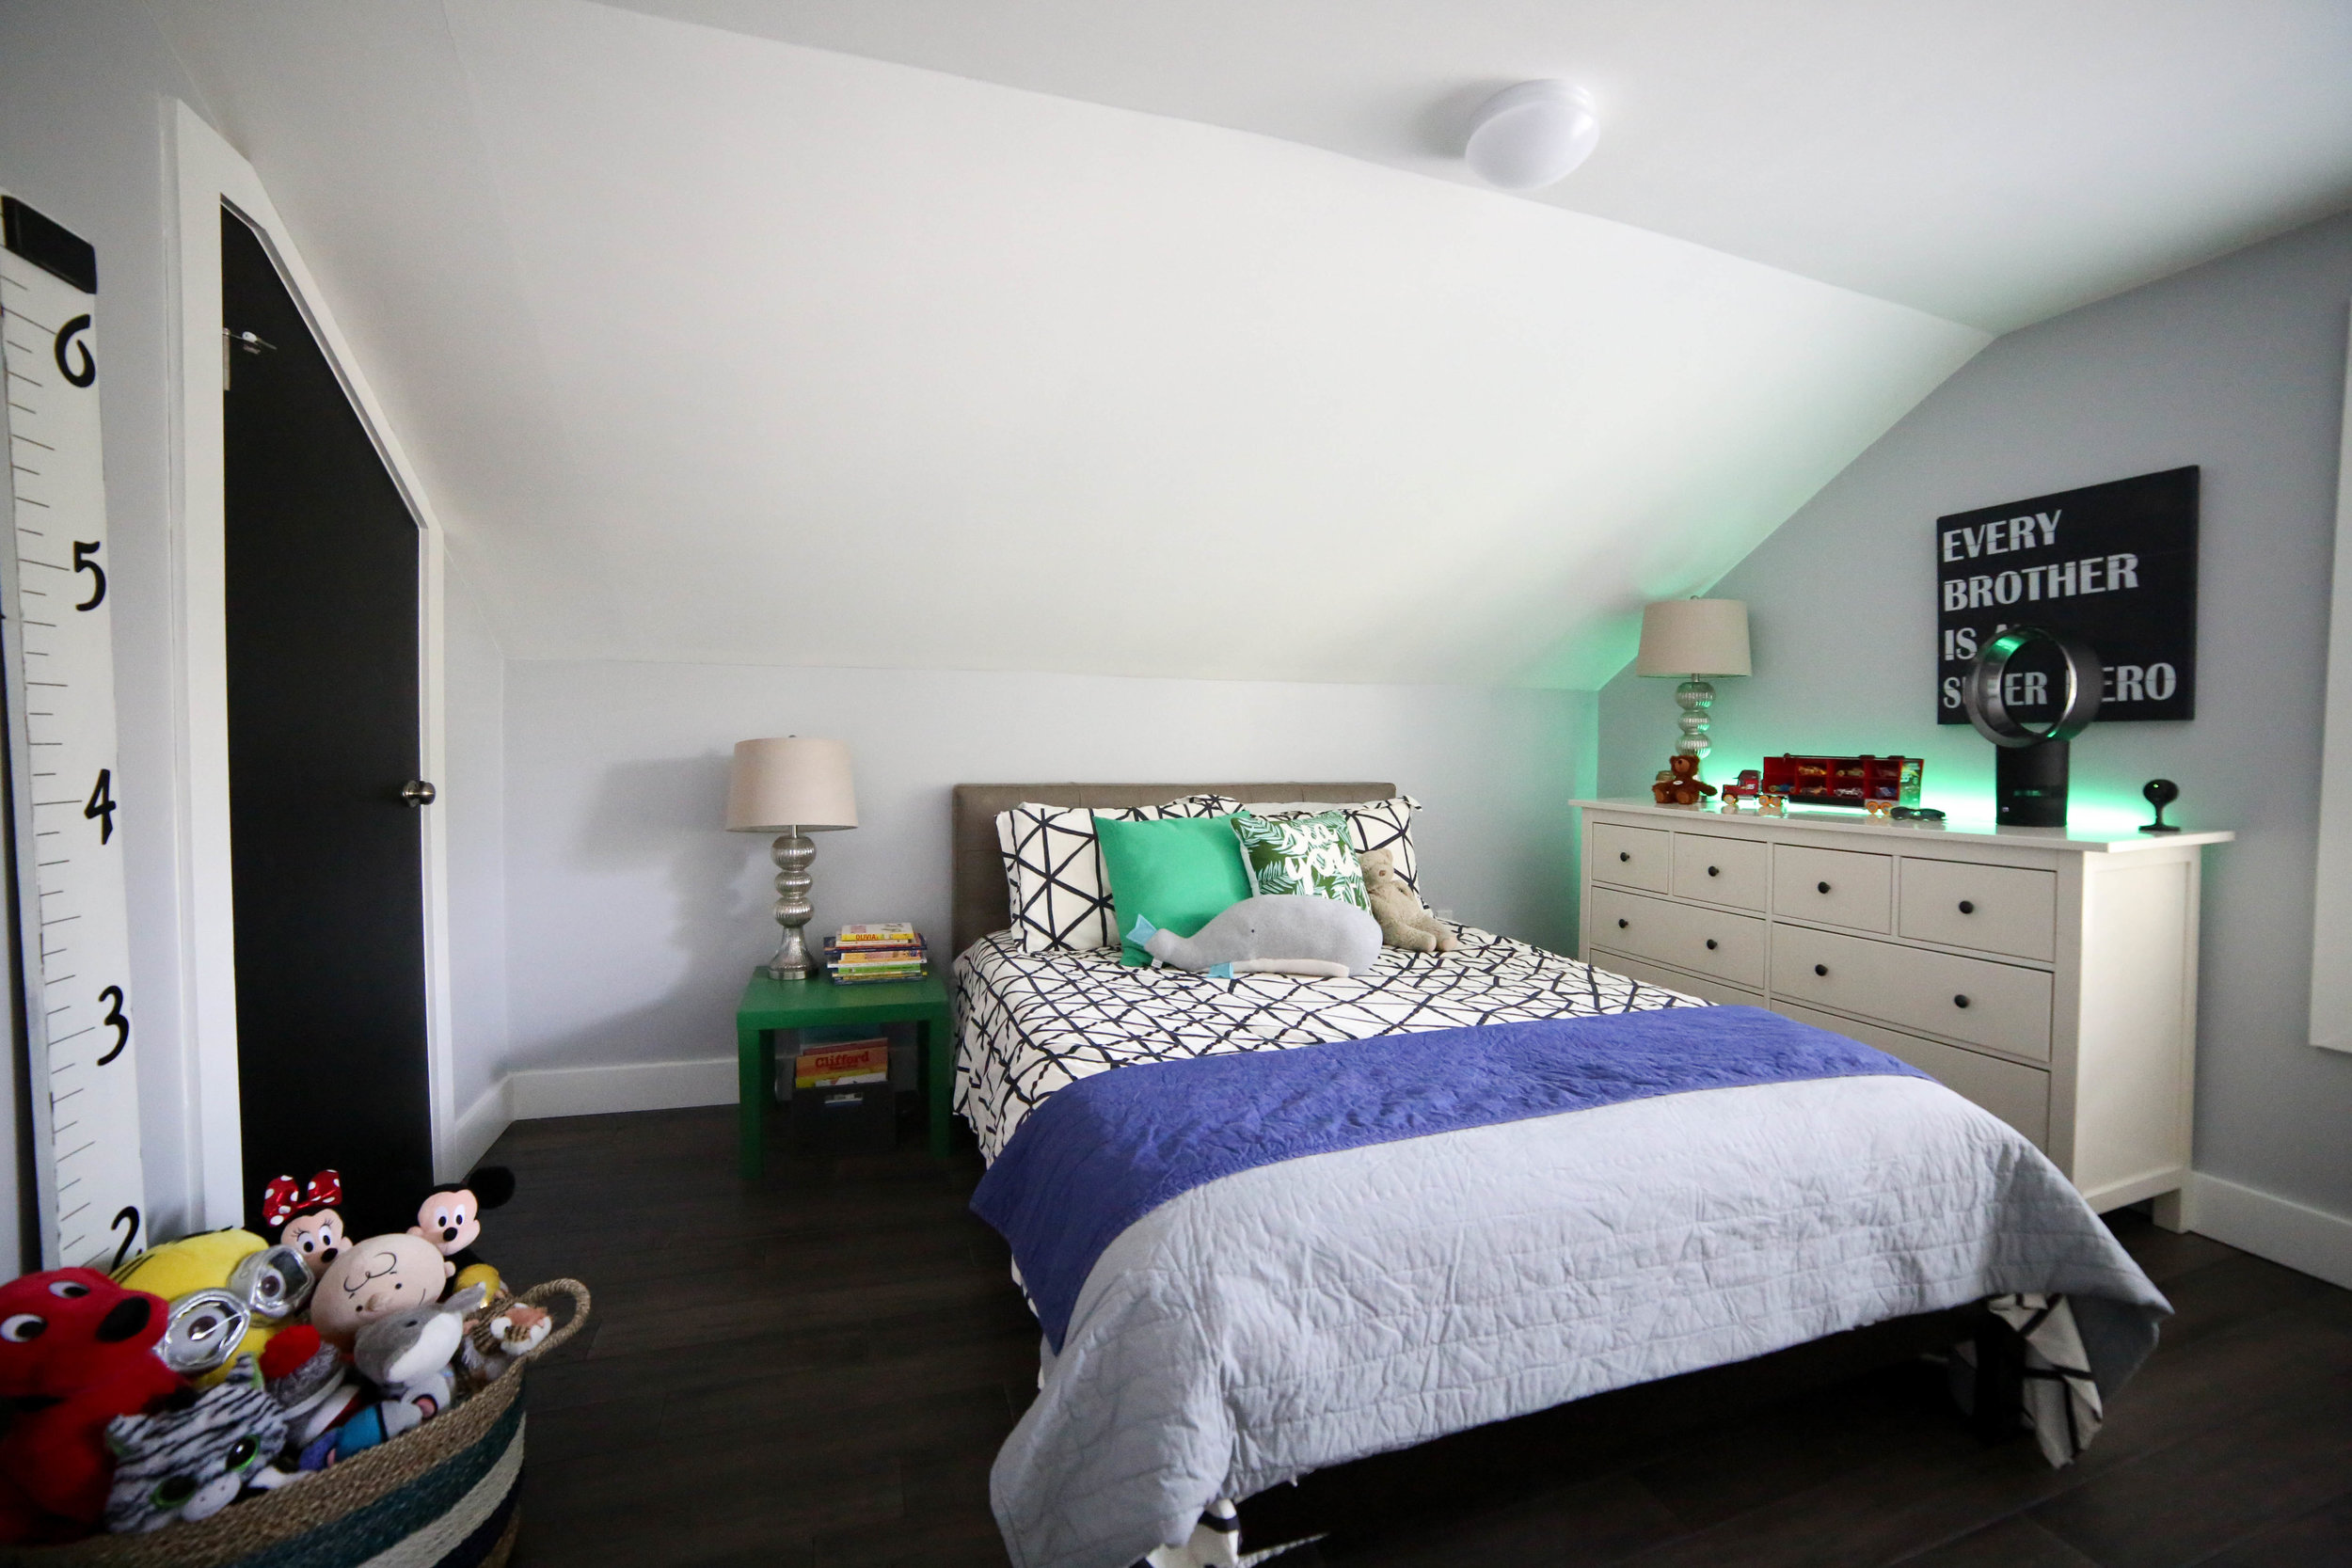
LIGHTING – this is the last thing we added to the space to give one more layer. In the boys bedroom we decided on two table lamps. The slanted ceiling made it difficult to find over head lighting work the way I wanted to. The table lamps gave the room additional charm and we paired this with a Phillips Hue LED light strip that has been perfect for a night light and the fact that it changes colors makes it an overall win in our house. In the playroom we added a gold chandelier. I love how it provides chic feel to a completely toy filled space!
enjoy!
much love,
danielle (and michael;)
xoxo
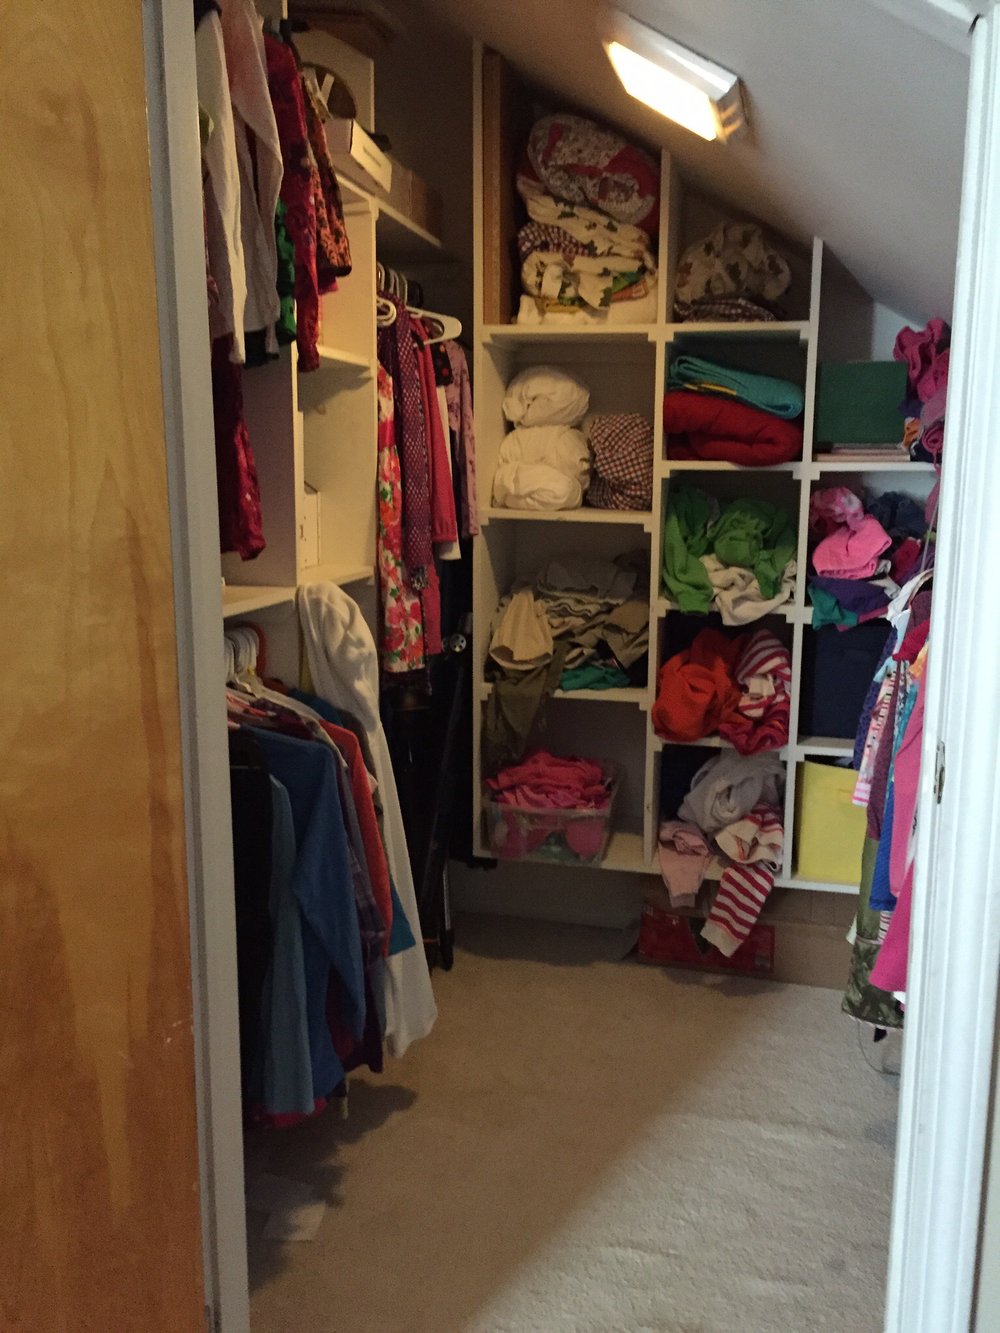
Boy’s Closet (before)
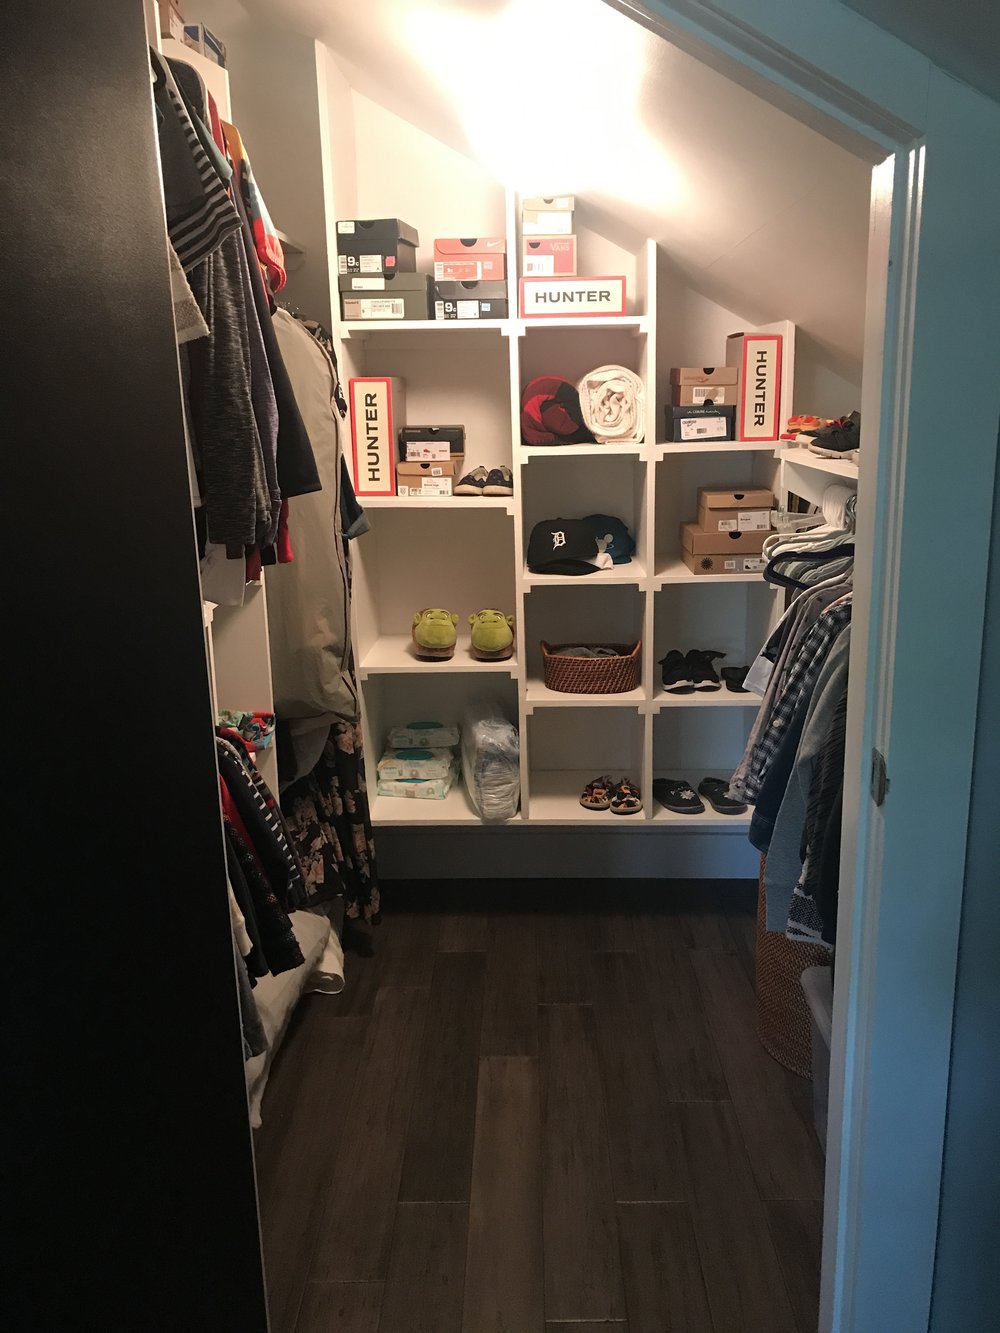
Boy’s Closet (after)

Clark + Aldine is fully licensed and insured.
© 2024 Clark + Aldine | Interior Design Websites by Formcode | Privacy Policy · Terms and Conditions